

Think you need a gym to get stronger?
This 20-minute, no-equipment routine fits any schedule and gives a clear path: warm-up, six simple moves, progressions, and a short cool-down.
Over the next few minutes you’ll get a full beginner plan with sets, reps, and easy options so you can start strong at home, skip guesswork, and build consistency.
Start where you are, use wall push-ups, walking lunges, or gentler options if needed, and aim for two to three short circuits a week to see steady results.
Complete No‑Equipment Beginner Workout Plan (Full Routine, Sets, Reps, Schedule)

This 20-minute bodyweight circuit fits into any schedule and needs zero equipment. You’ll work through six exercises in order, rest between moves, then repeat the entire circuit two or three times depending on how you’re feeling. Each circuit takes about six to seven minutes with short rests, so two rounds gets you around 15 minutes and three rounds pushes closer to 20.
Start with a few minutes of light movement to get your heart rate up and your joints ready. Jogging in place works. So does marching with high knees, arm swings, or a quick walk around the block. Once you feel warm, start the circuit. Rest 30 to 60 seconds between circuits, longer if you need it. The goal is finishing every exercise with decent form, not rushing through feeling wrecked.
Here’s the circuit you’ll follow each session:
- 10 walking lunges per leg – step forward, lower until both knees bend close to 90 degrees, push off your front heel and step into the next lunge.
- 10 rows – use a gallon milk jug, a loaded backpack, or a small suitcase. Hinge forward slightly, pull the weight to your ribs, squeeze your shoulder blades.
- 20 bodyweight squats – feet shoulder width, sit your hips back, lower until thighs are roughly parallel, push through your heels to stand.
- 10 push-ups – hands just outside shoulder width, body straight from head to heels, lower your chest toward the floor, press back up. Use a wall, elevated surface, or drop to your knees if needed.
- 15-second plank – forearms on the floor, body in a straight line, squeeze your core and glutes, breathe steadily.
- 30 jumping jacks – or walking jacks if you need a gentler option for your knees.
Run this workout two to four times per week. Leave about 48 hours between sessions to let your muscles recover. A realistic weekly pattern might look like strength training on Monday, a walk or yoga session on Tuesday, another strength session Thursday, and light activity or rest on the weekend. If you miss a day, pick up where you left off without trying to double up sessions back to back. Rest is when your body actually adapts and gets stronger.
Warm-Up Essentials Before Starting Your No‑Equipment Beginner Routine

Skipping the warm-up is tempting when you’ve only got 20 minutes, but five minutes of movement prep makes the workout safer and often more effective. Dynamic warm-ups raise your core temperature, get blood moving into your muscles, and wake up the joints you’re about to use. Cold muscles and stiff joints increase the chance of a tweak or strain, especially if you’re new to regular training.
A simple warm-up can be as basic as moving through a few motions that mimic what’s coming. Here’s a quick five-minute sequence that covers your whole body:
- 2 minutes of light cardio – jog in place, march with high knees, or do a brisk walk if you’ve got space.
- 10 arm circles forward and 10 backward – loosen up your shoulders before push-ups and rows.
- 10 leg swings per leg – front to back or side to side. Hold a wall for balance and let your hip joint move through its range.
- 10 torso twists – stand tall, rotate your upper body left and right to warm up your core.
- 10 bodyweight squats at an easy pace – practice the movement pattern before you add reps and circuits.
Finish the warm-up feeling ready, not tired. If you’re breathing hard or your legs are burning, dial back the intensity. The real workout starts after this.
Bodyweight Exercise Breakdown for a Beginner Workout Plan
Every exercise in the 20-minute circuit has easier and harder versions. Starting with a modification isn’t a step backward. It’s how you build the strength and control to progress safely over the next few weeks.
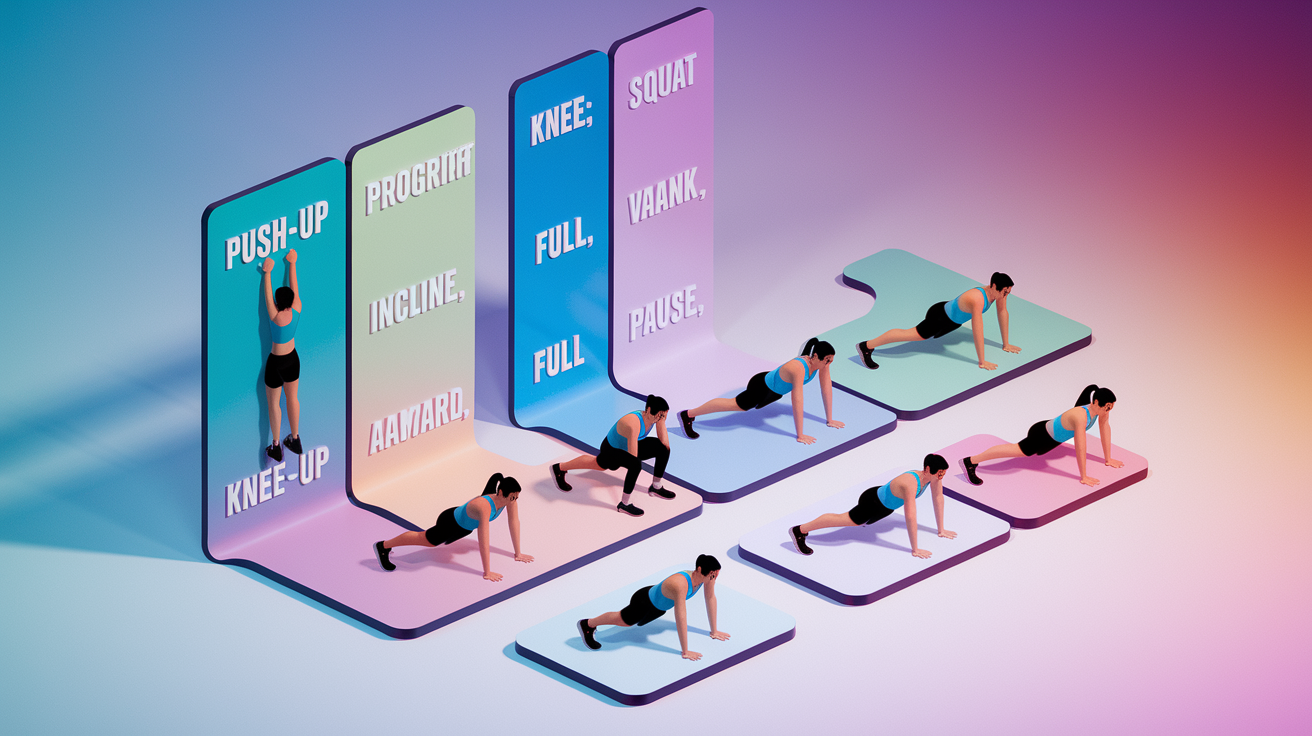
Push-Up Progressions
Push-ups work your chest, shoulders, triceps, and core all at once, but the full version from the floor can feel impossible at first. Start where you can do 8 to 10 reps with solid form and move to the next level when that feels manageable.
- Wall push-up – hands on a wall at chest height, step your feet back so your body is at an angle, bend your elbows and press back.
- Elevated push-up – same idea but hands on a kitchen counter, sturdy table, or the back of a couch. The lower the surface, the harder it gets.
- Knee push-up – hands on the floor, knees down, body straight from knees to shoulders. This cuts roughly half the load compared to a full push-up.
Squat Variations
Squats build your quads, glutes, and hamstrings. Most beginners can handle bodyweight squats right away, but depth and balance take practice.
- Assisted bodyweight squat – hold the edge of a counter or door frame for light support. Focus on sitting your hips back and keeping your chest up.
- Bodyweight squat – feet about shoulder width, toes slightly out, lower until your thighs are close to parallel, push through your whole foot to stand.
- Pause squat – add a two-second hold at the bottom to increase time under tension and build control.
Plank Options
Planks teach your core to resist movement, which helps with almost every other exercise. Fifteen seconds might not sound like much, but if you’re shaking by the end, it’s enough.
- Knee plank – forearms on the floor, knees down, body straight from knees to shoulders. Hold without letting your hips sag.
- Full plank – toes on the floor instead of knees. Keep your ribs stacked over your hips and breathe steadily.
- Side plank – one forearm down, feet stacked or staggered, body in a straight line from head to feet. This variation hits your obliques harder.
Safe and Effective No‑Equipment Training Techniques for Beginners

Good form protects your joints and makes each rep more effective. When you’re tired and your technique starts to slip, that’s the moment to stop and rest, not push through two more sloppy reps. Muscles grow during recovery, not during the set, so there’s no shame in hitting pause.
Here are the most common form mistakes beginners make and simple fixes for each:
- Knees caving in during squats or lunges – press your knees slightly outward so they track over your toes. Imagine spreading the floor apart with your feet.
- Hips sagging during planks or push-ups – squeeze your glutes and pull your belly button toward your spine. Your body should form a straight line, not a valley.
- Elbows flaring out too wide on push-ups – keep your elbows at roughly a 45-degree angle from your body instead of straight out to the sides. This protects your shoulders.
- Using momentum instead of control on rows – pull smoothly and squeeze your shoulder blades together at the top. Don’t jerk the weight up.
- Rushing through reps to finish faster – slow down and feel each muscle working. Two seconds down, one second up is a good default tempo.
- Holding your breath during hard exercises – breathe out during the hardest part of the movement (pushing up, standing up, pulling) and breathe in on the easier phase.
If something hurts in a sharp or pinching way, stop. Muscle burn is normal. Joint pain isn’t. Take an extra day off if you need it, and if pain persists, get it checked before you keep training.
Simple Progression Methods to Improve Your Beginner Bodyweight Plan
Progressive overload means doing slightly more over time. Without weights, you can’t just add another plate to the bar, but you’ve got plenty of other ways to make the workout harder. The key is picking one variable to change at a time and sticking with it for at least a week or two before layering in something else.
One of the simplest methods is adding reps. If you did 10 squats last session, aim for 11 this time. If you held a plank for 15 seconds, try 18 or 20. Small jumps add up fast over a month. Another option is decreasing rest between exercises. Start with 60 seconds between moves, then drop to 45, then 30 as your conditioning improves.
You can also increase time under tension by slowing down each rep. A three-second descent on a squat or push-up makes the muscles work harder even though the total reps stay the same. Finally, swap easier variations for harder ones. Move from knee push-ups to elevated push-ups, then to full push-ups from the floor.
| Method | How It Helps |
|---|---|
| Add 1–2 reps per exercise each week | Builds volume gradually without overwhelming your recovery |
| Decrease rest between exercises by 10–15 seconds | Improves conditioning and makes the session more metabolically demanding |
| Slow down the lowering phase to 3 seconds | Increases time under tension, which can drive muscle growth even at lower reps |
Pick one strategy and run with it for four to six weeks. Track your numbers in a notebook or your phone so you can see the progress week to week. When you can complete three full circuits of the routine without your form falling apart, you’re ready to level up.
Cool-Down and Post‑Workout Stretching for No‑Equipment Beginners

The cool-down is short and optional, but it brings your heart rate down gradually and gives you a few minutes to check in on how your body feels. Stretching after a workout, when your muscles are warm, is more effective than stretching cold and can reduce soreness over the next day or two.
Aim for four to five minutes of gentle stretching. Hold each position for 20 to 30 seconds and breathe slowly. No bouncing, no forcing anything. You should feel a mild pull, not pain.
- Standing quad stretch – stand on one leg, pull your opposite heel toward your glutes, keep your knees together and your hips neutral.
- Standing hamstring stretch – place one heel on a low step or curb, hinge forward from your hips until you feel a stretch down the back of your leg.
- Hip flexor stretch – step into a lunge position, lower your back knee to the floor (or hover just above), press your hips forward gently.
- Chest and shoulder stretch – clasp your hands behind your back and gently lift your arms, or place one hand on a doorframe and rotate your torso away.
If you’ve got extra time, add a child’s pose or a seated forward fold to stretch your lower back. If you’re tight on time, even two minutes of stretching beats none.
Weekly Scheduling for a Beginner No‑Equipment Workout Plan

Consistency matters more than perfection. Running this workout two to four times per week is enough to build strength and confidence without burning out. Your body needs roughly 48 hours to recover from a full body strength session, so avoid doing the circuit on back-to-back days.
A simple weekly pattern might look like strength training on Monday and Thursday, with walking, yoga, or light movement on Tuesday and Saturday, and full rest on Wednesday, Friday, and Sunday. If your schedule is unpredictable, aim for at least two sessions per week spaced a few days apart. Three is better if you can manage it.
Here’s a sample 7-day plan that balances training and recovery:
- Monday – 20-minute beginner bodyweight circuit (2–3 rounds)
- Tuesday – 20–30 minute walk, easy yoga, or stretching routine
- Wednesday – Rest or very light activity (household chores, casual stroll)
- Thursday – 20-minute beginner bodyweight circuit (2–3 rounds)
- Friday – Rest or gentle movement (foam rolling, mobility drills)
- Saturday – 20–30 minute walk, hike, or bike ride at an easy pace
- Sunday – Full rest day
Active recovery days help keep you moving without taxing your muscles. Walking, easy cycling, or a gentle yoga flow all count. Rest days mean actual rest. Sleep in, take it easy, let your body rebuild. That’s when the gains happen.
Four-Week Beginner Bodyweight Progression (No Equipment Needed)

Following the same routine for four to six weeks gives your body time to adapt and lets you track real improvements. Each week, aim to do slightly more than the week before. That might mean one extra rep, a few more seconds on your plank, or finishing three full circuits instead of two.
Week 1 – Focus on learning the movements and getting through two full circuits with good form. Rest as long as you need between exercises and between circuits. If 10 push-ups is too many, do 5 or 6 and build from there. The goal this week is finishing every session without feeling destroyed.
Week 2 – Complete two full circuits with slightly shorter rest periods. If you rested 60 seconds between exercises last week, try 50 this week. Add one extra rep to one or two exercises if it feels manageable. Track how each session feels in a notebook or your phone.
Week 3 – Push for three full circuits at least once this week. If that’s too much, stick with two circuits but add reps or slow down your tempo on squats and push-ups. This is the week where you start to notice that movements that felt hard two weeks ago now feel more controlled.
Week 4 – Complete three full circuits in all your sessions this week. Rest periods should be closer to 30–45 seconds between exercises if your conditioning has improved. By the end of this week, you should be able to finish the routine in under 20 minutes and feel strong doing it.
Here’s a quick summary of weekly targets to aim for:
- Week 1 – Complete 2 circuits, focus on form, rest as needed.
- Week 2 – Complete 2 circuits, reduce rest by 10 seconds, add 1 rep to 1–2 exercises.
- Week 3 – Attempt 3 circuits at least once, or add reps and slower tempo to 2 circuits.
- Week 4 – Complete 3 circuits every session, rest 30–45 seconds between exercises.
Cardio Options for a Beginner Workout Plan Without Equipment
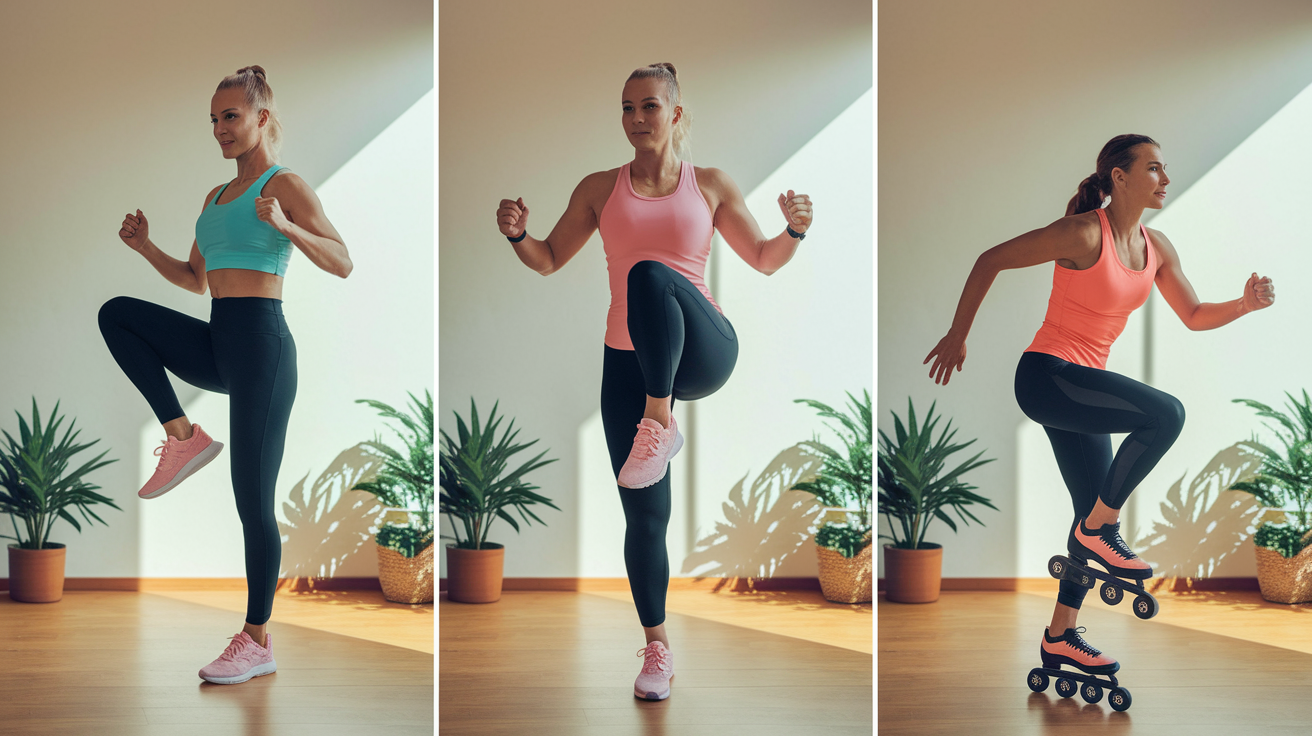
Cardio work can fit into your off days or be added to the end of a strength session if you’ve got the energy. You don’t need a treadmill or a bike. Bodyweight cardio moves like jumping jacks, mountain climbers, and speed skaters all get your heart rate up without any gear.
If high-impact moves bother your knees or you’re just not ready for jumping yet, low-impact alternatives work just as well. Walking jacks (step one foot out to the side and raise your arms, then step the other foot out) give you the same arm and leg coordination as jumping jacks without the pounding. High knees done at a marching pace instead of a sprint still elevate your heart rate. Step-ups on a low step or curb build your quads and get your breathing going without any jumping at all.
Here are four beginner-friendly cardio options you can do at home:
- Walking jacks – step side to side instead of jumping, raise your arms overhead with each step.
- Marching in place with high knees – lift your knees as high as comfortable, pump your arms, keep a steady rhythm.
- Mountain climbers at a controlled pace – start in a plank, drive one knee toward your chest, switch legs. No need to sprint through these at first.
- Speed skaters – hinge forward slightly, jump or step laterally from one leg to the other, let your opposite leg swing behind you.
Add 5 to 10 minutes of any of these moves on your active recovery days, or tack 30 to 60 seconds of one option between circuits during your strength sessions for an extra conditioning boost.
Tracking Progress and Staying Motivated with a No‑Equipment Beginner Routine

Progress happens in small steps, not giant leaps. Tracking your workouts keeps you honest and shows you patterns you might not notice otherwise. Write down how many circuits you completed, how many reps you hit on each exercise, and how long you held your plank. Note if something felt easier this week than last week, or if you were extra sore the next day.
You don’t need a fancy app. A simple notebook or a note on your phone works fine. Over four to six weeks, you’ll see numbers creep up, rest times shrink, and exercises that used to feel impossible start to feel manageable. That’s the real proof the plan is working.
Here are five simple ways to track progress beyond the scale:
- Log reps and hold times for each exercise – compare week to week and watch the numbers climb.
- Note your rest periods – shorter rest between exercises and circuits usually means better conditioning.
- Track soreness and recovery – if you’re less sore this week than you were two weeks ago doing the same workout, your body is adapting.
- Record how the workout felt – “felt strong today” or “struggled on push-ups” gives context that raw numbers don’t.
- Check form milestones – moving from knee push-ups to full push-ups, or holding a plank without shaking, counts as progress even if the reps stay the same.
Motivation comes and goes. Tracking keeps you moving on the days when motivation is low. When you can look back and see that you’ve added 10 reps to your squats over a month, it’s easier to lace up and do the next session.
Final Words
Start with the 20-minute circuit and the simple warm-up. Use the exercise breakdown and safety tips so your form stays solid and fatigue doesn’t lead to bad habits.
Follow the weekly schedule, use the four-week progression, add a cardio option on off days, and finish with the cool-down stretches. Track reps, holds, and how you feel to see steady gains.
Use this beginner workout plan without equipment as a repeatable routine—add one rep or a slightly harder variation each week and keep showing up. You’ll notice progress.
FAQ
Q: What is the complete 20-minute beginner circuit?
A: The complete 20-minute beginner circuit includes 10 walking lunges per leg, 10 rows with a milk jug or suitcase, 20 bodyweight squats, 10 push-ups, 15-second plank, and 30 jumping jacks; do 2–3 rounds.
Q: How should I warm up before the workout?
A: Warming up before the workout means 5–8 minutes of light movement like jogging or marching, plus arm and leg swings and torso twists to mobilize joints and lower injury risk.
Q: What are the rest intervals during the circuit and between rounds?
A: Rest intervals during the circuit are short: about 30–60 seconds between exercises if needed, and 1–2 minutes between rounds to recover while keeping the session near 20 minutes.
Q: How often should beginners do this routine and how much rest is needed?
A: Beginners should do this routine 2–4 times weekly, with roughly 48 hours between full-body strength days for recovery; use walking or yoga as light active recovery on off days.
Q: How do I progress this no-equipment plan safely?
A: Progress this plan safely by adding one rep per session, switching to harder variations, reducing rest, or slowing the tempo to increase time under tension—aim for steady gains over 4–6 weeks.
Q: What modifications are available for push-ups, squats, and planks?
A: Modifications for push-ups include wall, elevated, or knee push-ups; for squats use assisted or shallower squats; for planks try knee, full, or side planks and stop if form breaks.
Q: How can I do rows at home without equipment safely?
A: Doing rows at home without equipment means using a filled jug or suitcase, keeping your shoulders pulled back, core braced, and fingers clear of pinch points during doorway or improvised rows.
Q: What safety tips should beginners follow during no-equipment workouts?
A: Safety tips include stopping or resting when form breaks, avoiding training the same muscles on back-to-back days, keeping knees aligned in lunges, and pausing for sharp pain or dizziness.
Q: What cool-down and stretches should I do after the workout?
A: Cooling down after the workout means gentle mobility and light stretching; try hamstring, quad, chest opener, and child’s pose—hold briefly, breathe, and move smoothly to aid recovery.
Q: What cardio options work for beginners without equipment?
A: Cardio options without equipment include jumping jacks or lower-impact walking jacks, mountain climbers, speed skaters, brisk walking, or stair intervals—pick lower-impact choices if joints feel sensitive.
Q: How should I track progress and stay motivated with this routine?
A: Tracking progress means logging reps, rounds, plank time, soreness, and rest; celebrate small wins like one extra rep, set simple weekly goals, and check progress every 1–2 weeks.
