

What if long passive stretches are the reason your flexibility never lasts?
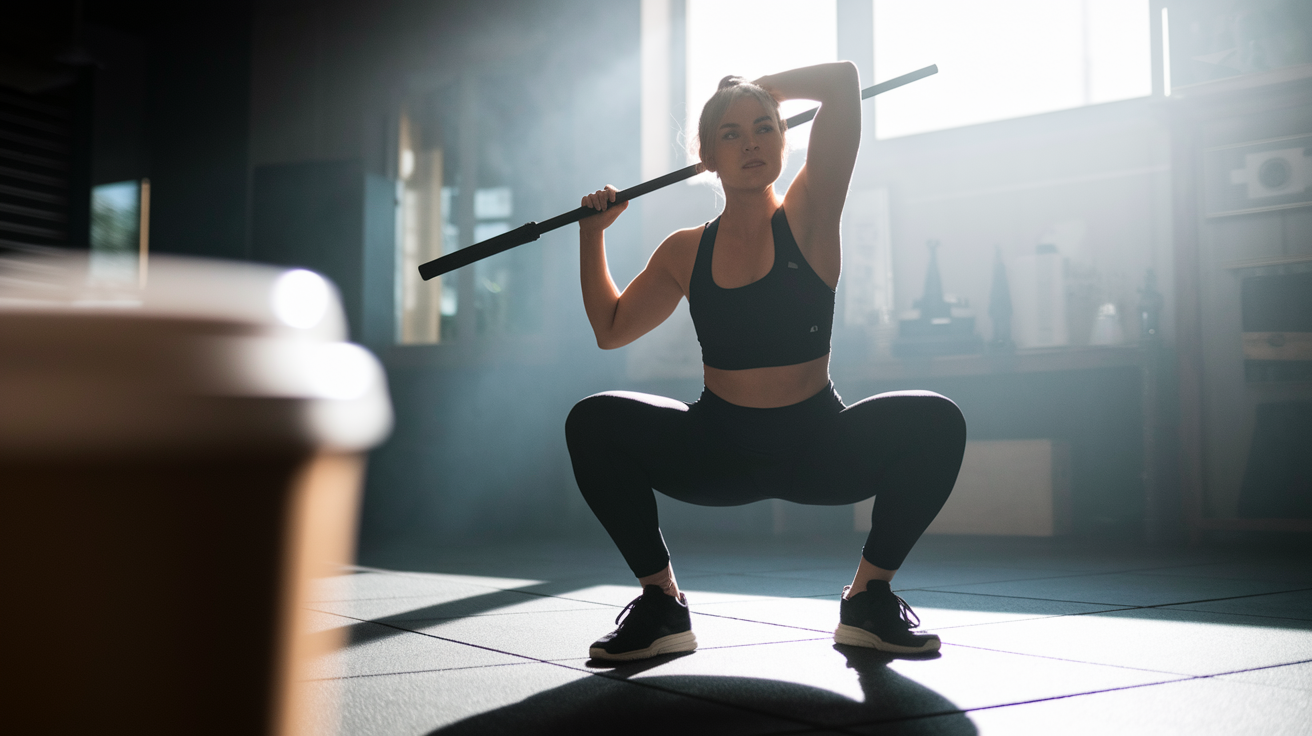
Stick Mobility trains active control with a lightweight stick so you don’t just feel more flexible, you can actually use it.
By combining leverage, gentle isometric tension (holding a muscle steady), and controlled movement, the method builds strength in end ranges and teaches your nervous system the new motion is safe.
That means quicker warm-ups, less stiffness from sitting, and flexibility that shows up when you lift, reach, or play.
Here’s why it works and easy drills you can try today.
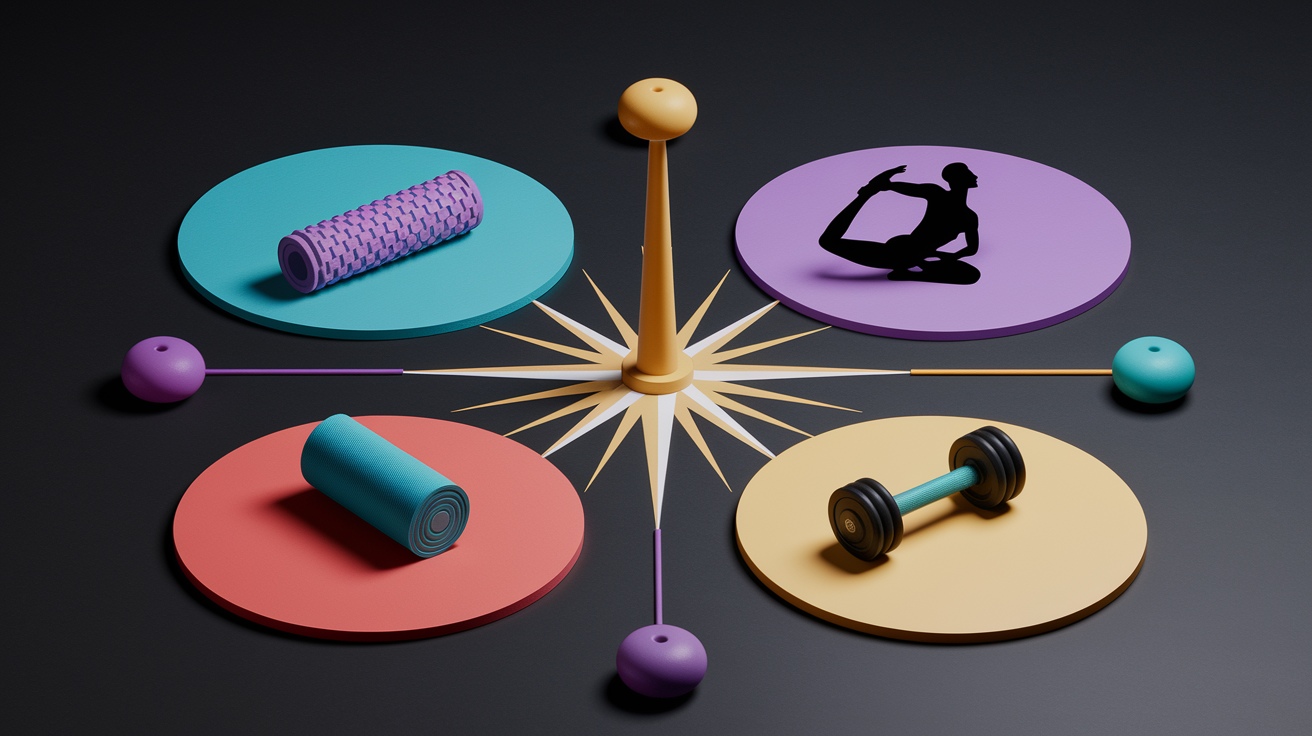
What Stick Mobility Is and Why People Use It

Stick Mobility is a training method that uses specialized lightweight sticks to help you move better, build strength in stretched positions, and expand your joint range without just passively holding stretches. The sticks give you leverage and feedback while you push, pull, and rotate through mobility drills. You’re not lying there hoping something loosens up. You’re actively creating tension and control at the same time.
The whole thing was built to merge mobility work with strength training in a way that actually lasts. Instead of holding a two minute stretch and crossing your fingers, you guide your joints through controlled ranges while keeping your muscles switched on. That combo helps your nervous system adapt quicker, so the flexibility you gain tends to stick around.
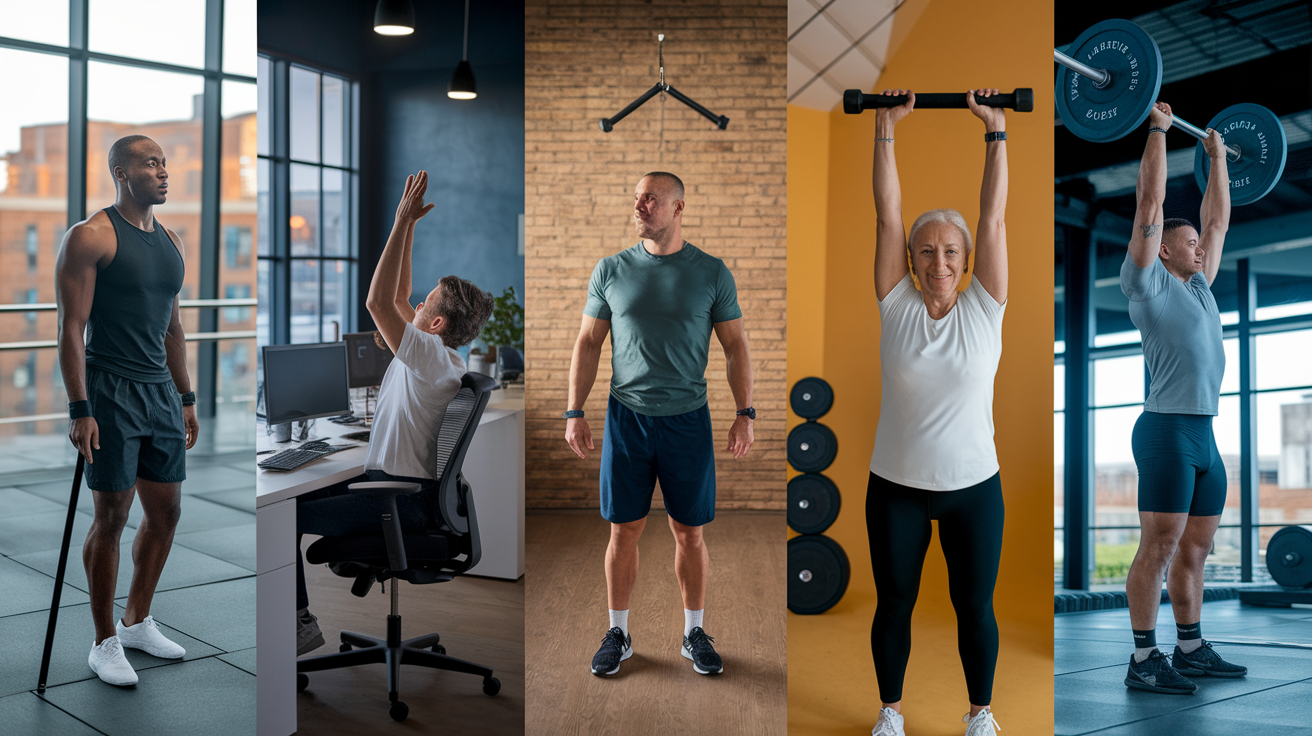
People use it for a few main reasons. They want to improve joint range without relying only on passive stretching. They’re looking to build strength in those end ranges where most of us feel weak or wobbly. Some are trying to shake off stiffness from sitting all day, lifting heavy, or doing the same movements over and over. Others use it to warm up faster before workouts or sports. It also helps with injury prevention by teaching better joint control and alignment. And honestly, it adds some variety to mobility routines that might’ve gotten boring or stopped working.
The stick gives you something real to push against, which makes it easier to stay focused and actually feel whether you’re creating the right tension. That feedback loop is why it works well for beginners who aren’t sure how hard to push or where to focus during mobility work.
How Stick Mobility Works
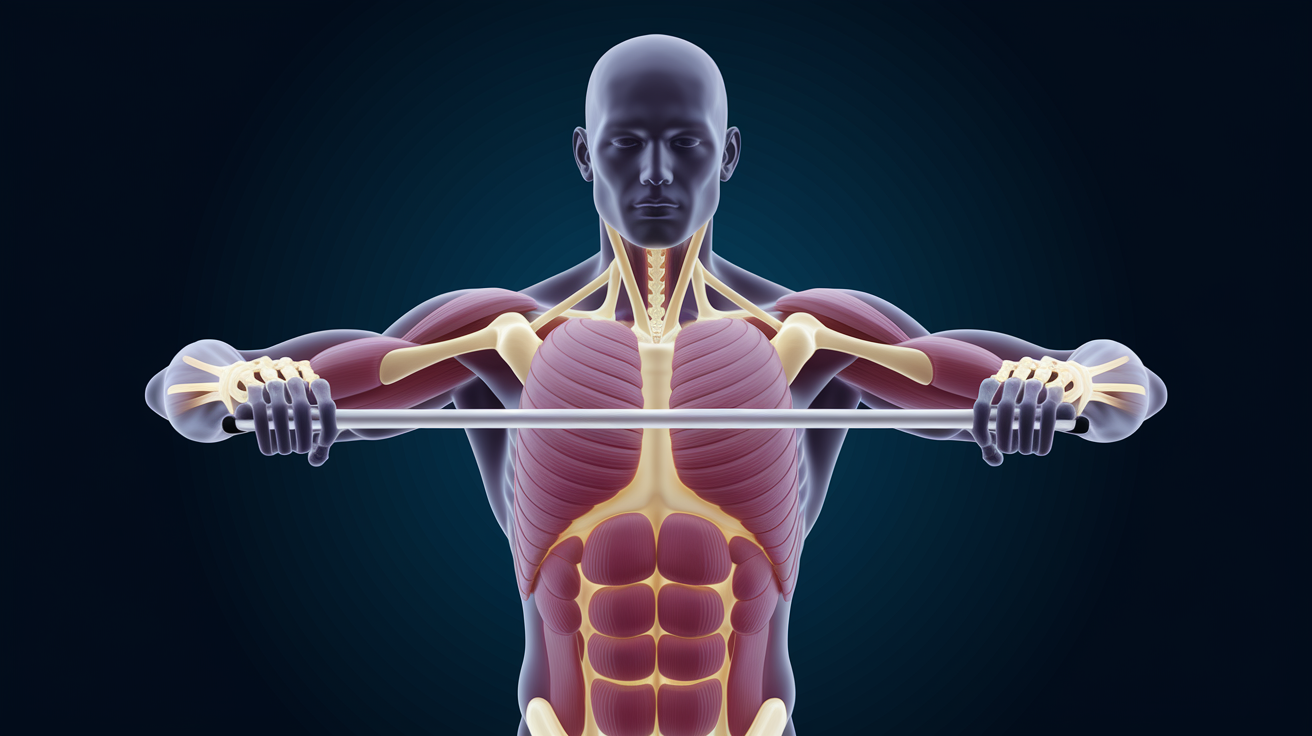
The system runs on three ideas: leverage, isometric tension, and controlled movement through full ranges. When you hold a stick with both hands and push one end away while pulling the other toward you, you create opposing forces that stabilize your joints and challenge your muscles in stretched positions. That’s different from letting gravity do all the work in a passive stretch.
Leverage matters because the stick extends your reach and gives you mechanical advantage. If you’re working on shoulder mobility, you can use it to gently pull your arm overhead without cranking on your wrist or forcing the joint. The stick spreads force across a longer surface, so movement feels smoother. You can dial tension up or down by changing your grip width or how hard you push.
Isometric tension keeps your muscles engaged while you move. Instead of relaxing into a stretch and waiting for tissues to release, you actively contract muscles around the joint to create stability. That teaches your nervous system the new range is safe and usable, not just a passive position you can’t control. Over time, that active control shows up during workouts, sports, or everyday stuff like reaching overhead or bending down.
Key Stick Mobility Exercises

The exercise library covers full body mobility, but a few core drills show up in most programs because they address stiffness patterns and movement restrictions that come up constantly. Each drill targets specific joints or movement planes while reinforcing tension and control.
Bow and Arrow – Stand with the stick held diagonally across your body, one hand high and one low. Push the top hand away and pull the bottom hand toward your hip to create a sidebody stretch running from your shoulder down to your opposite hip. Breathe into it and let your ribcage expand. This opens up lateral lines of tissue that get tight from sitting or one sided movements.
Rotational Bow Hinge – Hold the stick horizontally in front of you, then rotate your torso while pushing one end forward and pulling the other back. Your hips stay mostly square while your upper back twists. This targets thoracic rotation and feels especially useful if your mid back feels locked up from desk work or driving.
Overhead Distraction Flow – Grip the stick overhead with hands wider than shoulder width. Push it up and slightly back while keeping your ribcage down. Hold for 30 to 90 seconds, breathing slowly. This decompresses the shoulders and strengthens the muscles that stabilize your shoulder blades in overhead positions.
Hip CAR Style Flow – Lie on your back with one knee bent and the stick placed against the sole of that foot. Use the stick to guide your leg through a slow, controlled circle, keeping tension on it the entire time. This teaches your hip to move through its full range while staying centered in the socket.
Hamstring Floss with Active Leg Raise – Lie down and loop the stick under one foot. Straighten your leg toward the ceiling while pulling gently on the stick. Pause at the top, then slowly lower while maintaining tension. Do 6 to 12 reps per side. This builds hamstring flexibility and active control together.
Split Stance Series – Step into a lunge position and place the stick vertically in front of you for balance. Push down into it while you sink deeper into the lunge, then drive through your front foot to stand. This combines single leg strength with hip and ankle mobility, and the stick keeps you stable so you can focus on depth and alignment.
Wrist and Elbow Strengthening – Grip the stick with one hand and use the other hand to apply resistance as you rotate your wrist or bend and straighten your elbow. Move slowly and control both the push and the pull. This helps if you type a lot, throw, or swing a golf club.
Shoulder Mobility with Lat Stretch – Hold the stick behind your back with both hands. Lift it away from your body while keeping your chest open. You’ll feel a stretch through your lats and the front of your shoulders. Hold for 30 seconds or pulse gently for 8 to 12 reps.
Most routines cycle through four to six of these in a 10 to 15 minute session. You can use them as a warm up before lifting, a standalone mobility session, or a cool down after cardio. The key is consistent, controlled repetition rather than forcing big changes in one session.
Benefits of Stick Mobility Training
The biggest practical benefit is that you build usable range of motion instead of just flexibility you can’t access under load. Because the drills combine stretching with active muscle engagement, your body learns to control new ranges right away. That means the shoulder mobility you gain with the stick actually shows up when you press a barbell overhead or reach into the back seat of your car.
Another advantage is reduced stiffness without spending 30 minutes on a foam roller. A short daily flow of five or six drills can loosen up your hips, shoulders, and spine in the time it takes to make coffee. The stick gives you something to hold onto, so you stay focused and move with intention instead of zoning out or rushing through stretches.
It also fits well into strength training. You can use the drills to prepare specific joints for heavy lifts, work on weak points between sets, or recover actively on rest days. The system doesn’t replace lifting or conditioning, but it fills in gaps that most people ignore until something hurts or stops moving the way it used to.
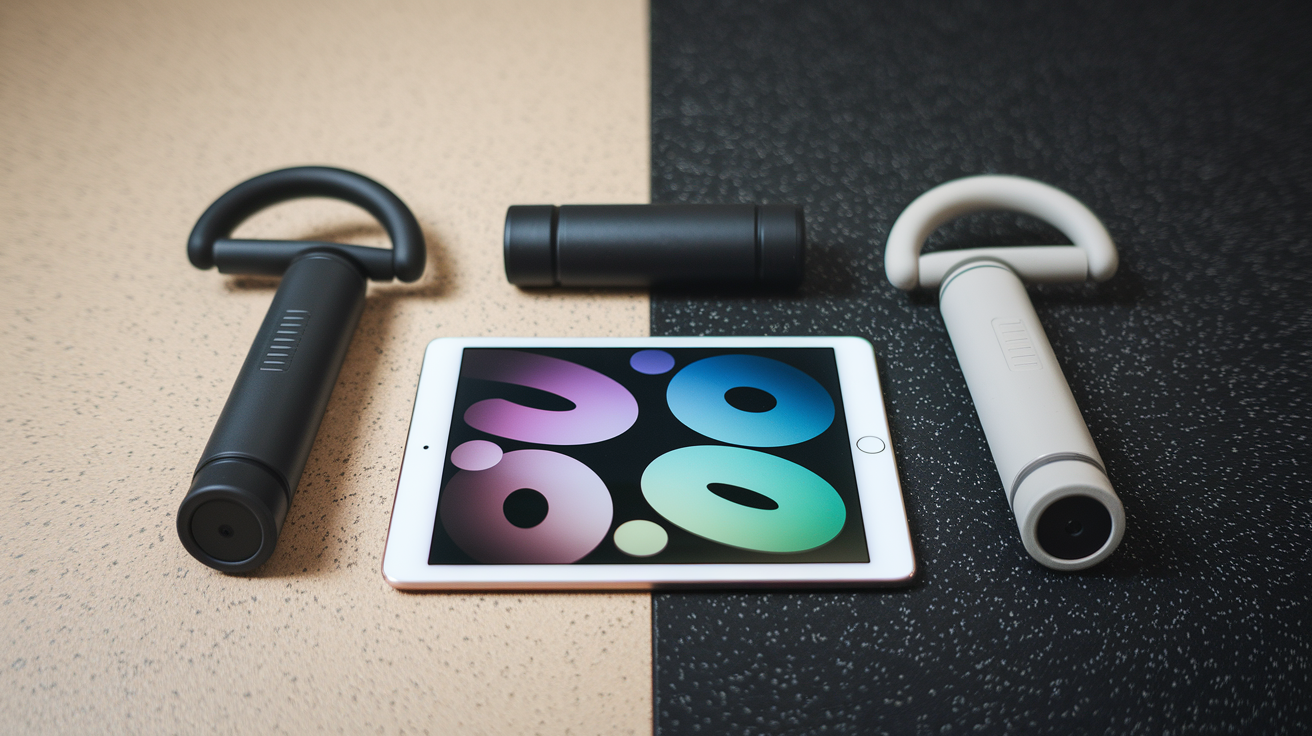
Stick Mobility Equipment Details

The sticks are made from a durable composite material that flexes slightly under tension but doesn’t bend or break during normal use. Most are around 5 feet long, which gives you enough leverage for overhead and full body movements without being awkward to store or travel with. The surface has a textured grip that stays secure even when your hands are sweaty.
Sizing depends on your height and the movements you plan to focus on. Taller users or people working on overhead mobility usually prefer the longer stick. Shorter sticks work well for wrist drills, ankle mobility, or travel. Some kits include two sticks so you can use them together for certain drills or share with a partner.
Key equipment features: flexible but strong composite construction that handles push and pull forces without snapping. Textured grip zones that prevent slipping during dynamic drills. Lightweight design, under 1.5 pounds, so you can hold positions without arm fatigue. Consistent diameter, around 1 to 1.5 inches, that fits comfortably in most hands. Minimal maintenance. No moving parts, batteries, or special care required.
You don’t need a lot of accessories. The stick, a bit of floor space, and a few minutes are enough to get started. Some people add a yoga mat for floor drills, but it’s optional.
Cost, Pricing Tiers, and Where to Buy
Original Stick Mobility equipment typically costs more than generic mobility sticks you’ll find on Amazon, but the difference is in durability and design. A single official stick usually runs between $50 and $120, depending on length and whether it’s part of a bundle. Starter kits that include two sticks and access to an online program library often fall in the $100 to $250 range.
Generic alternatives are cheaper, sometimes as low as $20 to $40 per stick, but they may not have the same flex, grip texture, or build quality. If you’re testing the system, a budget stick can work. If you plan to use it several times a week for months, the official version holds up better and feels more reliable during heavy tension drills.
| Option | Price Range |
|---|---|
| Single stick (official) | $50 – $120 |
| Starter kit (2 sticks + program access) | $100 – $250 |
| Generic/budget stick | $20 – $40 |
You can buy directly from the manufacturer’s website, through certified instructors who sell kits, or from fitness retailers that carry mobility tools. Check for seasonal promotions or bundle deals if you’re planning to add program access or certifications later.
Stick Mobility Training Programs and Classes
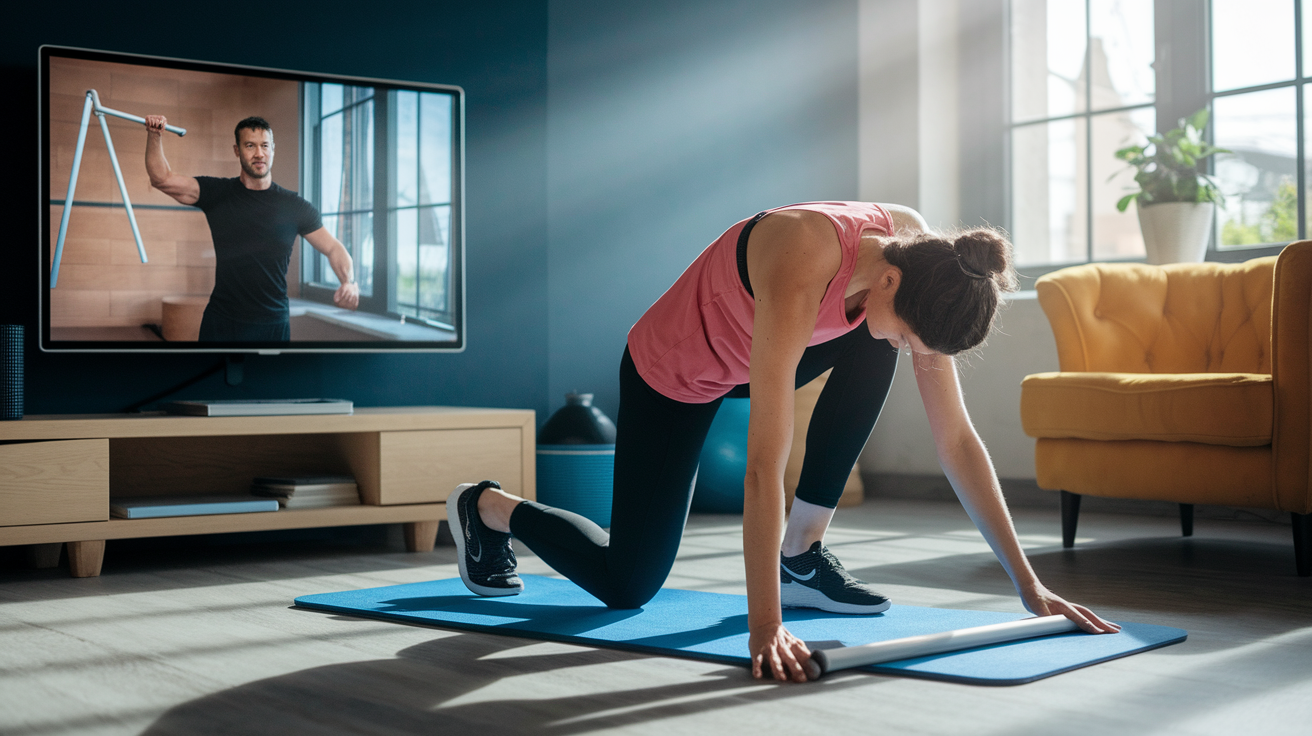
Most programs are delivered online through video libraries organized by focus area. Shoulders, hips, spine, full body flows, or sport specific prep. You follow along with an instructor who demonstrates each drill, explains the cues, and shows common mistakes. Sessions range from 5 minute quick flows to 30 minute deep dive routines.
Beginner programs usually start with four to six foundational drills done three times per week. You’ll spend the first two weeks learning the setup and breathing patterns, then gradually add more drills and increase the time you hold tension. By week four, most people can complete a 15 minute full body session without needing to pause the video.
Intermediate and advanced programs layer in tempo changes, longer isometric holds, and combination flows that link multiple drills together. Some programs are built around specific goals like improving squat depth, fixing shoulder pain, or preparing for a sport. Live classes, either in person or via video call, give you real time feedback and let you ask questions as you go. Monthly memberships for on demand video libraries typically cost $9 to $29, while one time workshop or certification courses range from $199 to $699 depending on depth and format.
Stick Mobility vs. Other Mobility Methods
Stick Mobility sits somewhere between active stretching, strength training, and traditional flexibility work. It’s not yoga, foam rolling, or resistance band training, but it borrows elements from each and packages them into short, structured sessions.
Yoga emphasizes flow, breath, and holding poses. Stick Mobility drills are shorter, more targeted, and focus on specific joint mechanics rather than full body sequences.
Foam rolling uses pressure to release tight tissues. Stick work uses leverage and active tension to improve joint range and control, not just tissue feel.
Static stretching relies on passive holds. Stick drills keep muscles engaged, which helps you build strength in the new range instead of just loosening up temporarily.
Resistance bands add elastic tension that changes as you stretch the band. Sticks provide rigid leverage that stays consistent, making it easier to control how much force you apply.
Dynamic stretching moves joints through range without load. Stick Mobility adds resistance and stability so you’re training the movement, not just rehearsing it.
Standard mobility drills like leg swings or arm circles work well for warm ups. Stick drills add structure and feedback, which makes them more effective for addressing specific restrictions.
You can combine methods. Use foam rolling to release tight spots, then follow with stick drills to teach your joints how to move better in those areas. Or warm up with dynamic stretches and finish with a short stick flow to lock in new ranges. The stick doesn’t replace everything else. It just gives you another tool that works well when you need active control and measurable progress.
Beginner Guidance and Common Mistakes

Start with just five drills and do them every other day for two weeks. Pick one shoulder drill, one hip drill, one spine drill, and two full body movements. Keep sessions short. 10 minutes is enough. Your goal is to learn the setups and breathing patterns before you worry about how deep you can stretch.
Grip tension is the most common mistake. Beginners squeeze the stick like they’re trying to crush it, which locks up their shoulders and makes it harder to move smoothly. Hold the stick firmly enough that it won’t slip, but keep your forearms and wrists relaxed. If your hands are cramping, you’re gripping too hard.
Forcing range too fast is another one. Move slowly and stop before pain. Let tension build gradually over 20 to 30 seconds, not 5 seconds. And don’t hold your breath. Breathe slowly and deeply during every drill. Exhale as you sink deeper into the stretch.
Skipping the setup is a quick way to mess up the whole drill. Take time to position your body and grip correctly before you start pushing or pulling. Sloppy setup leads to sloppy movement.
Doing too many drills at once doesn’t help. Stick to four to six drills per session. More doesn’t mean better when you’re learning.
If a drill feels sharp or pinches, back off and adjust your position. Mobility work should create stretch and tension, not joint pain.
Film yourself doing one or two drills and compare your form to the instructor demo. Small adjustments, like hand placement or how you angle your torso, make a big difference in how the drill feels and what it targets.
Testimonials and Real World Experiences
Most people who stick with the system for four to eight weeks report noticeable improvements in how their joints feel and move. Easier overhead reach, deeper squat positions, less lower back stiffness after long days, and better shoulder comfort during pressing movements come up a lot.
Athletes often mention that warm ups feel more effective and take less time. Instead of spending 20 minutes on a roller and random stretches, they run through a targeted stick flow and feel ready to train in 10 minutes. Desk workers report less mid back tightness and fewer tension headaches after adding a short morning or lunchtime routine.
People recovering from minor injuries or dealing with chronic stiffness tend to see the biggest subjective improvements. A shoulder that’s been tight for months might not heal overnight, but controlled daily movement with the stick helps restore confidence and range without needing to book physical therapy every week.
Common outcomes users report: improved overhead mobility within two to four weeks of consistent shoulder drills. Better squat depth after focusing on hip and ankle flows three to five times per week. Reduced lower back stiffness from daily spine rotation and decompression drills. Faster warm up readiness by replacing long static stretching with short active flows.
Results vary based on how often you practice, your starting mobility level, and whether you’re addressing old restrictions or just maintaining what you already have. The system works best when it’s part of a weekly routine, not something you try once and forget.
Certifications and Professional Use
Stick Mobility offers certification programs for coaches, trainers, and movement professionals who want to teach the system to clients or groups. The entry level certification usually covers foundational drills, cueing strategies, common mistakes, and how to scale exercises for different populations. It’s typically delivered as a one day in person workshop or a self paced online course that takes four to eight hours to complete.
Advanced certifications go deeper into programming, sport specific applications, and how to combine stick work with strength training or rehab protocols. Coaches who work with athletes, older adults, or people recovering from injuries find the system useful because it’s adaptable and doesn’t require a lot of equipment or space. You can run a group class in a small studio, gym corner, or even outdoors.
Certification costs range from $199 for basic online modules to $599 or more for multi day in person training. Many programs offer continuing education credits that count toward personal training or coaching recertification. Prerequisites are minimal. You don’t need an advanced degree or years of experience, just a willingness to learn the system and practice the drills yourself before teaching them.
Final Words
Pick up a flexible stick and move through a few controlled rotations, hip-openers, or hamstring stretches. That’s the practical core of what we covered, what stick mobility tools are, how leverage and tension work, key drills, equipment choices, pricing, programs, and safe beginner tips.
If you start with short, consistent sessions and focus on control, you’ll feel less stiffness and better movement in weeks. Stick mobility is simple to add to a busy week. Keep it small, keep it steady, and notice real progress.
FAQ
Q: Is Stick Mobility worth it?
A: Stick Mobility is worth it if you want clearer joint range, better movement control, and less stiffness using short, practical drills; it’s especially helpful for busy people, athletes, and anyone easing joint-tightness.
Q: How often should I do Stick Mobility exercises?
A: You should do Stick Mobility exercises 3–5 times per week for 10–20 minutes, with beginners starting at 2–3 short sessions and gradually increasing frequency as mobility and comfort improve.
Q: What is a mobility stick?
A: A mobility stick is a flexible training bar used as a leverage and tension tool to guide active stretches, joint mobilizations, and stability work, making controlled ranges and isometric holds easier and safer.
Q: What muscles does Stick Mobility target?
A: Stick Mobility targets whole-body movement patterns—mainly shoulders, hips, spine, hamstrings, glutes, and core—by engaging the muscles around joints to improve range, stability, and coordinated strength.
