

You don’t need a gym or heavy weights to get noticeably stronger.
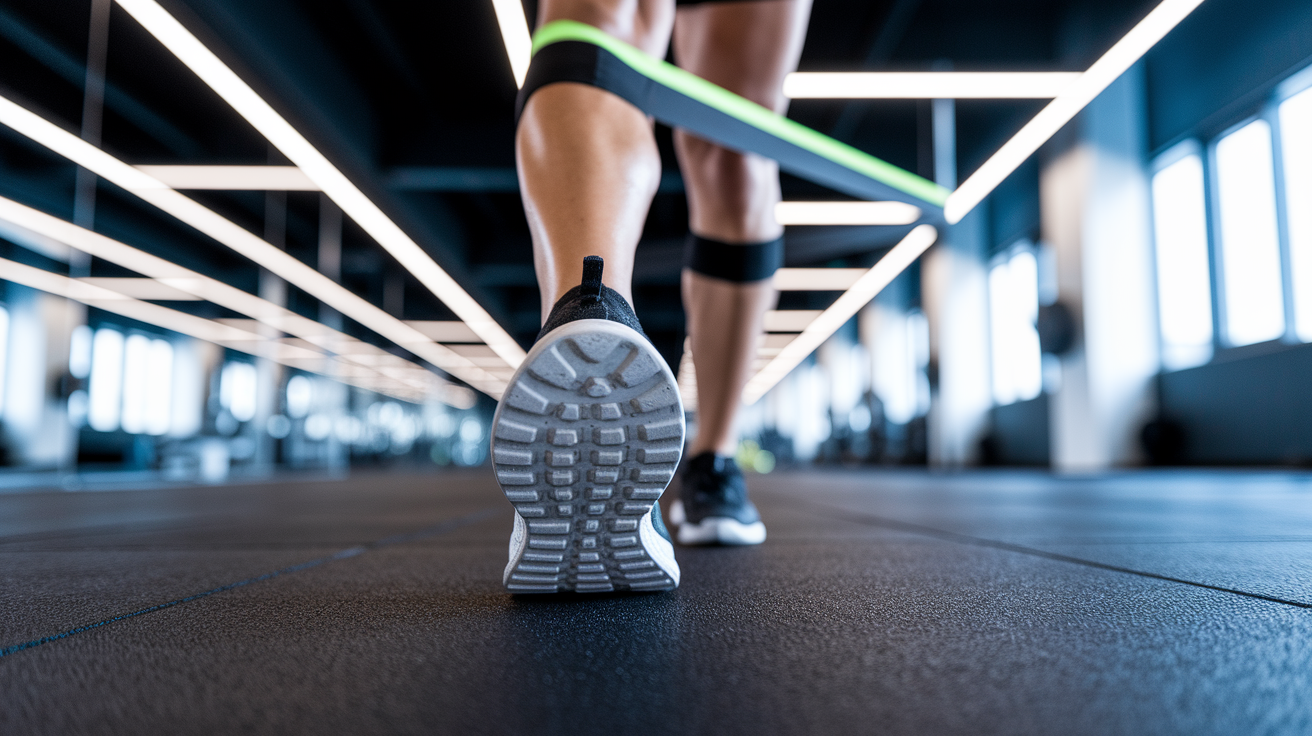
Resistance bands load your muscles through the whole move, so you build strength and stability without complex technique.
They’re cheap, portable, and kinder on tired joints, which makes them perfect for busy weeks or small spaces.
This post gives a simple quick-start routine, targeted upper, lower, and core moves, safety checks, and easy progression tips.
No fancy gear, no long commute, just a few bands and a plan you can use today.
Quick-Start Resistance Band Routine

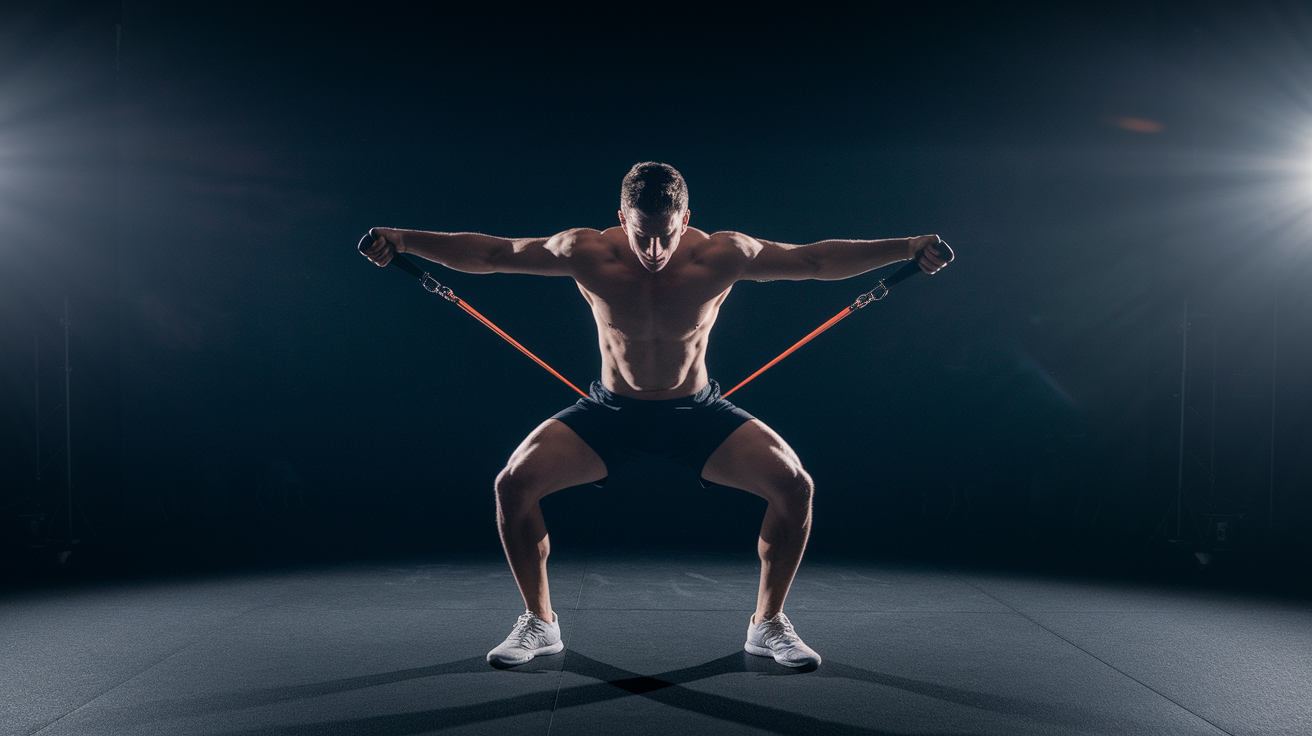
Resistance bands create tension through every inch of movement. Your muscles work harder from start to finish. That constant load builds strength and teaches your body to stay stable under resistance, making bands perfect for beginners who want results without learning complicated barbell technique.
Start here:
- Banded Squat – Stand on the band, hold handles at shoulders, squat until thighs are close to parallel, then stand. 8–10 reps.
- Bent-Over Row – Step on the band with both feet, hinge forward with a flat back, pull handles to your ribcage. 8–10 reps.
- Chest Press (Lying or Standing) – Wrap the band behind your upper back, press handles forward at chest height, return slowly. 8–10 reps.
- Glute Bridge – Lie on your back with the band above your knees, press your hips up while pushing knees apart. 10–12 reps.
- Biceps Curl – Stand on the band, curl handles toward shoulders with palms up, lower with control. 8–10 reps.
- Lateral Walk – Place a mini loop band above your knees, take small steps to one side, then back. 6–8 steps each direction.
Do this routine 2 to 3 times per week on non-consecutive days. Rest 30 to 45 seconds between exercises. As you get comfortable, add a second round through all six movements. Consistency beats intensity when you’re building the habit.
Upper Body Resistance Band Exercises

Bands let you train your shoulders, back, chest, and arms with the same tension principles as free weights. But they’re easier on your joints and safer to use when you’re tired. The resistance curve actually increases as you reach full extension, which means your muscles stay engaged at the top of each rep instead of coasting.
Here are six effective upper body movements:
- Single-Arm Overhead Press – Stand on the band with one foot, press one handle straight overhead while keeping your ribs stacked over your hips and core tight.
- Triceps Extension – Anchor the band overhead or hold one end behind your neck, extend your arm straight up, then lower slowly to stretch the triceps.
- Pull-Apart – Hold the band at chest height with both hands, pull your hands apart to the sides while squeezing your shoulder blades together.
- Bent-Over Row (Criss-Cross) – Stand on the band, cross the handles to form an X, hinge at your waist, and row both handles to your armpits.
- Chest Fly – Anchor the band behind you at shoulder height, step forward for tension, and bring both handles together in front of your chest with a slight bend in your elbows.
- Shoulder Lateral Raise – Step on the band, lift your arms straight out to the sides until they reach shoulder height, then lower with control.
Keep your shoulders down and away from your ears on every pressing and raising movement. If you feel your traps taking over, lighten the band or reset your posture.
Lower Body Resistance Band Exercises
Lower body band work activates smaller stabilizer muscles that barbells often miss, especially in the hips and glutes. Movements like lateral walks and single leg deadlifts teach balance and coordination while building functional strength that carries over to walking, climbing stairs, and staying steady on uneven ground.
Here are six lower body exercises to rotate through:
- Banded Squat – Stand on the band with feet shoulder width apart, hold handles at your shoulders, squat to roughly 90 degrees, and drive through your heels to stand.
- Monster Walk (Lateral Band Walk) – Loop a mini band above your knees, take a quarter squat stance, and step sideways 6 to 10 steps in each direction.
- Glute Bridge with Band – Lie on your back with a loop band above your knees, press your hips up while pushing your knees apart to activate your glutes.
- Kickstand Deadlift – Stand on the band with your working leg, hold handles at your sides, hinge at the hips while keeping your back flat, then return to standing.
- Split Squat – Place your front foot on the band, hold handles at your shoulders, lower your back knee toward the floor, then press back up through your front heel. 10–15 reps per leg.
- Leg Extension (Seated) – Sit in a chair, loop the band around one ankle and anchor the other end under the opposite foot, extend your knee straight, then lower slowly.
Focus on controlled tempo. The band wants to snap back, so resisting that pull on the way down is where a lot of strength gets built.
Core Resistance Band Exercises
Core training with bands adds rotational and anti-rotational challenge that crunches can’t touch. These movements teach your trunk to stay stable while your limbs move, which is how your core actually works in real life. Resisting rotation, transferring force, and keeping your spine safe under load.
Five core-focused band exercises:
- Wood Chop – Anchor the band high and to one side, pull it diagonally down across your body with straight arms, rotating from your torso.
- Pallof Press – Stand perpendicular to an anchored band at chest height, hold both handles at your sternum, press straight out in front of you, and resist the pull back.
- Seated Tuck-Up – Sit with the band looped around your mid-foot, hold the ends in your hands, lean back slightly, and pull your knees toward your chest.
- Hip Flexor-Resisted Crunch – Lie on your back with the band across your thighs, anchor it under your glutes, crunch your shoulders off the floor while the band resists hip flexion.
- Side-Plank Band Pull – Hold a side plank, anchor the band under your bottom hand, and pull the top handle up and across your body to add anti-rotation load.
Breathe out as you crunch, chop, or press. Keep the movement controlled and your lower back neutral. If your hips start shifting or your shoulders creep toward your ears, lighten the band.
How to Perform Each Resistance Band Movement Safely
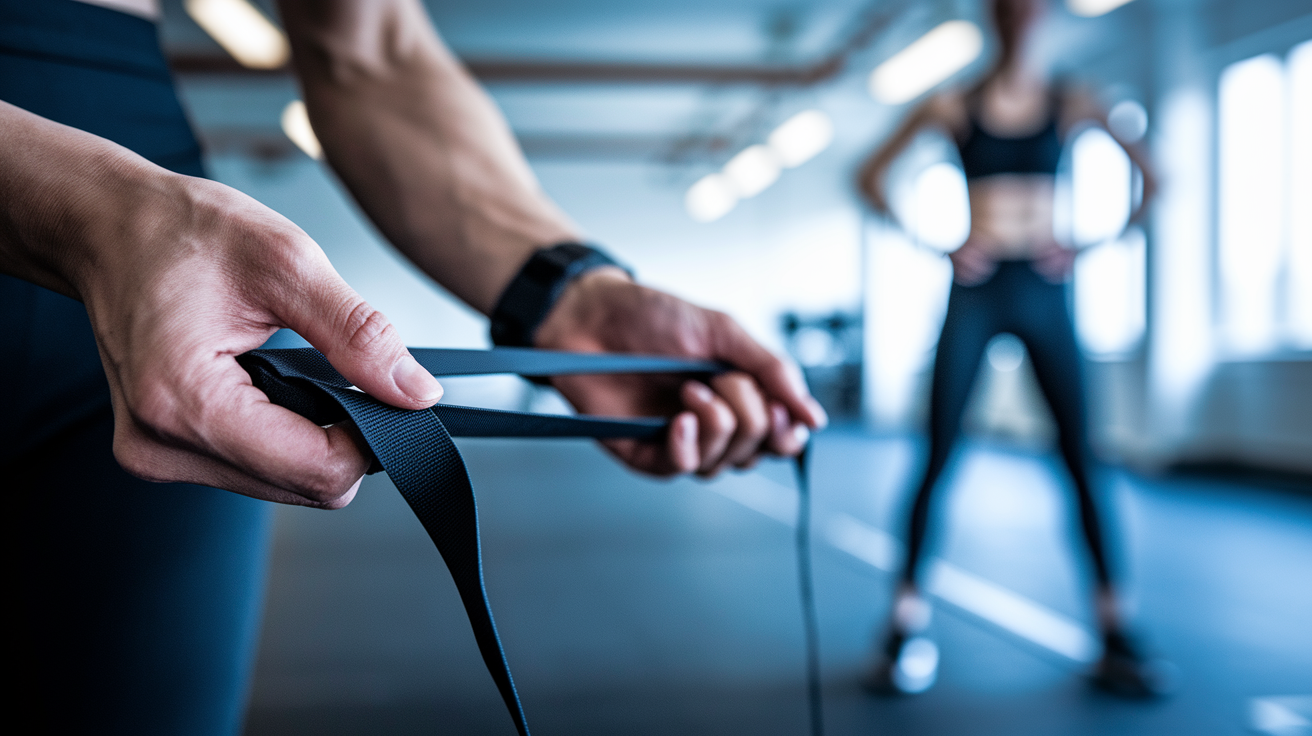
Slack in the band is wasted movement. Before you start any rep, step far enough away from the anchor point or shorten your grip so there’s already tension when your arms or legs are in the starting position. That pre-tension keeps your muscles engaged from the first inch of the lift and prevents the band from snapping back too fast.
Rounding your back is the most common mistake, especially on rows and deadlifts. Keep your chest lifted and ribcage stacked over your pelvis. If you can’t hold that position under tension, the band is too heavy or you’re standing too far from the anchor.
Common mistakes and how to fix them:
- Locking out joints at full extension – Keep a slight bend in your elbows and knees at the top of each movement to protect your joints and maintain tension.
- Letting the band control the eccentric – Resist the band on the way back to the start. That lowering phase builds as much strength as the lift.
- Shrugging shoulders toward ears – Drop your shoulder blades down and back, especially on presses, raises, and rows.
- Knees caving inward on squats or lunges – Press your knees outward, tracking over your toes, to protect your joints and activate your glutes.
- Using a worn or nicked band – Inspect your bands before every session. A small tear can turn into a snap mid-rep.
Progression Strategies for Resistance Band Training
Adding weight to a barbell is obvious. With bands, progression is about manipulating tension. This gives you more control and keeps your joints safer as you get stronger. The simplest method is switching to a thicker band or stepping further onto the current band to shorten the slack and increase resistance from the start of each rep.
Slowing down your tempo is another reliable lever. Try a 3 second lower on every squat, row, or press. That time under tension forces your muscles to work harder without needing a heavier band. You can also add a 2 second pause at peak contraction, hold the top of a biceps curl or glute bridge, to increase the challenge without changing equipment.
Four simple ways to progress:
- Move to a heavier resistance band – Trade your light band for a medium or heavy as exercises start to feel easy in the 12–15 rep range.
- Increase reps or add a set – Go from 2 sets of 10 to 3 sets of 12, or add a fourth working set once recovery allows.
- Switch to single limb variations – Single arm rows, single leg deadlifts, and unilateral presses demand more stability and double the work per side.
- Reduce rest intervals – Drop from 60 seconds between sets to 45 or 30 to increase conditioning and metabolic demand.
Choosing the Right Resistance Bands

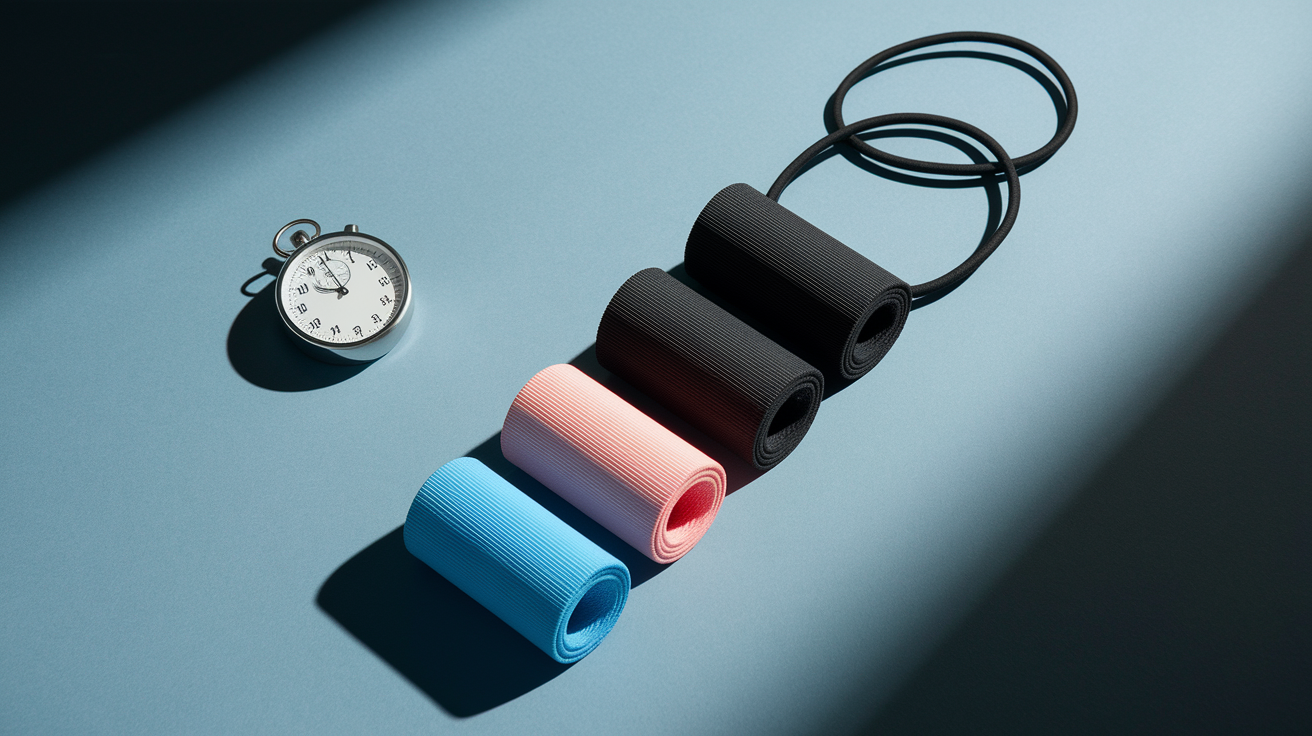
Bands come in a few distinct formats. Picking the right type depends on what movements you want to do and how much resistance you need. Loop bands and mini bands are continuous circles with no handles, which makes them versatile for lower body work and anchoring around furniture. Tube bands have handles and dense rubber tubing, making them easier to grip for upper body exercises like presses and curls.
Most people benefit from owning at least three resistance levels: light, medium, and heavy. Use lighter bands for small muscle work like biceps curls and shoulder raises, medium bands for rows and chest presses, and heavier bands for squats and deadlifts. If you’re not sure where to start, a set that includes all three covers most training scenarios.
| Band Type | Best Use | Difficulty Level |
|---|---|---|
| Sheet / Therapy Band | Rehabilitation, stretching, warm-ups | Very light to light |
| Mini Loop Band | Glute activation, lateral walks, lower body isolation | Light to medium |
| Long Loop Band | Full body exercises, anchor-based movements, pull-ups | Medium to heavy |
| Tube Band with Handles | Upper body pressing, curls, rows, comfortable grip work | Light to heavy |
Check your bands before every use. Run your fingers along the surface to feel for rough spots, nicks, or thin sections. A compromised band can snap mid-rep, and that’s not a situation you want to discover during a set of chest presses.
Full Sample Workouts for Specific Goals

Having a structure keeps you consistent. These three routines cover different goals and can be done 2 to 3 times per week depending on your schedule and recovery. Rest 45 to 60 seconds between exercises unless noted otherwise.
Strength-Focused Routine (3 sets each, 8–12 reps)
- Banded Front Squat – Stand on the band, hold handles at shoulders, squat to parallel.
- Bent-Over Row (Criss-Cross) – Hinge at hips, pull handles to ribcage, squeeze shoulder blades.
- Single-Arm Overhead Press – Press one handle overhead, alternate arms each set.
- Split Squat – Front foot on band, lower back knee toward floor, 10–12 reps per leg.
- Chest Press – Anchor band behind you, press forward at chest height.
Mobility and Stability Routine (2 sets each, 10–15 reps or 20–30 seconds hold)
- Banded Glute Bridge – Loop above knees, hold at the top for 20–30 seconds.
- Lateral Band Walk – Mini band above knees, 8 steps each direction.
- Pull-Apart – Stand, pull band apart at chest height, slow and controlled.
- Wood Chop – High to low diagonal pull, 12 reps per side.
- Kickstand Deadlift – Single leg hinge with band under front foot, 10 reps per leg.
Toning and Conditioning Routine (3 sets each, 12–15 reps, 30 seconds rest)
- Banded Squat – Handles at shoulders, full range squat.
- Triceps Extension – Overhead anchor or behind neck grip, extend arms fully.
- Lateral Shoulder Raise – Step on band, lift arms to shoulder height.
- Leg Extension (Seated) – Loop around ankle, extend knee, slow lower.
- Seated Tuck-Up – Band around mid-foot, pull knees to chest while leaning back slightly.
Final Words
You now have a quick-start routine, a set of upper, lower, and core resistance band exercises, safety cues, progression tips, gear guidance, and full sample workouts.
Start small: pick the mini workout, focus on form, and do it 2–4 times a week. If that feels like too much, try shorter sessions or fewer sets.
Use resistance band exercises consistently, and you’ll build strength, mobility, and confidence without fancy gear. Keep it simple, be patient, and enjoy the progress.
FAQ
Q: Do resistance band workouts actually work?
A: Resistance band workouts do work; bands provide constant tension through the full range of motion, build strength, mobility, and stability, and transfer to everyday movement when used progressively with good form.
Q: How do you strengthen your ankle with a resistance band?
A: You strengthen your ankle with a resistance band by doing controlled dorsiflexion, plantarflexion, inversion, and eversion against band tension, 2 to 3 sets of 10–15 reps, increasing resistance as tolerated.
Q: Can resistance bands help with osteoporosis?
A: Resistance bands can help with osteoporosis by providing progressive, weight-bearing-like loading that stimulates bone-strengthening when used regularly, alongside adequate calcium, vitamin D, and guidance from your healthcare provider.
Q: Is 20 minutes of resistance training a day enough?
A: Twenty minutes of resistance training a day can be enough to maintain or build strength if it’s focused, intense, and progressive; aim for full-body sessions 3–5 times weekly for best results.
