

What if the tiny slides in your wrist, foot, and spine do more work than your big joints?
Gliding joints are simple but vital: flat bone surfaces that shift a few millimeters to fine-tune position, spread load, and keep movement smooth.
In this post you’ll learn how those millimeter moves happen, what parts (cartilage, fluid, capsule, ligaments) make it possible, where gliding joints live, and what to do when they get stiff or sore.
Understanding them makes everyday tasks like lifting, gripping, and walking feel easier and safer.
Core Definition of the Gliding Joint

A gliding joint (sometimes called a plane joint or arthrodial joint) is a type of synovial joint where flat or almost flat bone surfaces slide past each other. The main movement is translation. Bones shift side to side or forward and backward instead of rotating or hinging. You’ll find these joints scattered throughout your skeleton, wherever small adjustments matter more than big sweeping motions.
Gliding joints are one of six synovial joint types. The others are ball-and-socket, hinge, pivot, condyloid, and saddle. What sets gliding joints apart is the flat articulation. When two smooth, nearly level bone surfaces meet, there’s no room for spinning or wide-angle tilting. Ligaments and a tight joint capsule hold the bones close and allow just enough sliding to fine-tune position, share load, and keep neighboring structures stable.
What makes a gliding joint different:
- Flat or slightly curved surfaces covered in smooth cartilage
- Motion measured in millimeters, not degrees
- Synovial fluid fills the space to cut down friction
- Tight capsule and ligaments limit how far bones can slide
- Often found in clusters (wrist, foot) where many small movements add up to something functional
How a Gliding Joint Functions and Moves

Inside each gliding joint, articular cartilage caps the bone ends. It creates a slick, durable surface that handles compression and sliding. Synovial fluid bathes these surfaces, working as both lubricant and nutrient delivery for the cartilage (which has no direct blood supply). When you shift your wrist or adjust your stance, the fluid spreads evenly across the joint. Friction drops to nearly zero, and impact gets cushioned.
The joint capsule is a fibrous sleeve that wraps the entire articulation. Its inner lining, the synovial membrane, produces the fluid and regulates joint chemistry. Ligaments reinforce the capsule from the outside. They anchor bone to bone and set firm boundaries on how far each surface can slide. Because the articular surfaces are flat, there’s no built-in pivot or socket to guide motion. Ligament tension does most of the work to prevent excessive translation or shearing.
Motion in a gliding joint typically ranges from one to a few millimeters. Sounds trivial, right? But when you have multiple gliding joints stacked together (like the eight carpal bones of your wrist), small slides add up. Each individual joint contributes a fraction of an inch. The system delivers functional range.
| Component | Function |
|---|---|
| Articular Cartilage | Smooth, compressible surface that reduces friction and absorbs load during sliding |
| Synovial Fluid | Lubricates joint surfaces, nourishes cartilage, and cushions against impact |
| Joint Capsule | Fibrous sleeve that encloses the joint space, stabilizes bone alignment, and houses the synovial membrane |
Anatomical Types and Locations of Gliding Joints
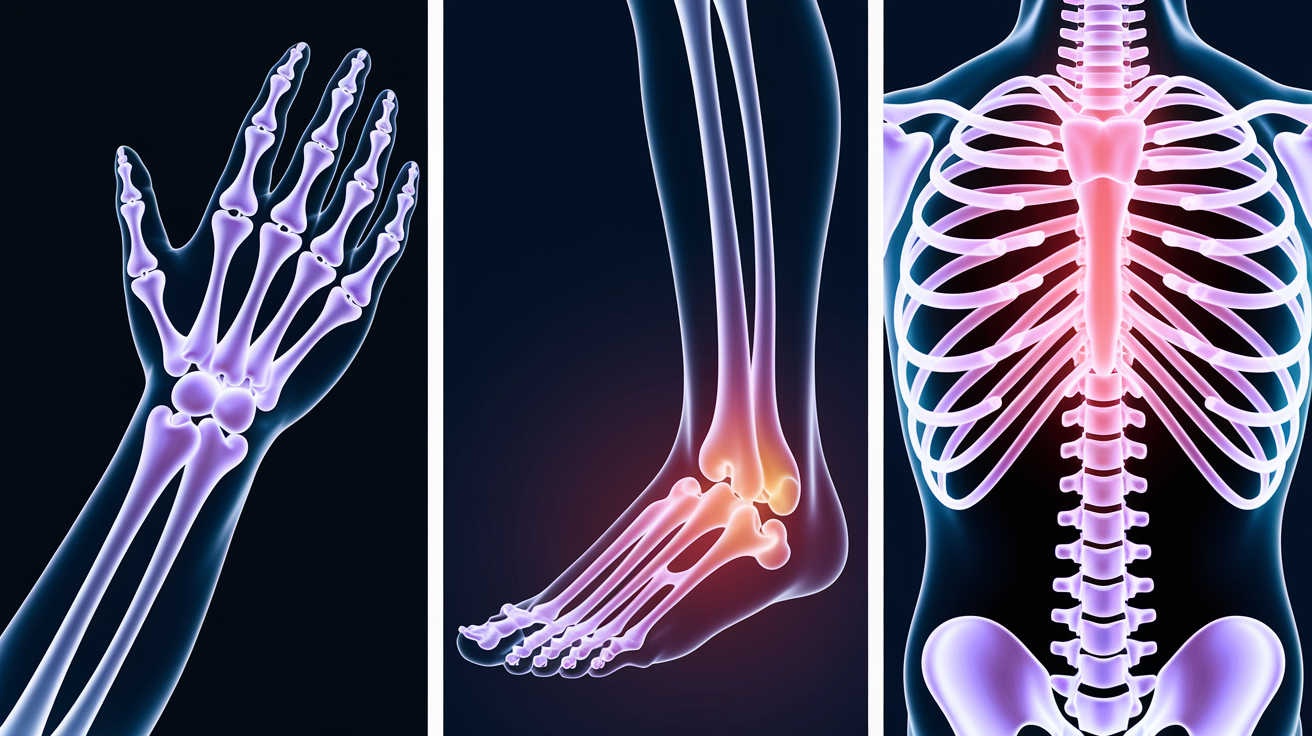
Gliding joints show up wherever your skeleton needs fine control and load sharing across multiple small articulations. The wrist, foot, and spine are prime examples. Each region uses stacks of gliding surfaces to blend stability with adaptability.
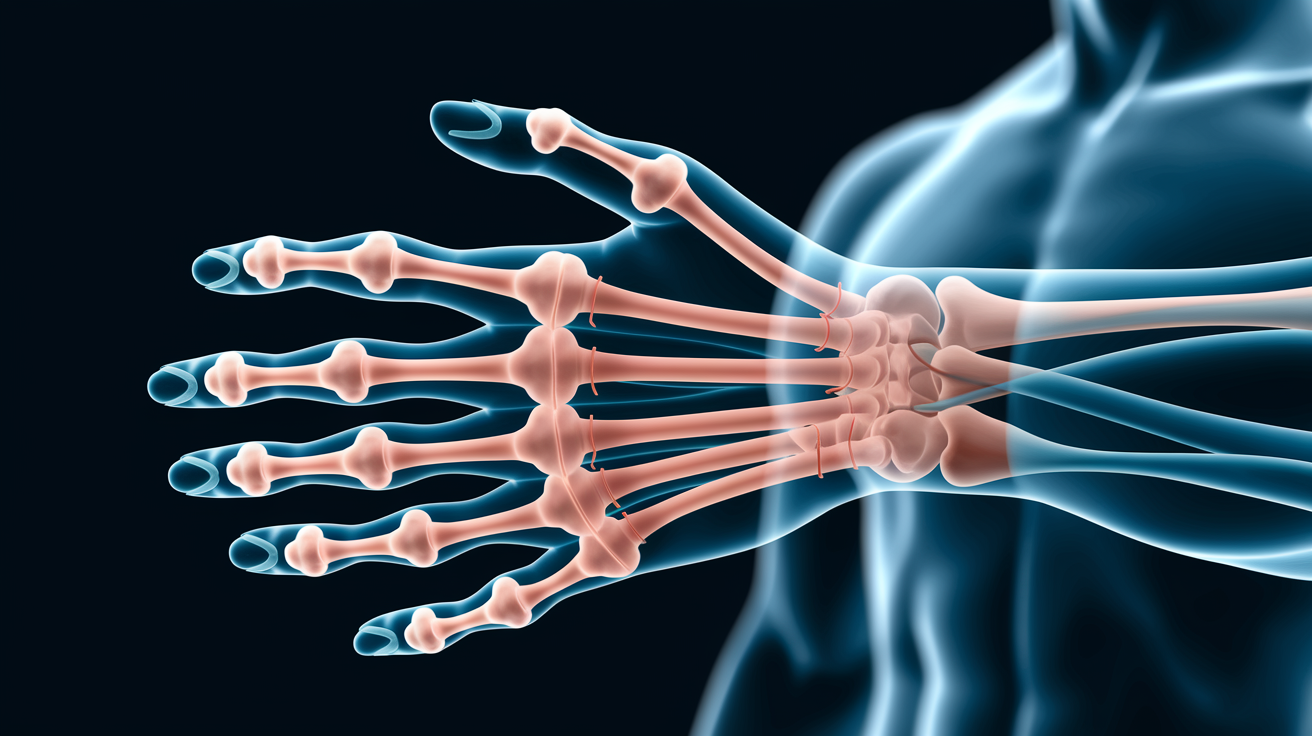
Wrist Gliding Joints
Your wrist contains eight carpal bones arranged in two rows. The proximal row (closer to your forearm) includes the scaphoid, lunate, triquetrum, and pisiform. The distal row (closer to your fingers) includes the trapezium, trapezoid, capitate, and hamate. Between these bones sit multiple intercarpal gliding joints that let the carpals shift relative to one another during wrist flexion, extension, and side bending. The carpometacarpal joints (where the distal carpals meet the bases of your metacarpal bones) also function as gliding joints, except for the first carpometacarpal joint at the base of your thumb. That one’s a saddle joint.
Foot Gliding Joints
The foot houses seven tarsal bones: the talus, calcaneus, navicular, cuboid, and three cuneiforms (medial, intermediate, and lateral). Intertarsal gliding joints between these bones let your midfoot and hindfoot adapt to uneven ground, absorb impact, and transfer load smoothly from heel to forefoot. The tarsometatarsal joints (where tarsals meet the metatarsal bases) also glide, providing another layer of fine adjustment. The subtalar joint (between the talus and calcaneus) is often classified as a gliding joint, though it permits a small degree of rotation alongside its primary sliding motion.
Spine Gliding Joints
Zygapophyseal joints (also called facet joints) connect the articular processes of adjacent vertebrae from your neck to your lower back. Each pair of facet joints guides and limits spinal motion. Superior gliding allows flexion, inferior gliding allows extension, and the flat orientation resists excessive rotation or side bending. These joints are critical for spinal stability, especially when you lift, twist, or hold a prolonged posture.
Main planes of articulation in common gliding joints:
- Intercarpal joints of the wrist (8 carpal bones, multiple gliding surfaces)
- Carpometacarpal joints (distal carpals to metacarpal bases, excluding thumb)
- Intertarsal joints of the foot (7 tarsal bones, multiple gliding surfaces)
- Tarsometatarsal joints (tarsals to metatarsal bases)
- Zygapophyseal joints (cervical, thoracic, and lumbar vertebrae)
- Acromioclavicular joint (acromion of the scapula to the lateral clavicle)
Range of Motion, Stability, and Limitations in Gliding Joints
Gliding joints prioritize stability over mobility. The flat articular surfaces don’t allow the wide arcs you get from a shoulder or hip. Instead, they permit just enough translation to adjust alignment, share load, and accommodate neighboring joint movements. Ligaments set strict limits on how far each bone can slide, preventing shear forces from damaging cartilage or capsule.
When you move your wrist through full flexion, the motion you see at your hand is the sum of tiny slides across multiple intercarpal and radiocarpal joints. Each individual gliding joint contributes a millimeter or two. The ligaments holding each joint decide exactly how much. This design distributes stress across many small surfaces rather than concentrating it on one large hinge. That’s why your wrist can handle repeated gripping and weight bearing without wearing out a single pivot.
Key limiting structures in gliding joints:
- Fibrous joint capsule (tight sleeve that encloses the articulation)
- Interosseous ligaments (short, strong bands between adjacent bones)
- Dorsal and palmar/plantar ligaments (reinforce capsule on top and bottom surfaces)
- Bone shape and surface congruency (flat surfaces naturally resist rotation and tilting)
Common Conditions and Injuries Affecting Gliding Joints
Gliding joints can develop osteoarthritis when cartilage wears thin from repetitive loading, age, or previous injury. In the spine, this is called facet arthropathy. Pain, stiffness, and sometimes nerve irritation when the zygapophyseal joints lose smooth gliding and bone spurs form. In the wrist, intercarpal arthritis can follow a scaphoid fracture or ligament injury. You’ll get aching and reduced grip strength.
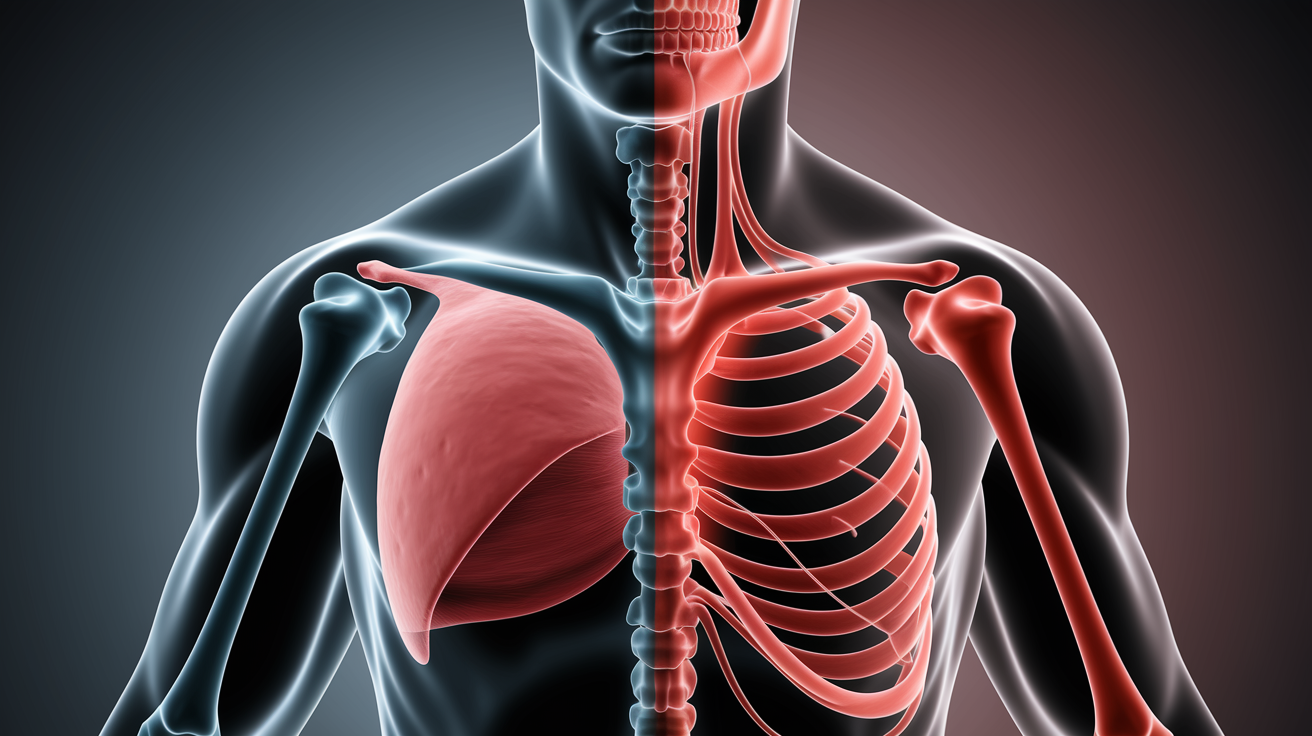
The acromioclavicular (AC) joint at the top of your shoulder is a common injury site, especially in contact sports or falls onto an outstretched arm. An AC joint sprain (often called a shoulder separation) occurs when ligaments tear and the clavicle lifts away from the acromion. Symptoms include localized pain, visible bump at the shoulder tip, and difficulty reaching across your body. Subtalar dysfunction (reduced gliding between the talus and calcaneus) can alter foot mechanics and contribute to chronic ankle instability or plantar pain.
Conservative management usually starts with rest, ice, and controlled movement to calm inflammation without letting the joint stiffen. Strengthening exercises for muscles around the joint restore stability. Manual therapy or joint mobilization can gently restore sliding motion. If degeneration is advanced or ligament damage is severe, imaging and specialist referral help guide next steps.
| Condition | Typical Symptom | Common Management Approach |
|---|---|---|
| Facet Arthropathy (spine) | Localized back or neck pain, stiffness, pain with extension or rotation | Strengthening core and paraspinal muscles, manual therapy, heat, anti-inflammatory medication if needed |
| AC Joint Sprain | Shoulder-top pain, visible bump, pain reaching across body | Sling for comfort (brief use), ice, progressive shoulder strengthening, return to activity when stable |
| Intercarpal Arthritis (wrist) | Wrist ache, reduced grip strength, crepitus (grinding sensation) | Wrist-strengthening exercises, ergonomic modifications, splinting during flare-ups, occasional corticosteroid injection |
Common clinical presentations in gliding joint injuries:
- Localized pain over the joint line (not diffuse or radiating)
- Reduced sliding motion or feeling of stiffness
- Crepitus (grinding or popping) during movement
- Swelling or warmth if inflammation is present
- Compensatory movement patterns (body avoids using the painful joint)
Diagnostic Imaging and Evaluation of Gliding Joints

Plain radiographs (X-rays) are the first line imaging for suspected gliding joint problems. They show joint space narrowing, bone spurs (osteophytes), alignment shifts, and fractures. For the wrist, targeted carpal views reveal scaphoid fractures or intercarpal gaps. For the spine, flexion/extension X-rays can show excessive gliding (instability) at facet joints.
MRI provides detailed images of soft tissue: cartilage, synovial membrane, ligaments, and joint fluid. If a wrist injury shows normal X-rays but pain persists, MRI can reveal cartilage thinning, ligament tears, or synovitis (inflammation of the synovial lining). For the AC joint, MRI clarifies the grade of ligament damage and whether the coracoclavicular ligaments are intact. Ultrasound is useful for superficial joints like the AC joint, where a trained operator can assess ligament integrity, fluid accumulation, and real-time movement patterns without radiation.
What each imaging modality reveals best:
- X-ray: Bone alignment, joint space width, fractures, osteophytes, and calcification
- MRI: Cartilage condition, ligament tears, synovial inflammation, bone marrow edema (early sign of stress or injury)
- Ultrasound: Superficial ligament integrity, synovial fluid volume, real-time dynamic assessment of gliding motion
Movement, Exercise, and Joint Health Relevance of Gliding Joints
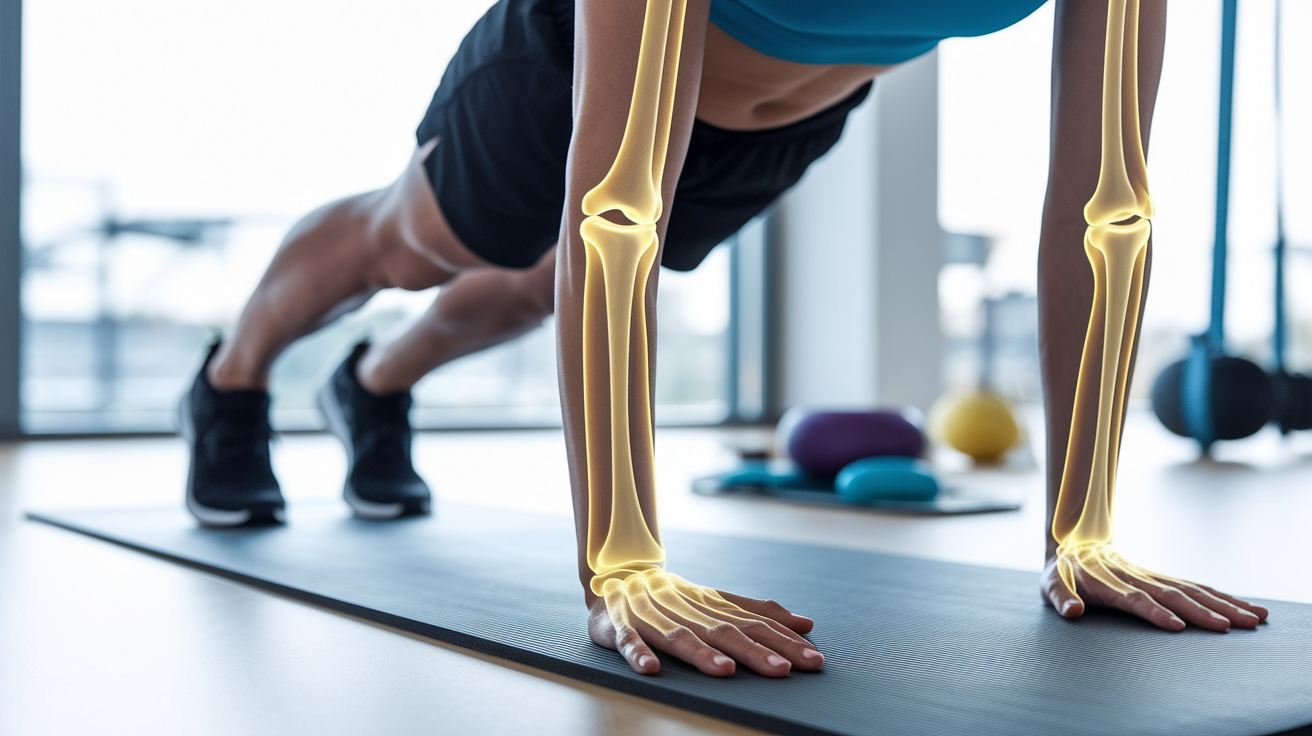
Keeping gliding joints healthy means balancing load, maintaining range, and strengthening the muscles that stabilize them. For the wrist, that means grip work, wrist curls, and exercises that challenge forearm stability (like plank holds or farmer carries). For the foot, single leg balance drills, calf raises, and toe spread exercises keep the intertarsal and tarsometatarsal joints moving smoothly and the intrinsic foot muscles engaged.
Zygapophyseal joints benefit from core strengthening (planks, dead bugs, bird dogs) and exercises that train spinal stability under load (goblet squats, overhead presses with controlled torso position). Avoid locking into one posture for hours. Even small position shifts let synovial fluid circulate and prevent stiffness. Ergonomic adjustments (like wrist rests at a keyboard, supportive footwear, or a standing desk rotation) reduce repetitive strain on small gliding joints that handle thousands of micro-adjustments each day.
If you’ve had an AC joint sprain or wrist injury, controlled mobility work (gentle circles, wall slides, band pulls) restores gliding without overloading healing tissue. Progress to light resistance and then functional patterns (pushing, pulling, carrying) as pain settles and strength returns. The goal is smooth, pain-free sliding across the full available range. Not pushing into sharp pain or compensating with other joints.
Six exercises and habits that promote gliding joint health:
- Wrist circles and flexion/extension stretches (maintain intercarpal mobility)
- Grip strength training with a hand gripper or therapy putty (stabilizes wrist and finger joints)
- Single leg balance on varied surfaces (challenges foot gliding joints and intrinsic stability)
- Core stability exercises like planks and dead bugs (support zygapophyseal joint alignment)
- Regular posture breaks and position changes (prevent prolonged static load on facet joints)
- Ergonomic workspace setup (reduces repetitive micro-stress on wrist and shoulder gliding joints)
Final Words
Start with the simple action: a gliding joint lets flat surfaces slide against each other, using cartilage, synovial fluid, and tight ligaments to control small translations in the wrist, foot, and spine.
We covered how they move, where they sit in the body, what limits their motion, common problems and imaging choices, plus practical exercises and ergonomic tips.
Pick one easy habit, a short strength move or daily mobility set, and repeat it most days. Supporting each gliding joint with simple strength, mobility, and smart ergonomics keeps you moving with less pain and more confidence.
FAQ
Q: What is a gliding joint, is gliding a type of joint, what is another name for it, and can you give an example?
A: A gliding joint is a type of synovial joint, also called a plane or arthrodial joint, with flat articular surfaces that slide slightly; for example, the acromioclavicular joint.
Q: Where do we have gliding joints?
A: Gliding joints are found in the wrist (intercarpal), foot (intertarsal), acromioclavicular joint, and spinal zygapophyseal (facet) joints, enabling small sliding for fine movement and load sharing.
