

What if the right kind of movement actually lowers joint pain more than sitting still?
If your joints feel sore, stiff, or fragile, avoiding motion usually makes things worse.
A short, gentle mobility routine moves joints through safe ranges, boosts joint “oil” (synovial fluid), and eases stiffness without pushing into pain.
This post shows a simple 5-minute routine with easy options so you can protect sensitive joints and feel steadier in daily tasks.
Understanding Joint Sensitivity and What a Gentle Mobility Routine Fixes
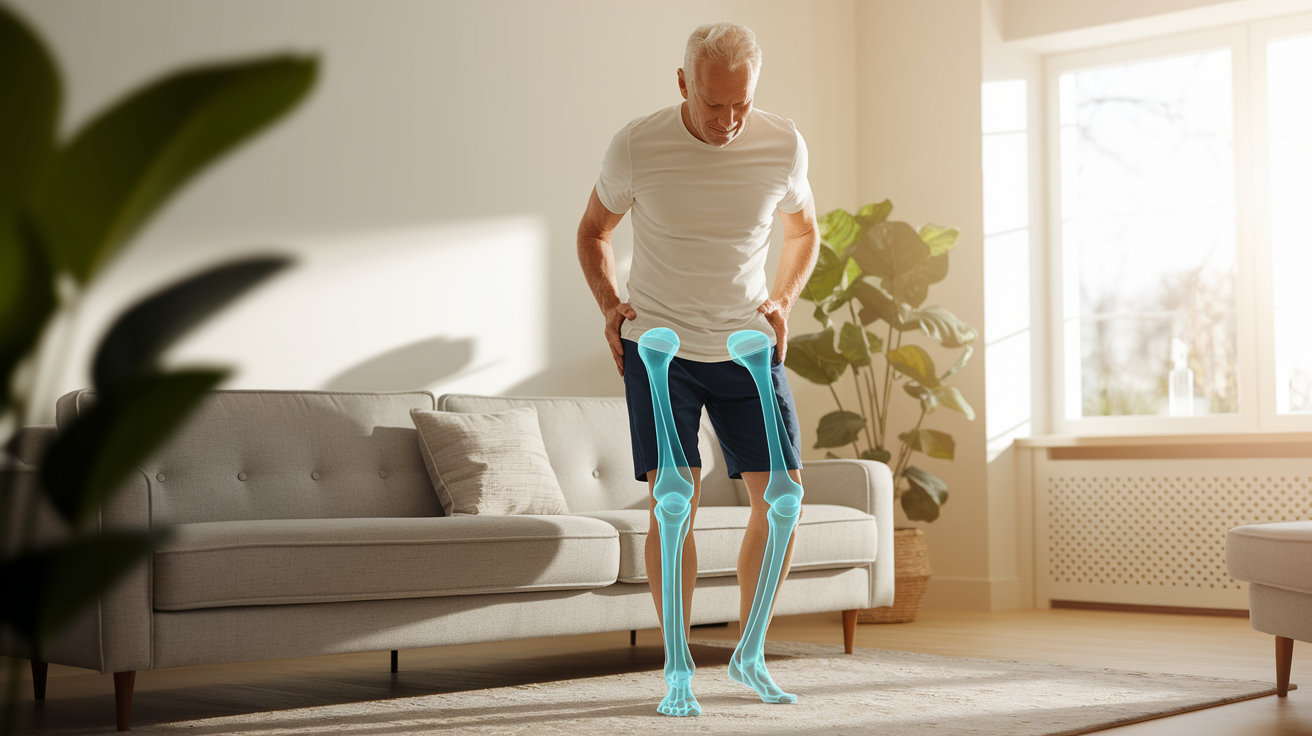
Joint sensitivity shows up as aching, stiffness, or limited range of motion that makes everyday tasks uncomfortable. You might notice it after sitting too long, first thing in the morning, or during movements that used to feel easy. The usual suspects? Arthritis, chronic pain conditions, post-injury healing, or just the natural wear that comes with age. When joints feel irritated or unstable, your body’s instinct is to guard them by moving less. But that strategy backfires. Less movement leads to more stiffness, which leads to even less movement.
A gentle mobility routine breaks that cycle. It moves joints through their natural ranges in a controlled, low-impact way. The goal isn’t stretching muscles to their limit or pushing through discomfort. You’re coaxing joints to move smoothly and regularly so they stay lubricated with synovial fluid, your body’s natural joint oil. Research-backed approaches often work from the spine outward, addressing the center of your body first and then moving toward the shoulders, hips, and smaller joints. These routines are short. Many take about 5 minutes and involve holding each position for 30 to 60 seconds.
If you’re dealing with sensitive joints, a gentle mobility routine helps reduce:
- Morning stiffness that makes it hard to get out of bed or walk normally
- Pain during weight-bearing activities like stairs or standing up from a chair
- Limited shoulder or hip range that makes reaching or bending awkward
- Balance issues caused by stiff ankles or weak stabilizer muscles
- Compensatory tension in the neck, lower back, or other areas that guard sore joints
The routine in this guide follows principles used by NASM-certified trainers with graduate education in strength and conditioning, working with real clients since 2018. It’s built to protect irritated tissues while keeping you functional and confident in your body.
Why Joint Sensitivity Occurs and How It Reduces Movement Comfort

Joint sensitivity usually begins when inflammation, injury, or wear changes the structure or chemistry of a joint. Arthritis is one of the most common triggers. Both osteoarthritis from cartilage breakdown and rheumatoid arthritis from immune activity can cause it. Chronic pain conditions like fibromyalgia can amplify how intensely you feel joint discomfort, even if the joint tissue itself isn’t severely damaged. Post-injury tension adds another layer. Scar tissue, guarding patterns, and reduced range all contribute to stiffness that lingers long after the initial injury heals. Then there’s age-related changes in tendons, ligaments, and the synovial fluid itself. Joints feel creakier and less forgiving than they used to.
When a joint feels irritated, aggressive stretching makes things worse. Forcing a stiff shoulder into a deep stretch or pushing a sore knee through a full squat can spike inflammation and increase guarding. Slow, controlled mobility is the safer path. Warm joints move synovial fluid more effectively. Gradual movement helps tissues adapt without triggering a defensive response.
The main contributors to joint sensitivity include:
- Inflammation that swells tissues and makes movement painful
- Stiffness from inactivity or guarding that reduces synovial fluid circulation
- Deconditioning of stabilizer muscles that support the joint under load
- Compensatory movement patterns that overload one joint to protect another
Building a Gentle Mobility Routine: Safe Warm-Up Strategies for Sensitive Joints
A warm-up prepares joints for movement by increasing circulation and signaling to your nervous system that it’s safe to move. For sensitive joints, a few minutes of light activity makes a real difference in how comfortable the routine feels. Gentle marching in place, easy shoulder rolls, or slow arm circles all work. You’re trying to raise your body temperature slightly and move blood into the muscles and connective tissues around the joints you’re about to mobilize. Breath coordination matters too. Steady, deliberate breathing keeps your nervous system calm and prevents the breath-holding that often happens when movement feels uncertain.
If you’re coming to the routine from a completely still position (first thing in the morning or after hours at a desk), spend at least one to three minutes warming up. Walk around the room, roll your shoulders a few times, or do a few slow knee lifts. That small investment makes the mobility work feel easier and safer.
Five warm-up options:
- Marching in place for 60 to 90 seconds with arms swinging naturally
- Shoulder rolls forward and backward, 10 reps each direction
- Gentle torso twists while standing, feet hip-width apart
- Slow ankle circles while seated or holding a chair for support
- Arm circles at shoulder height, starting small and gradually widening
| Warm-Up Type | Duration | Intensity |
|---|---|---|
| Light marching or walking | 1–2 minutes | Easy pace, conversational breathing |
| Shoulder and arm circles | 30–60 seconds | Controlled, pain-free range |
| Seated ankle and wrist circles | 1 minute total | Slow rotations, both directions |
Spine and Upper-Body Mobility: Gentle Moves That Protect Sensitive Joints

Wall-Supported Cat-Cow
Wall-supported cat-cow mobilizes each vertebra in your spine without requiring you to get down on the floor or bear weight through your wrists. It’s especially helpful for mid-back tightness and lower-back stiffness that feels worse after sitting or sleeping. The wall provides feedback and support, making it easier to feel the movement and control the range.
Stand about a foot from a wall, feet shoulder-width apart, knees slightly bent. Place your hands on your thighs and rest your back lightly against the wall in a gentle half-squat position. Exhale as you tuck your chin and round your spine, pressing your mid-back toward the wall. Inhale as you lift your chest, arch your lower back slightly, and let your shoulders roll back. Move slowly for 30 to 60 seconds, coordinating each breath with one phase of the movement. If you feel pinching or sharp discomfort, reduce the range and stay in the middle zone where movement feels smooth.
Wall Scapular Circles
Scapular circles target the small muscles around your shoulder blades and improve posture, especially if you spend hours hunched at a desk or driving. The wall lets you isolate shoulder blade movement without recruiting your neck or lower back to compensate.
Stand arm’s length from a wall and place both palms flat at shoulder height, arms straight. Circle your shoulders up toward your ears, then back and down, then forward toward the wall. Keep your arms straight and let your shoulder blades do the work. Your hands stay pressed to the wall. If full circles feel uncomfortable, switch to a simpler up-and-down motion: shrug your shoulders up, then press them down. Perform the movement for 30 to 60 seconds at a steady, controlled pace. Stop if you feel pinching in the front of the shoulder or sharp pain near the collarbone.
Neck Rotations for Sensitive Cervical Joints
Neck rotations reduce stiffness in the cervical spine and help maintain safe range of motion for activities like driving, looking over your shoulder, or checking blind spots. Gentle rotation also eases tension that builds up from forward head posture.
Sit tall in a sturdy chair with your feet flat on the floor and your shoulders relaxed. Slowly turn your head to look over your right shoulder, moving only as far as feels comfortable. Hold for a breath, then return to center and repeat to the left. Perform five rotations in each direction, keeping the movement smooth and controlled. If full rotation causes dizziness or sharp pain, reduce the range to a quarter turn or switch to gentle side-to-side head tilts instead.
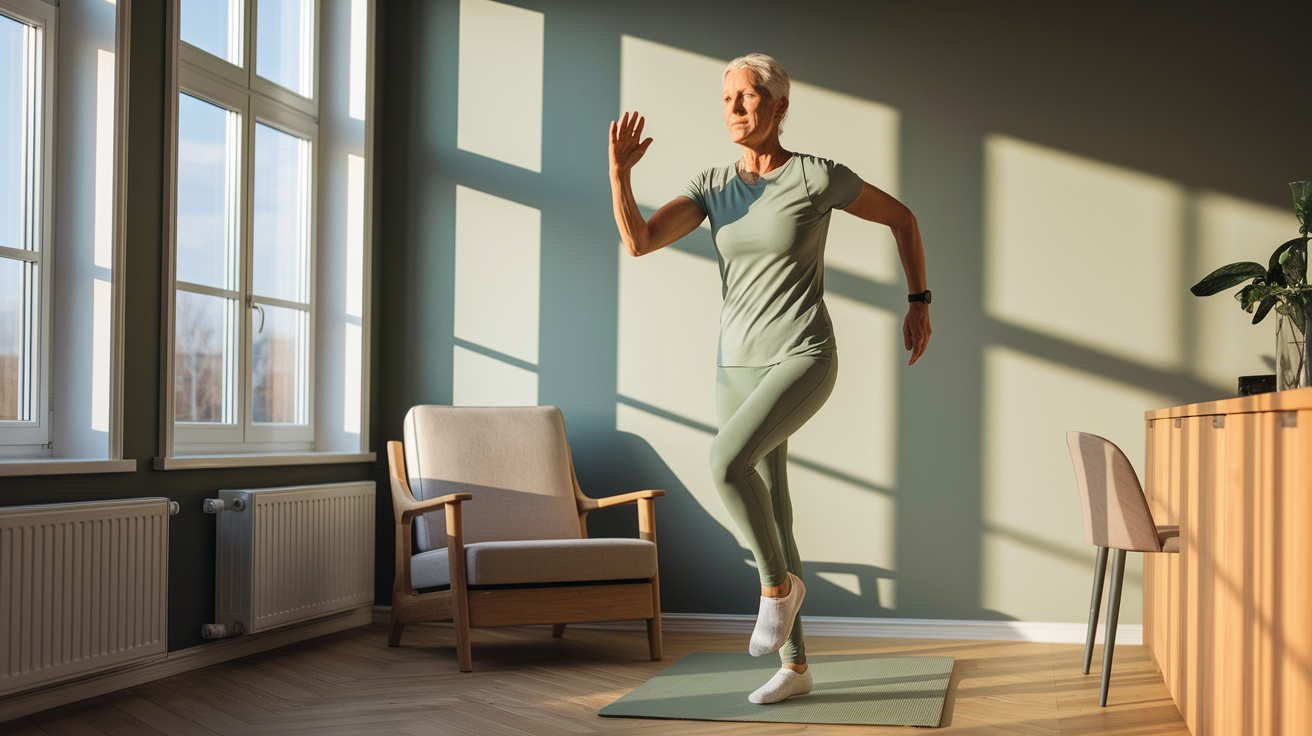
Hip and Lower-Body Mobility: Joint-Friendly Patterns to Improve Comfort

Wall-Supported Standing Hip Opener
Hip openers improve the internal and external rotation range of your hip socket, which directly affects how comfortably you can walk, squat, or get in and out of a car. Tight hips also contribute to lower-back discomfort because the spine compensates for what the hips can’t do.
Stand facing a wall with your hands resting lightly on the wall for balance. Lift your right knee to hip height, then rotate the knee outward, opening the hip. Return the knee to center and lower the foot back to the floor. Repeat on the left side. Perform the movement for 30 to 60 seconds per side, moving slowly and keeping your torso upright. If lifting the knee to hip height is too much, reduce the height or hold a chair and perform smaller hip circles.
Knee-Friendly Range-of-Motion Patterns
Knee mobility matters for stairs, standing up from chairs, and walking on uneven ground. Gentle, controlled knee movement without heavy load keeps the joint lubricated and the surrounding muscles engaged.
Seated knee-to-chest: sit tall in a chair, lift one knee toward your chest, and hold it gently with both hands for 20 to 30 seconds. Repeat on the other side. Mini squats: stand with feet hip-width, holding a chair or wall for balance, and lower a few inches into a small squat. No need to go deep. Leg swings: stand near a wall, hold it for balance, and swing one leg forward and back in a controlled arc. 10 swings per leg.
Ankle Alphabet and Foot Rotations
Ankle mobility strengthens stabilizer muscles and reduces fall risk by improving balance and responsiveness. Stiff ankles make it harder to recover from a stumble or adjust to uneven surfaces.
Sit in a chair or stand holding a wall for support and lift one foot off the ground. Rotate your ankle slowly in circles, moving through the full range in both directions. For a more engaging version, use your big toe to “draw” the letters A through M, then switch feet and draw N through Z. Spend 30 to 60 seconds per foot. If circles feel difficult, start with simple up-and-down ankle pumps (point and flex) until range improves.
Seated & Supported Mobility Options for People With Limited Tolerance

Seated mobility options remove balance demands and reduce the load on weight-bearing joints. They’re ideal for people recovering from injury, managing flare-ups, or working with significant arthritis. Seated work also allows you to focus on form and breath without worrying about falling or compensating through another joint. Chair-based routines are just as capable of moving synovial fluid and maintaining range as standing versions. They simply meet you where your body is today.
Wrist and hand mobility often gets overlooked, but stiff wrists and fingers make tasks like typing, gripping a steering wheel, or opening jars frustrating. Wrist circles and finger flexion-extension drills take less than a minute and can be done anywhere. Seated hamstring stretches (holding for 20 to 30 seconds per leg) and seated knee-to-chest stretches offer lower-body mobility without standing.
Six seated mobility exercises you can do with a chair:
- Seated hamstring stretch: sit forward on the chair, extend one leg, reach gently toward your ankle or shin, hold 20–30 seconds
- Seated knee-to-chest: pull one knee toward your chest with both hands, hold for 20–30 seconds, switch sides
- Wrist circles: extend one arm forward and rotate the wrist slowly in both directions for 30–60 seconds
- Shoulder blade squeezes: sit tall, squeeze shoulder blades together and hold for a few seconds, repeat 10 times
- Overhead side stretch: raise both arms overhead (or rest hands on shoulders if range is limited), lean gently side to side
- Ankle pumps and circles: lift feet slightly off the floor and point/flex or circle ankles for 30–60 seconds per foot
Using Breathwork and Body Awareness to Support a Gentle Mobility Routine

Controlled breathing changes how your nervous system interprets movement. When you breathe steadily and deliberately, your body reads the situation as safe. That reduces guarding and allows joints to move more freely. Holding your breath (something that often happens automatically when a movement feels uncomfortable) does the opposite. It signals tension and makes muscles contract protectively, limiting range and increasing discomfort. Coordinating breath with movement also helps you stay present and notice what’s happening in your body, which is critical when working with sensitive joints.
A simple pattern to follow: exhale during the phase of movement that involves rounding, closing, or contracting. Inhale during the phase that involves expanding, opening, or lengthening. For example, in cat-cow, exhale as you round your spine and inhale as you arch. Slower tempo equals safer range. Rushing through mobility work reduces control and increases the chance of moving past your body’s comfortable edge.
Four breathwork strategies for safer mobility:
- Match one full breath cycle (inhale and exhale) to each repetition of a movement
- Pause briefly at the end of each exhale to reset and check in with how the joint feels
- If you notice you’re holding your breath, stop the movement, breathe normally for a few cycles, and resume at a slower pace
- Use a longer exhale than inhale to activate the parasympathetic nervous system and reduce tension (example: inhale for three counts, exhale for five)
Low-Impact Strength Add-Ons to Support Fragile Joints

Isometric Strength Basics
Isometric exercises build strength without moving the joint through a range of motion, which makes them ideal for people whose joints feel too irritated or unstable for dynamic strengthening. Holding a position under tension for 10 to 20 seconds at a time improves muscle endurance and joint stability without the repetitive loading that can spike inflammation. Examples include wall sits, plank holds (on knees if needed), and static glute squeezes.
Start with one or two isometric holds per session, 10–15 seconds each. Gradually increase hold time to 20–30 seconds as tolerance improves. Focus on steady breathing and maintaining neutral alignment. Don’t let the body shift or compensate to hold the position.
Core Activation Without Joint Strain
Core stability protects your spine and reduces the compensatory load on hips and knees. Pelvic tilts are a foundational move: lie on your back with knees bent and feet flat, then gently tilt your pelvis to flatten your lower back against the floor. Hold for a few seconds and release. Repeat 8 to 12 times. Child’s pose (resting on your knees with arms extended forward and forehead on the floor) releases lower-back tension and stretches the hips without weight-bearing stress.
Perform pelvic tilts daily or before other mobility work to prepare the spine. Use child’s pose as a cool-down stretch, holding for 20–60 seconds. Place a pillow between your calves and thighs in child’s pose if tight hips make the position uncomfortable.
Glute and Hip Stability for Sensitive Knees
Strong glutes take pressure off the knees by stabilizing the pelvis and controlling how the thigh bone moves in the hip socket. Hip bridges are a simple starting point: lie on your back with knees bent and feet flat, then lift your hips toward the ceiling, squeeze your glutes at the top, and lower back down. Perform 10 repetitions, focusing on smooth, controlled movement rather than height or speed.
Keep your ribs stacked over your pelvis. Don’t let your lower back hyperextend at the top of the bridge. If full bridges feel like too much, start with a glute squeeze while lying flat (no hip lift) and hold for 10 seconds. Progress to single-leg bridges only after you can perform 15 pain-free repetitions on both legs.
Structuring a Daily or Weekly Gentle Mobility Routine
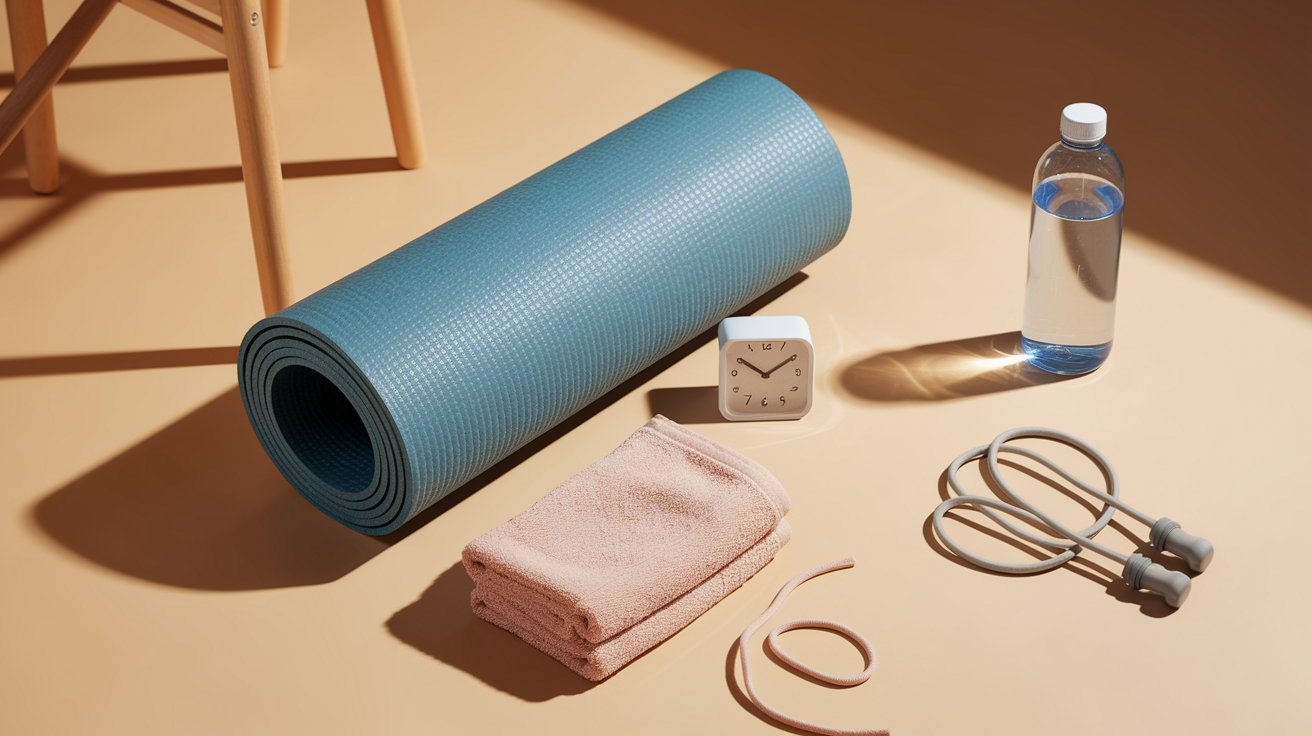
Fitting mobility into your schedule doesn’t require a gym membership or a big time commitment. Most routines take 5 to 15 minutes and can be done first thing in the morning to loosen up after sleep, in the evening to unwind, or during a midday break when stiffness starts to build. Frequency matters more than duration. Short, consistent sessions done three to four times per week (or daily if stiffness is a regular issue) produce better results than one longer session that happens sporadically.
Each exercise in a typical routine lasts 30 to 60 seconds. If you’re starting from scratch or managing a flare-up, begin with the shorter end of that range and fewer total exercises. As your tolerance improves, add time or exercises rather than pushing harder within a single movement. The goal is sustainable comfort, not maximum range or intensity.
A simple six-step mini routine for daily use:
- Warm-up: 1–2 minutes of marching in place or shoulder rolls
- Wall-supported cat-cow: 30–60 seconds
- Seated knee-to-chest: 20–30 seconds per side
- Ankle circles or alphabet: 30–60 seconds per foot
- Shoulder blade squeezes: 10 repetitions
- Child’s pose or seated forward fold: 20–60 seconds as a cool-down
| Routine Length | Exercise Count | Goal |
|---|---|---|
| 10 minutes | 5–6 exercises | Daily maintenance, reduce morning stiffness |
| 15 minutes | 8–10 exercises | Full-body mobility, balance upper and lower body |
| 20 minutes | 10–12 exercises plus strength add-ons | Progressive routine with isometric holds and cool-down |
Preventing Future Joint Sensitivity Through Sustainable Habits

Long-term joint health comes from habits that distribute movement throughout the day rather than cramming it into one session. Frequent, low-intensity movement keeps synovial fluid circulating and prevents the stiffness that builds when you sit or stand in one position for hours. Posture adjustments (like sitting with your ribs stacked over your pelvis instead of slouching, or standing with weight evenly distributed rather than shifted to one leg) reduce the chronic load that wears down cartilage and irritates joints over time.
Scheduling short mobility breaks into your routine makes consistency easier. A two-minute movement break every hour during work, a quick ankle and wrist session before bed, or a few cat-cows and shoulder rolls first thing in the morning all add up. The time of day doesn’t matter as much as the regularity. Whatever schedule helps you remember and follow through is the right one.
Five daily habits that reduce future flare-ups:
- Set a timer to stand up, walk, and stretch for two minutes every 60–90 minutes during sedentary work
- Practice neutral spine posture whenever you notice yourself slouching or leaning
- Rotate between sitting, standing, and moving positions throughout the day instead of staying in one posture for hours
- Prioritize 7–8 hours of sleep per night. Recovery and tissue repair happen during rest.
- Stay hydrated and eat enough protein to support connective tissue health and reduce systemic inflammation
When to Seek Professional Help for Persistent Joint Sensitivity
Most joint sensitivity improves with consistent, gentle mobility and basic load management. But some situations require clinical evaluation. Sharp pain that stops you mid-movement, swelling that doesn’t resolve with rest and ice, or numbness and tingling that radiates beyond the joint are all red flags. Worsening function (like losing the ability to climb stairs, lift your arm overhead, or bear weight on a leg) signals that something more than typical stiffness is happening.
Dizziness during movement, especially neck or balance exercises, can indicate a vestibular issue or blood pressure change that needs medical attention. Persistent pain that doesn’t respond to rest, modification, or over-the-counter anti-inflammatory strategies after two to three weeks is worth discussing with a physiotherapist or physician. Early intervention often prevents small problems from becoming chronic limitations.
Four red flags that indicate the need for clinical evaluation:
- Sharp, stabbing pain during or after movement that doesn’t fade with rest
- Swelling, bruising, or visible deformity around a joint
- Unexplained weakness, numbness, or tingling that spreads beyond the joint itself
- Progressive loss of range of motion or function that interferes with daily tasks like dressing, walking, or gripping objects
Final Words
Start with a few slow, low-impact moves: the post defined joint sensitivity, explained why gentle movement helps, and walked you through warm-ups plus spine-to-ankle drills to ease stiffness.
You also got seated options, breath cues for safer ranges, and low-impact strength ideas to support fragile joints — plus a simple schedule and red flags that mean see a pro.
Try short daily sessions. A gentle mobility routine for people with sensitive joints can really lift comfort and confidence over time.
FAQ
Q: How to get full body mobility and strong joints?
A: Full body mobility and strong joints come from regular low-impact movement, targeted low-load strength (like isometrics), short daily routines (5–15 minutes), proper warm-ups, gradual progression, plus sleep and hydration.
Q: What is the 2 hour pain rule?
A: The 2 hour pain rule means pain that increases or stays worse two hours after activity likely shows you pushed too far; scale back, use gentler options, rest, and see a clinician if it keeps worsening.
Q: What are gentle mobility exercises and what is gentle exercise for joint pain?
A: Gentle mobility exercises and gentle exercise for joint pain are slow, controlled, low-impact moves that reduce stiffness and protect tissues—examples: wall-supported cat-cow, scapular circles, ankle alphabet, seated knee-to-chest, gentle leg swings, short isometric holds.
