
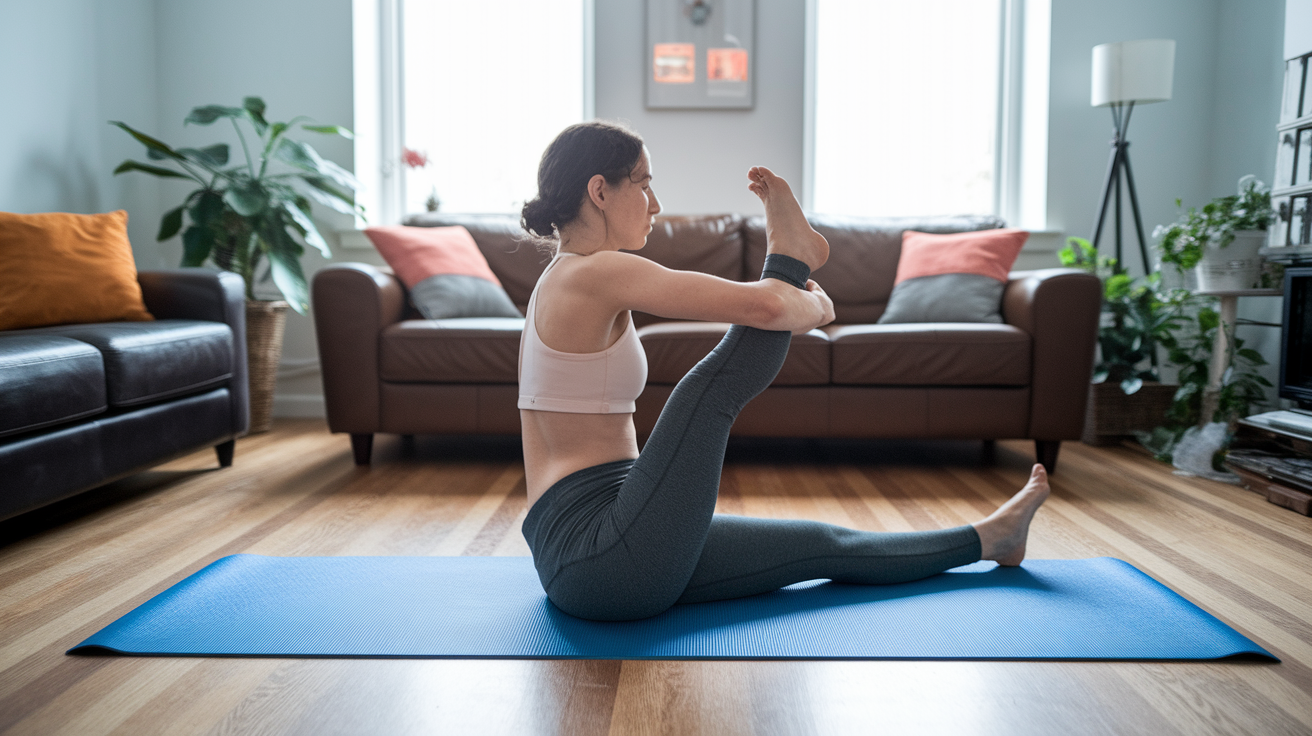
Aggressive stretching isn’t the answer.
Gentle mobility drills actually loosen tight hips and glutes.
If you sit for hours or your glutes feel glued-down after workouts, these slow, controlled moves help restore range of motion without pain.
In this post you’ll get a short warm-up, four targeted hip drills, and four glute releases you can do in 10-15 minutes, plus easy modifications for busy or sore days.
Do them consistently and you’ll notice less stiffness, easier walking and bending, and less low-back nagging.
Understanding Gentle Mobility Work for Tight Hips and Glutes
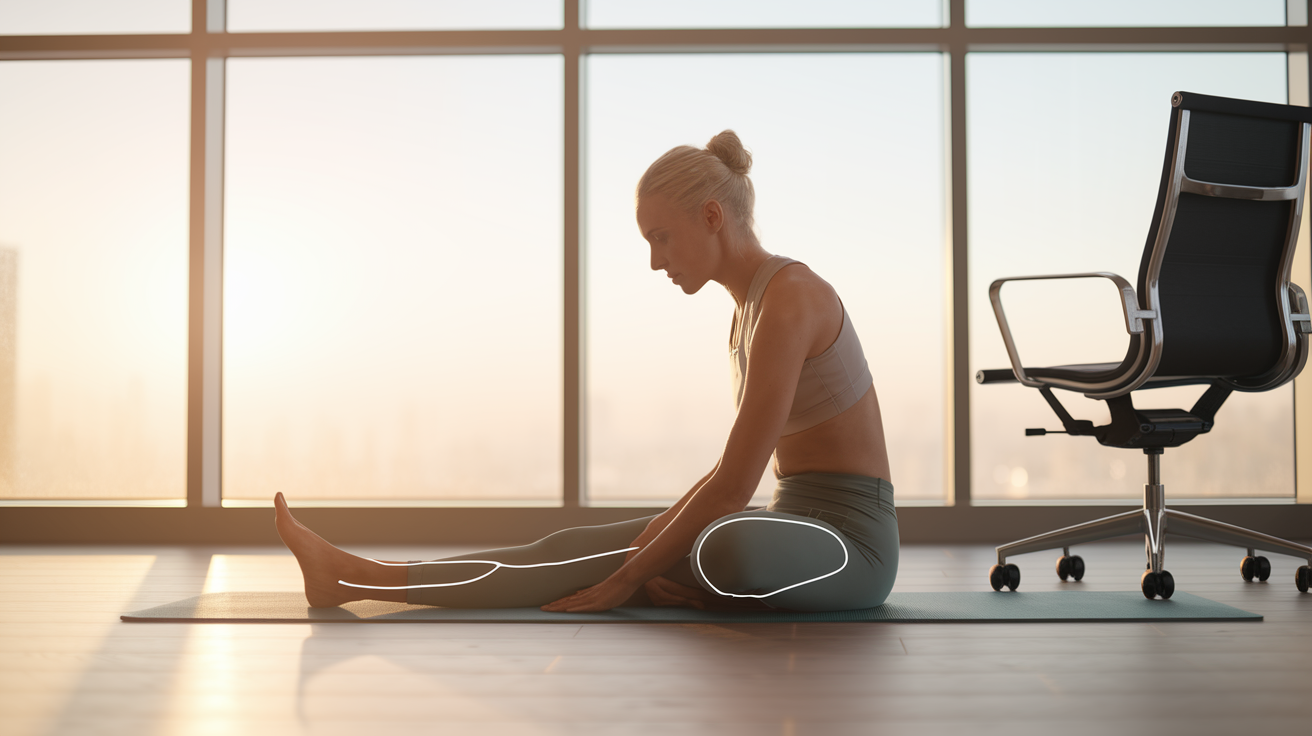
Gentle hip and glute mobility drills are slow, controlled movements that help restore range of motion and reduce stiffness in the muscles and joints around your hips, pelvis, and glutes. These drills focus on moving joints through comfortable ranges without forcing anything or pushing into pain. They’re perfect for beginners, desk workers, and anyone who spends long hours sitting.
Your hips and glutes tighten when muscles spend extended periods in shortened positions. Think about sitting in a chair, driving, or curled up on the couch. Over time, this shortening reduces flexibility, compresses soft tissue, and limits how freely your hips can move during everyday tasks like walking, bending, or climbing stairs.
Gentle mobility work addresses these restrictions by increasing circulation, loosening connective tissue, and teaching your nervous system to relax protective muscle tension. Unlike aggressive stretching, gentle drills work with your body’s natural feedback loops. Muscles release gradually and joints move more freely. The result is sustainable improvement that builds week by week, not temporary relief that disappears an hour later.
Regular gentle hip and glute mobility gives you improved flexibility and range of motion in the hips, better circulation to stiff muscles, reduced morning stiffness after sitting, easier walking and bending in daily life, and improved posture with less lower back strain.
Foundational Warm‑Up Before Mobility Drills
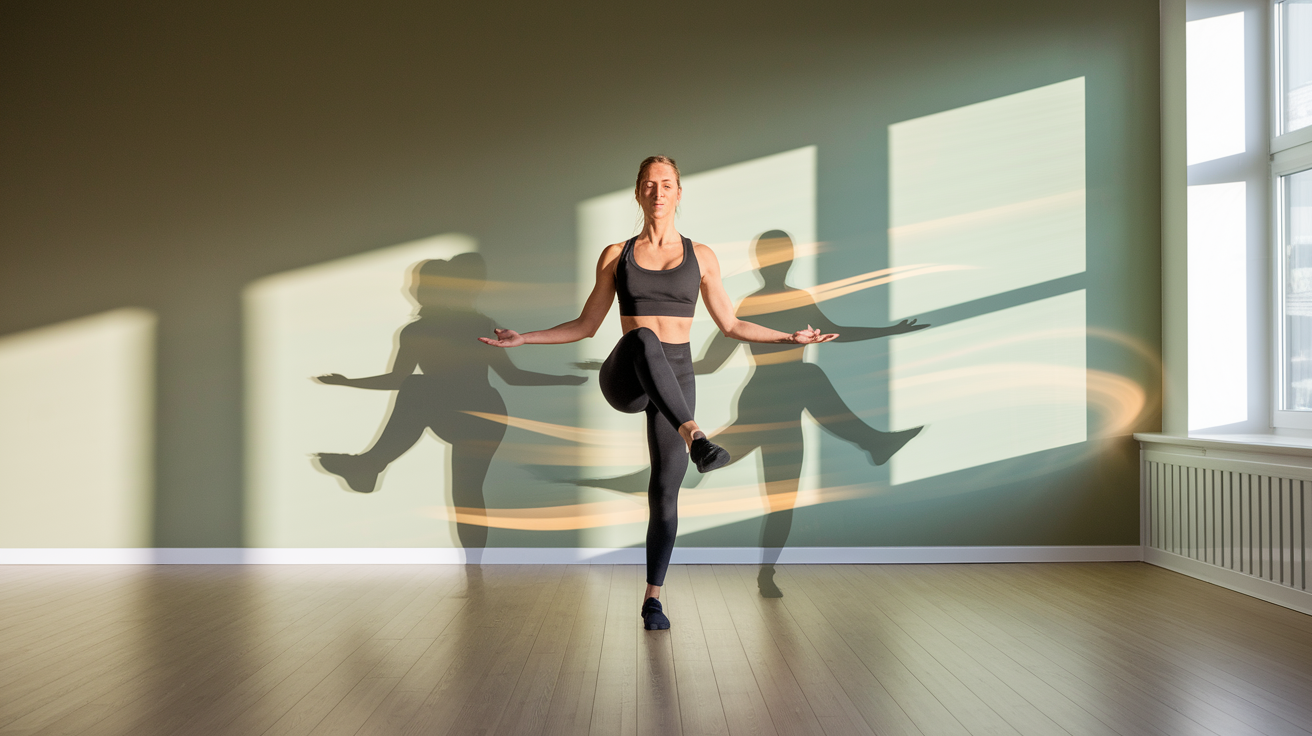
Before starting your mobility drills, spend 2–3 minutes moving your body gently to increase blood flow and prepare your joints. A light warm‑up reduces the risk of strain and helps muscles respond better to the stretches ahead. Keep movements slow, smooth, and controlled. This isn’t cardio, just a way to wake up stiff tissue.
Here are three simple warm‑up movements to do before your mobility session.
Marching in Place – Stand tall and lift one knee toward your chest, then the other, alternating for 30 seconds. Keep your chest upright and breathe steadily. This wakes up your hip flexors and increases circulation.
Gentle Hip Circles – Stand with feet hip‑width apart, hands on hips. Slowly circle your hips clockwise for 15 seconds, then counterclockwise for 15 seconds. Move smoothly through the full circle without forcing any part of the range.
Cat‑Cow Tilts (Standing) – Stand with a slight bend in your knees. Tilt your pelvis forward gently (arch your lower back slightly), then tilt it backward (round your lower back). Alternate for 20–30 seconds, matching each tilt to a breath. Inhale on the arch, exhale on the round.
Breathe naturally throughout the warm‑up. If any movement feels uncomfortable, reduce the range or slow down. The goal is gentle activation, not exertion.
Gentle Mobility Drills for Tight Hips
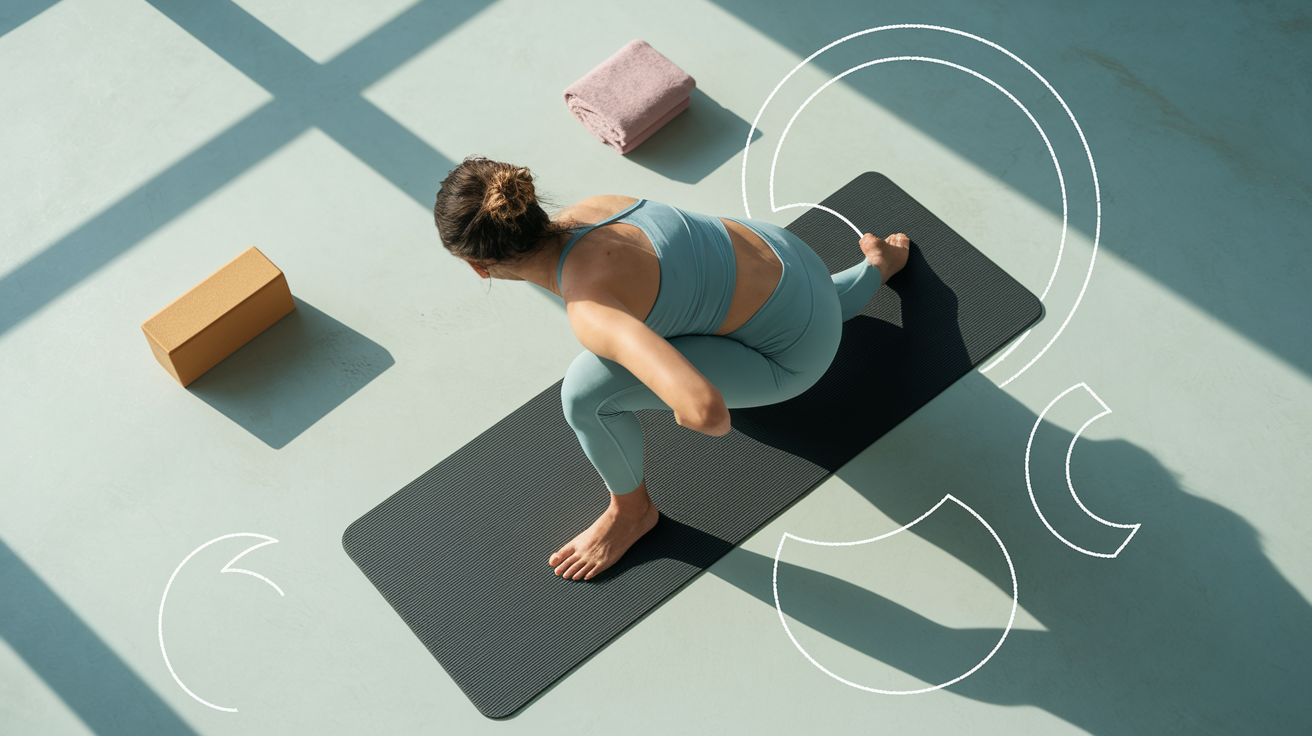
These four drills target the hip flexors, rotators, and surrounding tissue that commonly tighten from sitting or repetitive movement. Start with the first exercise and move through all four in order, taking your time with each position.
Hip CARs (Controlled Articular Rotations)
This drill moves your hip joint through its full available range in a slow, controlled circle. It teaches your nervous system to maintain smooth control at the edges of your mobility, helping to reduce stiffness and improve hip function in all directions.
Start on your hands and knees with your wrists under your shoulders and knees under your hips. Lift your right knee toward your chest as far as you comfortably can. Keeping the knee bent, open it out to the side as far as possible. Rotate the knee inward (internally rotate your hip) and guide it back toward the starting position. Complete 3–5 slow circles in one direction, then reverse the circle for 3–5 reps. Switch legs.
Hold each position for 1–2 seconds and breathe steadily. If you can’t complete the full circle, move through whatever range feels accessible.
Beginner modification: Perform this standing next to a wall or sturdy chair for balance support. Lift your knee, open it to the side, and guide it back down in a controlled arc.
90/90 Hip Stretch
This seated position opens both hips simultaneously. One in external rotation (front leg) and one in internal rotation (back leg). It’s particularly effective for tight hip rotators and the muscles deep in the glutes.
Sit on the floor with your right leg in front, knee bent at 90 degrees, shin parallel to your body. Position your left leg behind you, also bent at 90 degrees, with the outside of your left thigh resting on the floor. Keep your chest upright and hips square to the front. Lean forward gently over your front shin, keeping your back straight, until you feel a stretch in your right glute and hip. Hold for 30 seconds, breathing slowly and deeply.
After 30 seconds, carefully switch legs so the left leg is in front. If your knees feel uncomfortable, place a folded towel or small cushion under the knee that’s touching the floor.
Beginner modification: Sit on a yoga block or folded blanket to elevate your hips, reducing the intensity of the stretch.
World’s Greatest Stretch
This dynamic movement combines a lunge, a spinal twist, and hip opening into one fluid drill. It targets the hip flexors, hip rotators, and thoracic spine, making it an efficient full‑body mobility exercise.
Start in a plank position (or drop to your knees for an easier variation). Step your right foot outside your right hand, bringing your front knee to 90 degrees. Press your left hand into the floor and lift your right hand toward the ceiling, rotating your chest open to the right. Lower your right hand back down, then step your right foot back to plank. Repeat on the left side. Alternate sides for 6–8 total reps (3–4 per side).
Inhale as you step forward and lift your hand. Exhale as you return to plank. Keep your hips low and your core engaged throughout the movement.
Beginner modification: Hold the lunge and twist position for 30 seconds per side instead of flowing dynamically. Drop your back knee to the floor for additional support.
Happy Baby (Reclining Hip Opener)
This gentle, supported stretch opens the inner hips and groin while keeping your spine safe on the floor. It’s perfect for people with tight hip flexors who find standing or kneeling stretches uncomfortable.
Lie on your back with your knees pulled toward your chest. Widen your knees so they move toward your armpits, keeping your shins perpendicular to the floor. Reach up and hold the outer edges of your feet (or grab your ankles or shins if you can’t reach your feet). Gently press your feet into your hands while pulling your knees closer to the floor. Hold for 30–60 seconds, breathing deeply and relaxing your neck and shoulders.
Keep your tailbone and lower back on the floor. If you can’t comfortably hold your feet, loop a towel or yoga strap around each foot and hold the ends.
Beginner modification: Hold your shins or the backs of your thighs instead of your feet, and allow your knees to stay higher.
Gentle Mobility Drills for Tight Glutes
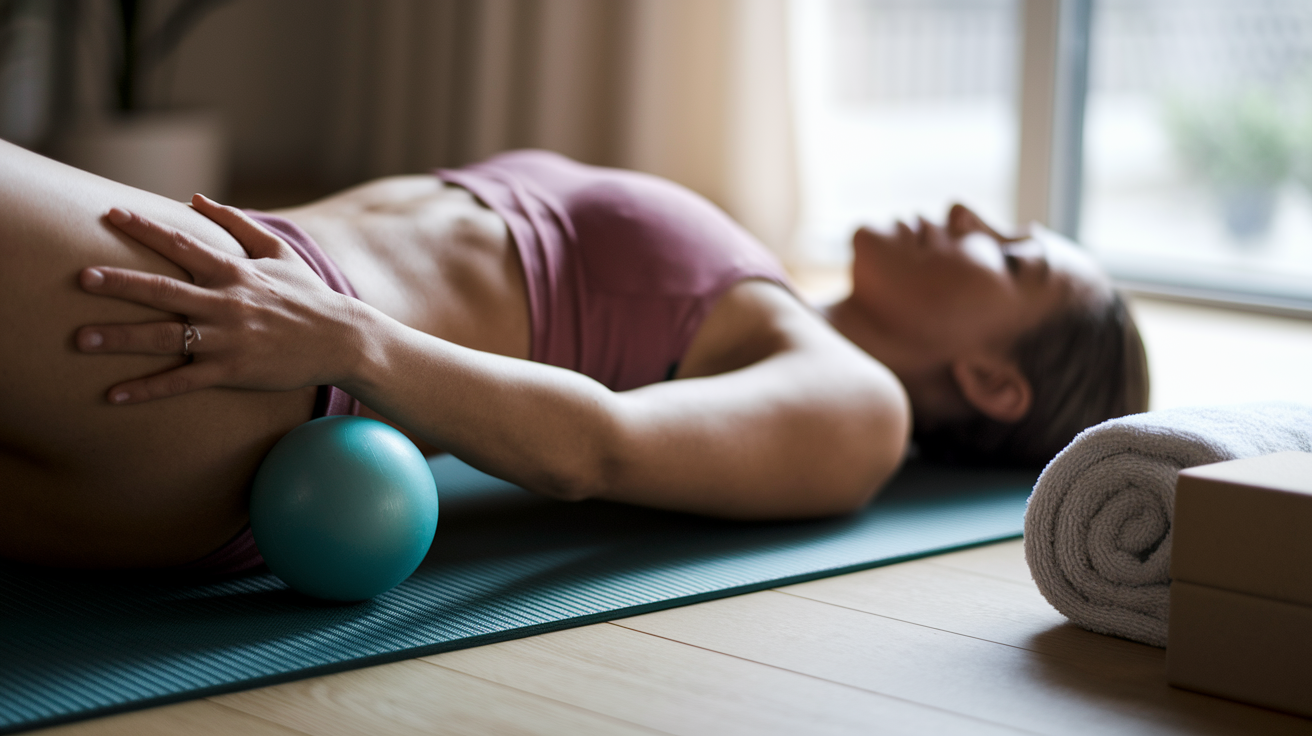
These four drills specifically target the gluteus maximus, medius, and minimus, along with smaller hip rotators like the piriformis. Tight glutes contribute to lower back discomfort, hip pain, and limited hip extension, so regular mobility work in this area supports better posture and movement.
Pigeon Pose (Modified)
Pigeon pose stretches the glutes and deep hip rotators on the front leg while opening the hip flexor of the back leg. It’s one of the most effective static stretches for releasing glute tightness.
Start on your hands and knees (or from downward dog if you’re comfortable). Bring your right knee forward toward your right wrist and slide your right foot toward the left edge of your mat. Extend your left leg straight behind you, keeping your hips as level as possible. Walk your hands forward and lower your chest toward the floor, resting on your forearms or a block. Hold for 30–60 seconds, breathing slowly. Press back up, switch legs, and repeat.
Keep your front shin as parallel to the front edge of your mat as flexibility allows. If your hips tilt heavily to one side, place a folded blanket or block under the glute of your front leg for support.
Beginner modification: Perform a figure‑four stretch lying on your back instead. Cross your right ankle over your left thigh, pull your left thigh toward your chest, and hold for 30 seconds per side.
Lacrosse Ball Glute Release
This drill uses a small, firm ball to apply targeted pressure to tight spots in the glutes. It works by releasing trigger points and increasing blood flow to compressed tissue.
Lie on your back with your knees bent and feet flat on the floor. Place a lacrosse ball (or tennis ball or small hard ball) under your right glute. Cross your right ankle over your left thigh in a figure‑four position to increase pressure. Slowly shift your weight to apply gentle pressure to the ball, moving your hips slightly to find tender spots. Hold each tender spot for 30–60 seconds, breathing deeply to encourage the muscle to relax. Move the ball about one inch to a new spot and repeat. Work through 3–4 spots per glute, then switch sides.
Avoid placing the ball directly on bone or the sciatic nerve (which runs down the back of the leg). If you feel sharp, shooting pain, reposition the ball.
Beginner modification: Use a softer ball (like a tennis ball) or perform the release while seated in a chair, placing the ball between your glute and the seat.
Seated Piriformis Stretch
The piriformis is a small muscle deep in the glute that often tightens and compresses the sciatic nerve. This seated stretch isolates the piriformis and surrounding rotators.
Sit on the edge of a sturdy chair with your feet flat on the floor. Cross your right ankle over your left thigh, just above the knee, forming a figure‑four shape. Keep your back straight and gently lean forward from your hips, bringing your chest closer to your shin. Hold the stretch for 20–30 seconds, breathing slowly. Sit back upright, switch legs, and repeat.
You should feel the stretch deep in your right glute. If your knee feels uncomfortable, don’t force the crossed leg down. Let it rest at whatever height feels safe.
Beginner modification: Perform this stretch lying on your back (as described in the Pigeon modification above) to remove the balance challenge and make positioning easier.
Glute Bridge with Ball Squeeze
This drill combines a gentle glute activation with a mobility hold. It strengthens the glutes while encouraging full hip extension, which helps counteract the shortened position caused by sitting.
Lie on your back with your knees bent and feet flat on the floor, hip‑width apart. Place a small ball (or rolled towel) between your knees. Press through your heels and lift your hips toward the ceiling, squeezing your glutes at the top. Gently squeeze the ball with your knees to engage your inner thighs and glute medius. Hold the top position for 3–5 seconds, then lower slowly. Repeat for 10–12 reps, focusing on controlled movement and steady breathing.
Exhale as you lift, inhale as you lower. Keep your ribs from flaring upward. Your core should stay engaged and your spine neutral.
Beginner modification: Perform the bridge without the ball and hold the top position for just 2 seconds. As you get stronger, add the ball and increase the hold time.
Common mistakes to avoid during glute mobility drills: forcing your knee or hip into a position that causes sharp pain, holding your breath or tensing your shoulders and neck, rushing through movements instead of moving slowly and deliberately, and allowing your hips to tilt unevenly in stretches like Pigeon or 90/90.
Safety Considerations and Common Mistakes
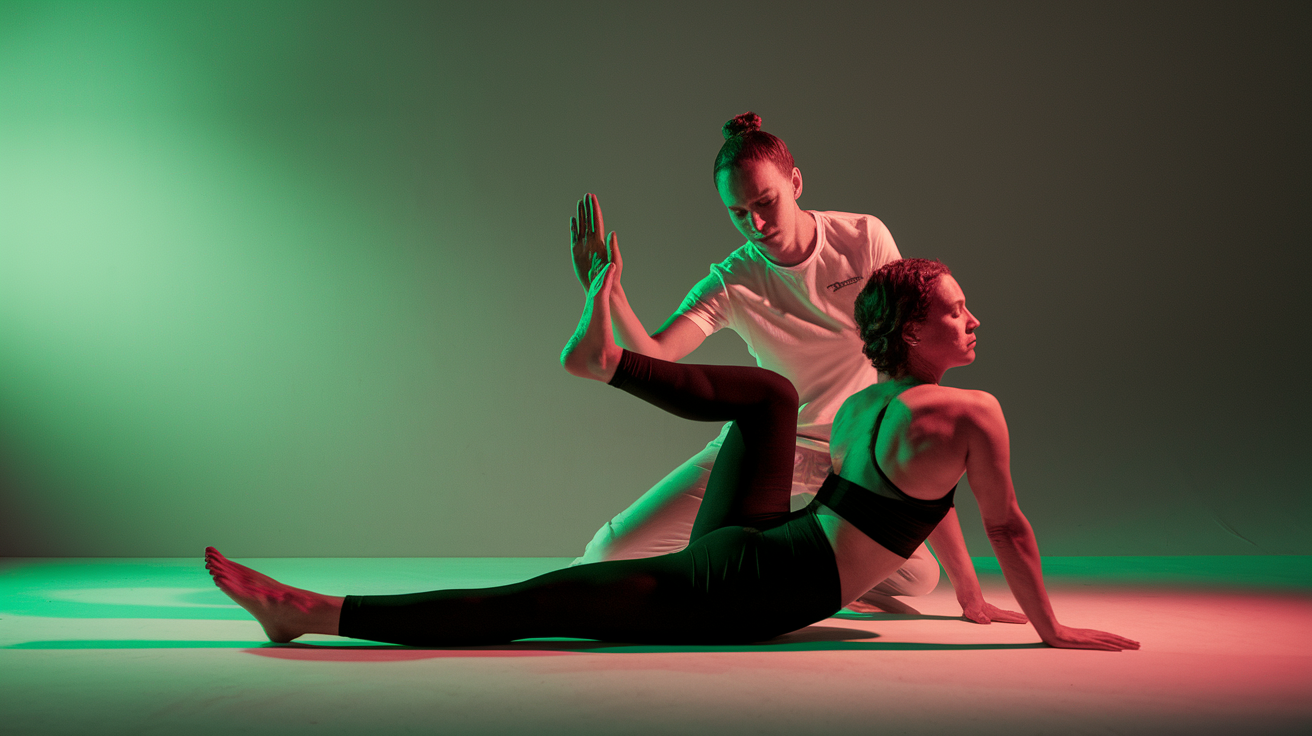
Moving slowly and staying within a comfortable range are the two most important safety rules for gentle mobility work. Discomfort is normal. A pulling or stretching sensation means the drill is working. Sharp pain, pinching, or pain that spreads down your leg means you’ve gone too far or the position isn’t right for your body. If a drill hurts, back off, try a modification, or skip it and return to it in a week or two.
Don’t hold your breath during stretches. Tension in your breathing creates tension in your muscles, which fights against the goal of releasing tightness. Instead, breathe slowly and deeply, exhaling as you move into a stretch and inhaling as you hold or release. Your body relaxes more when your nervous system registers calm, steady breathing.
Common mistakes that reduce effectiveness or increase injury risk: bouncing or forcing a stretch instead of holding steady and breathing, pushing into sharp pain or joint discomfort instead of backing off, skipping the warm‑up and jumping straight into deep stretches, holding stretches for too long (more than 60 seconds) without movement (which can overstress tissue), and ignoring pain signals while continuing a drill that consistently causes sharp or spreading discomfort.
Weekly Mobility Routine for Tight Hips and Glutes
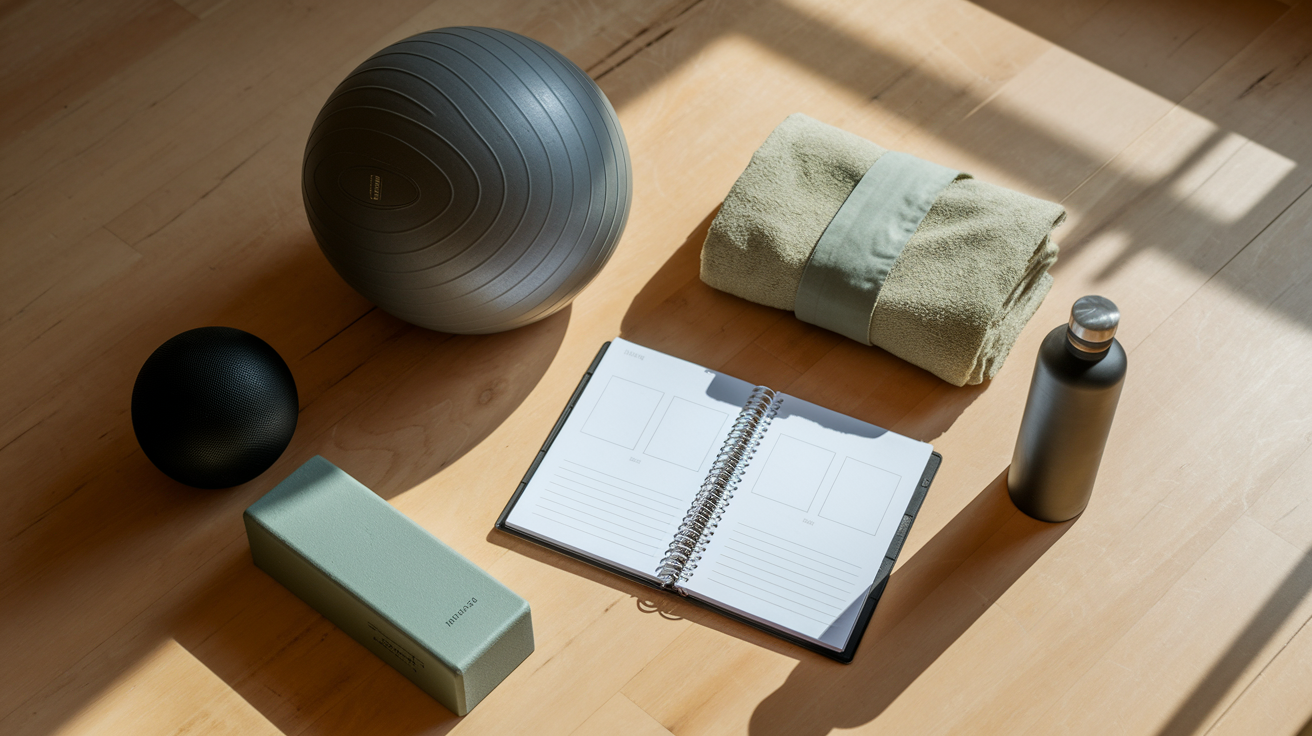
Consistency matters more than intensity when it comes to improving mobility. Performing these drills 3–5 times per week will produce noticeable improvements in flexibility, comfort, and ease of movement within 2–4 weeks. Daily practice is fine if you stay gentle and don’t overdo any single drill.
| Day | Focus Area | Duration |
|---|---|---|
| Monday | Full warm‑up + 4 hip drills | 10–12 minutes |
| Tuesday | Warm‑up + 4 glute drills | 10–12 minutes |
| Wednesday | Light warm‑up + 2 hip + 2 glute drills (your favorites) | 8–10 minutes |
| Thursday | Full warm‑up + 4 hip drills | 10–12 minutes |
| Friday | Warm‑up + 4 glute drills | 10–12 minutes |
As your mobility improves, you can hold stretches a few seconds longer, add an extra rep to dynamic drills, or explore slightly larger ranges of motion. Don’t rush progression. Small, steady gains over weeks and months produce lasting changes. If a drill starts to feel easy, that’s a sign it’s working, not a signal to push harder. Keep the work gentle, frequent, and sustainable.
Final Words
Start moving: you learned why tight hips and glutes happen, a quick warm-up, four gentle hip drills, four glute drills, safety tips, and a simple weekly plan.
Pick two to four drills and do them three to five times a week. Listen to your body and scale back when needed.
Keep at it. Gentle mobility drills for tight hips and glutes help reduce stiffness, improve movement, and fit into busy weeks. Small, steady progress adds up.
FAQ
Q: How to loosen extremely tight hips and glutes?
A: Loosening extremely tight hips and glutes starts with a gentle warm‑up, soft‑tissue work (foam roll), short mobility drills, and daily 5–15 minute sessions. Move slowly and stop for sharp pain.
Q: What is the 8 8 8 rule for glutes?
A: The 8 8 8 rule for glutes is a simple activation pattern: eight reps with an eight‑second peak contraction, repeated across sets to build mind‑muscle connection and endurance.
Q: What are the mobility exercises for tight hip flexors?
A: Mobility exercises for tight hip flexors include kneeling hip‑flexor stretches, lunge‑to‑tilt, standing leg swings, and glute bridges to reactivate the back chain—do 15–30 seconds each, gently.
Q: What emotion is held in the hips?
A: The emotion held in the hips is often described as stored stress, frustration, or emotional tension from prolonged strain. Gentle movement, breath, and mindful release can help; seek support if trauma appears.