
Think ankle stiffness is harmless?
It’s not. Tight ankles can make you wobble, trip, or rely on shaky compensations.
But you don’t need fancy gear or hours in the gym to fix it.
This post gives short, gentle ankle mobility exercises you can do seated or standing.
They improve range, strengthen the muscles that steady your foot, and build confidence on stairs or uneven ground.
Follow the progressions and safety tips and you’ll notice steadier balance in weeks, not months.
Gentle Ankle Mobility Routines That Immediately Support Better Balance

Your ankle moving freely through its full range directly improves balance. More range means sharper proprioception, which is just your body knowing where your joints are without looking. When your ankle flexes, extends, and rotates smoothly, your foot reacts faster to weight shifts, uneven surfaces, and quick direction changes. That feedback between your ankle and your brain keeps you upright when you’re walking, taking stairs, or grabbing something overhead.
Safety matters most if you’re older, new to exercise, or dealing with limited mobility. Move slowly. Keep things controlled, not forced. Watch your ankle in a mirror to make sure it tracks over your toes instead of rolling in or out. Your heel stays down during forward knee movement, and you stop right away if something feels sharp or pinched. If balance feels shaky, keep a chair back or wall close enough to grab without thinking about it.
Chair or wall support turns every standing drill into something safer. Rest one hand there lightly, just enough to feel secure without leaning your weight into it. Over a few weeks, you’ll rely on that contact less. Eventually you’ll try a few reps with your hand hovering an inch away. Only progress when you feel stable, not because some schedule says to.
Five foundational exercises:
Seated ankle circles – Sit in a chair, lift one foot slightly off the floor, draw slow circles with your toes for 15 to 20 seconds in each direction.
Standing ankle circles – Stand with light hand contact on a chair, shift weight onto one leg, let the opposite toes barely touch the floor, draw circles for 15 to 20 seconds each way.
Ankle alphabet – Sit or stand supported, trace each letter of the alphabet in the air with your toes, keeping everything smooth and controlled.
Seated dorsiflexion flex and point – Sit with one leg extended, slowly pull your toes toward your shin for 3 seconds, then point them away for 3 seconds. Repeat 10 times per side.
Supported heel raises – Stand holding a chair back, rise onto your toes over 2 seconds, hold for 1 second, lower over 3 seconds. Do 8 to 10 reps, keeping both ankles aligned over your toes.
Understanding Ankle Mobility and Why It Affects Balance
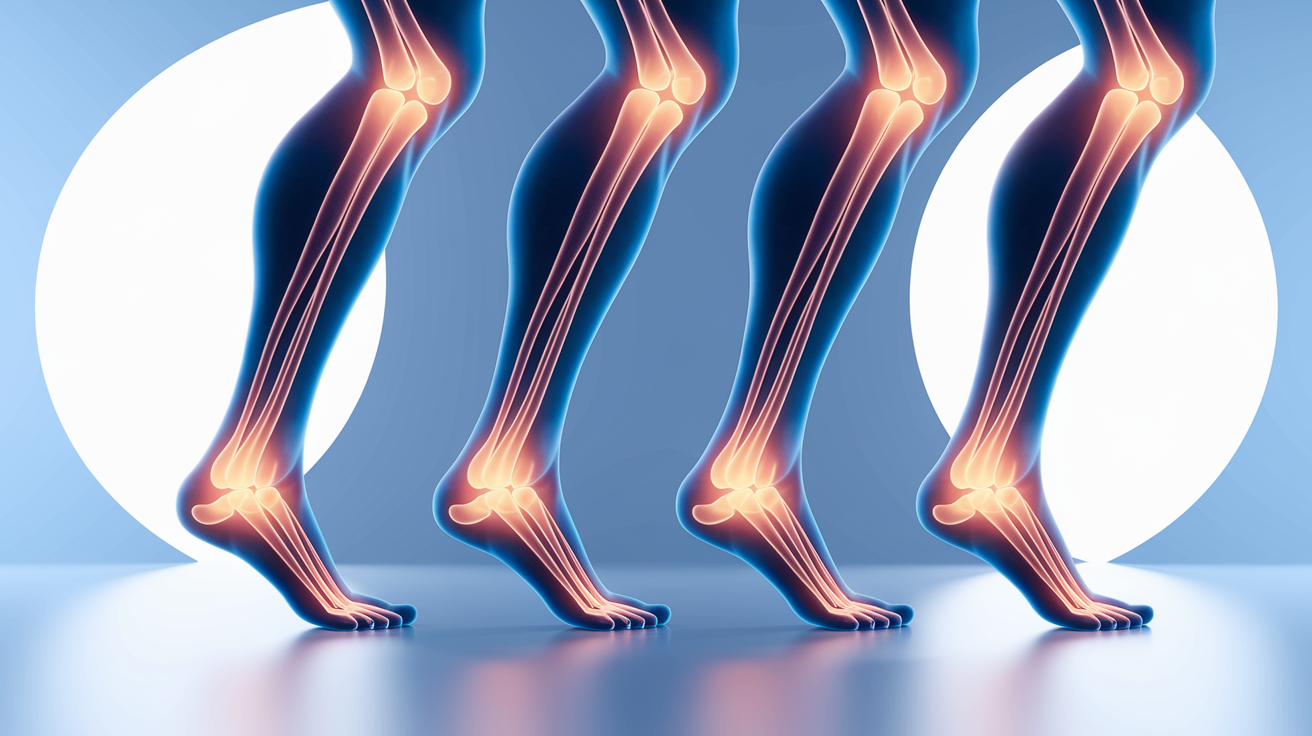
Your ankle moves in four main directions: plantarflexion (pointing toes down), dorsiflexion (pulling toes up toward your shin), inversion (rolling the sole inward), and eversion (rolling the sole outward). Dorsiflexion is the one that usually gets tight, and it’s the one with the biggest impact on balance. When your shin can’t move forward over your foot during walking or squatting, your body finds workarounds that destabilize you.
Tight dorsiflexion changes how you handle stairs, curbs, and weight transfers from one leg to the other. If your ankle won’t flex enough, your knee might collapse inward, your arch might flatten too much, or you’ll lean your trunk forward to keep your center of gravity over your feet. Each of those compensations reduces control and increases fall risk, especially when you’re moving fast or on uneven ground.
Tight calf muscles (the gastrocnemius and soleus) usually drive this restriction, but weak stabilizers like the peroneals and tibialis posterior also play a role. When those deeper muscles can’t support your ankle through its full range, your joint becomes less responsive to balance challenges. You lose the ability to make those tiny, fast corrections that keep you upright when you stumble or shift weight unexpectedly.
Simple At‑Home Tests to Check Your Ankle Range of Motion
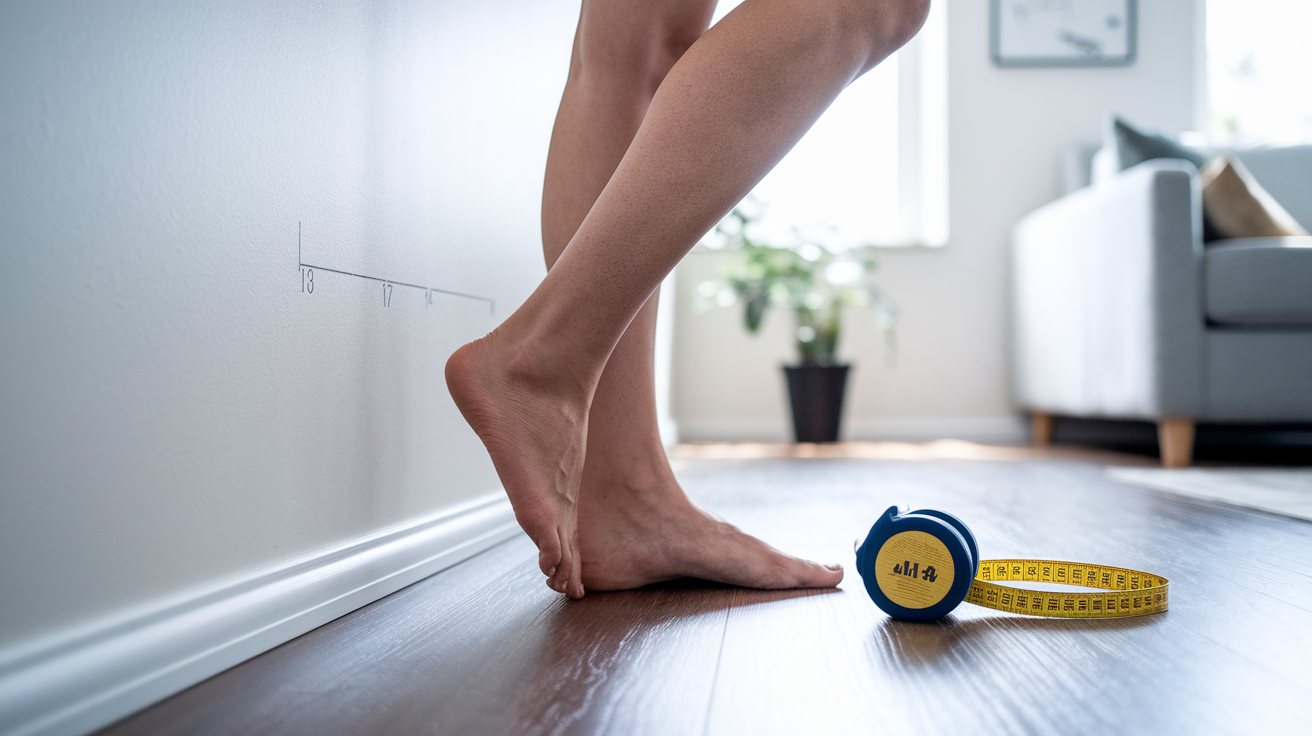
Self-testing shows whether your ankle mobility is helping or limiting your balance. A baseline measurement tells you where you’re starting, and retesting every few weeks shows real progress. You don’t need special equipment. Just a wall, a tape measure or ruler, and a few minutes.
The most reliable at-home test is the knee-to-wall dorsiflexion check. It shows whether each ankle has enough forward range to support safe squatting, stair climbing, and walking. Asymmetry between sides (one ankle moving more freely than the other) also signals a need for targeted work.
Four steps to perform the knee-to-wall test:
- Stand barefoot facing a wall, place your front foot so your toes are about 14 centimeters (roughly 5 inches, or one hand width) from the wall.
- Keep your heel flat on the floor and your knee aligned over your toes. Don’t let your foot roll inward.
- Slowly press your knee forward toward the wall, trying to touch it without lifting your heel.
- If your knee reaches the wall easily, move your foot back a few centimeters and try again. If your heel lifts before your knee touches, move your foot closer and record that distance.
A normal result means you touch the wall from at least 14 centimeters with your heel down. Anything less suggests restricted dorsiflexion that might benefit from the exercises in this article. Repeat the test on both sides and note any difference. Your less mobile ankle needs extra attention.
Seated Ankle Progressions for Building Control and Increasing Range
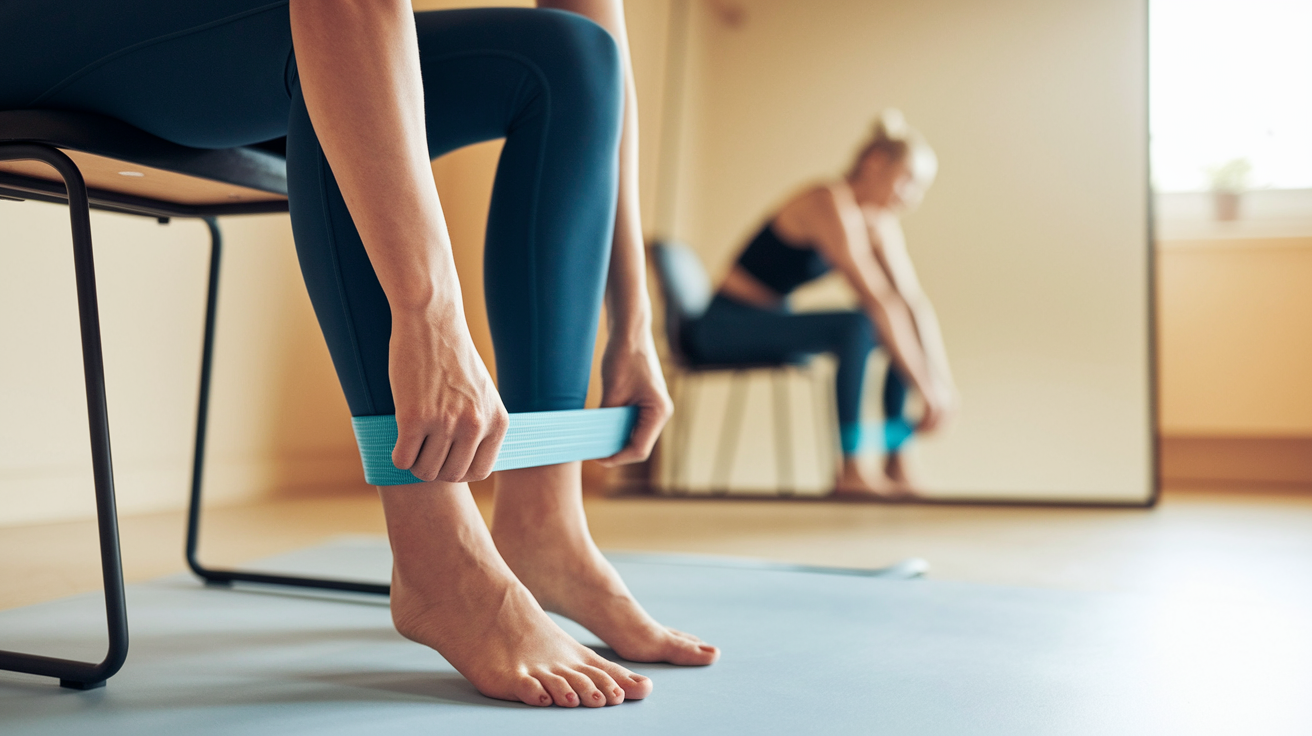
Seated work gets harder when you intentionally expand the range, slow the tempo, or add light resistance. These progressions build on basic ankle circles and flexion drills by asking your muscles to control deeper, longer, or more deliberate movements. You’re increasing both your available range and the strength to use that range safely.
Alignment reminders stay the same as you progress: isolate the movement at your ankle joint, keep your knee still, don’t rotate your entire leg to fake more motion. Watch your foot in a mirror if possible, confirming that your ankle is doing the work instead of your hip or knee. Deepen the motion gradually over several sessions. If you feel pinching, burning, or sharp pain, back off to a smaller range and build up more slowly. Mild stretching tension is normal. Pain isn’t.
Transition to upright tasks when you finish seated progressions with smooth control, no pain, and consistent form across multiple sets. If your ankle wobbles, fatigues quickly, or loses alignment partway through a set, stay with seated work a bit longer. Solid seated control is the foundation for safe standing balance.
Four seated progressions:
Expanded‑range ankle circles – Increase the size of each circle gradually, aiming to reach the end of your comfortable range in all directions without forcing. Do this for 20 to 30 seconds per direction.
Slow‑tempo plantarflexion lifts – Point your toes down slowly over 4 seconds, hold the bottom position for 2 seconds, return over 4 seconds. Repeat 8 to 10 times per side.
Controlled inversion/eversion arcs with slight resistance – Loop a light resistance band around the outside (eversion) or inside (inversion) of your foot, move your ankle slowly outward or inward for 10 reps, keeping your heel on the ground and your knee still.
Prolonged toe‑grip endurance holds – Press your toes down into the floor as if gripping it, hold for 10 to 15 seconds, release slowly. Repeat 5 times per side to build endurance in the small muscles under your foot.
Standing Mobility Progressions to Build Balance Confidence
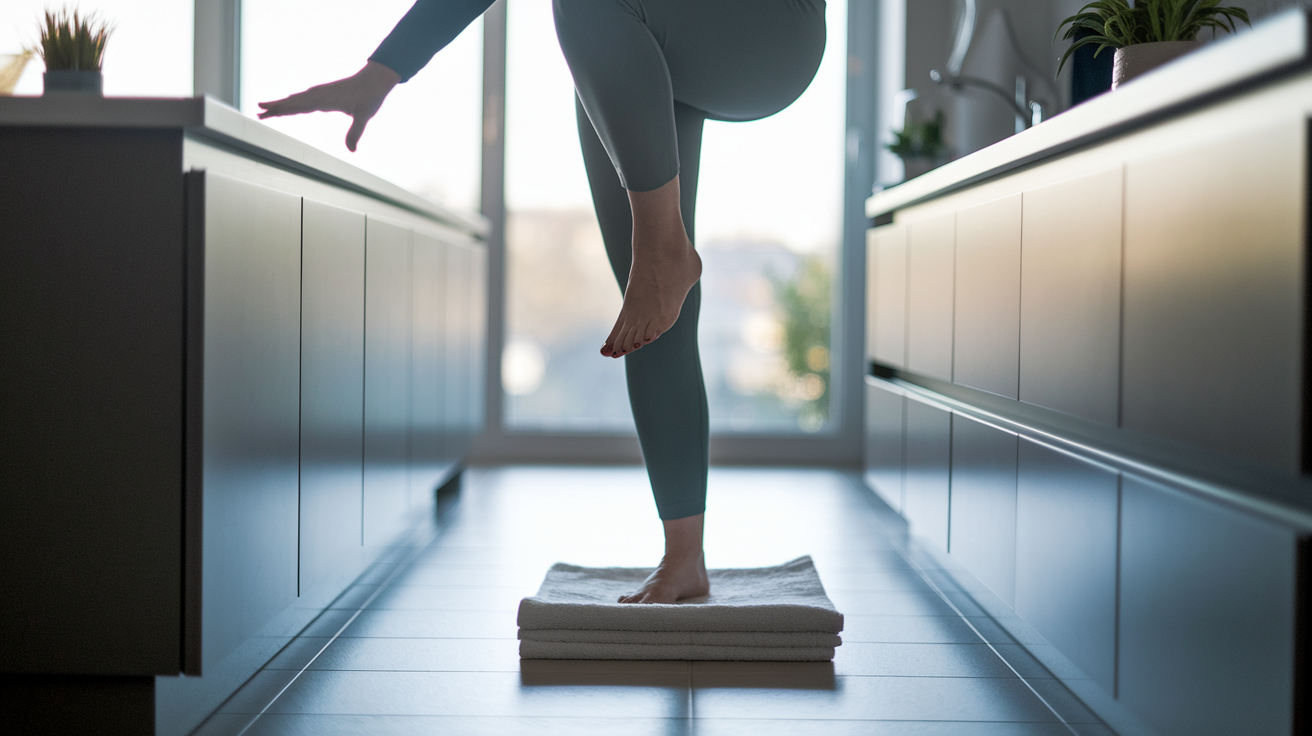
Standing variations add a balance challenge to the ankle work you’ve practiced seated. Your ankle now controls movement while also supporting your body weight and keeping you upright. These progressions build confidence by gradually increasing the difficulty of the surface, the range, or the speed.
Maintain upright posture throughout. Ribs stacked over hips, weight evenly distributed across the ball and heel of your standing foot. Your ankle should track in line with your toes, not collapsing inward or rolling outward. Move slowly at first, prioritizing control over range. As you get stronger, you can add mildly unstable surfaces like a folded towel or foam pad, but only after you’ve mastered the movement on solid ground.
Three standing progressions:
Expanded-range standing circles on soft surfaces – Stand on a folded towel or thin foam pad with light hand support, shift your weight onto one leg, and draw larger circles with the opposite foot for 20 seconds each direction.
Forward‑back rocking with heel‑down dorsiflexion emphasis – Stand with feet hip-width apart, slowly rock forward onto your toes, then back onto your heels while pulling your toes up as far as comfortable. Repeat 12 to 15 times, focusing on the stretch at the front of your ankle when you’re on your heels.
Dynamic calf stretch with incremental reach – Stand facing a wall with your hands on it, step one foot back, press your back heel down, and lean your hips forward to stretch your calf. Hold for 5 seconds, step your back foot another inch farther back, and repeat. Work your way back over 4 to 5 steps to progressively deepen the stretch.
Resistance Band Ankle Progressions for Advanced Control
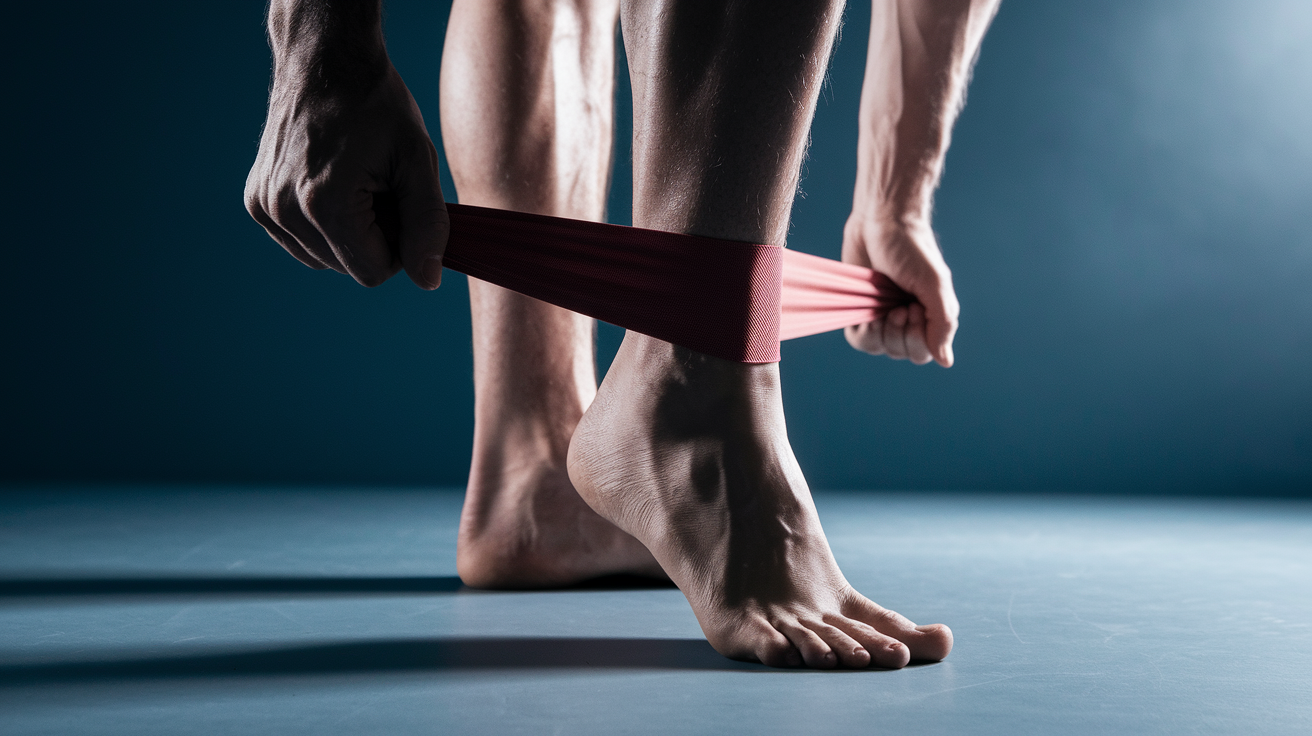
Adding a resistance band to ankle work strengthens the muscles that stabilize your ankle during balance tasks. Bands create controlled resistance through the full range, targeting muscles like the peroneals (outside of your ankle), tibialis anterior (front of your shin), and the deeper stabilizers that respond to wobble and weight shifts. Stronger stabilizers mean better balance, especially on uneven ground or when you’re tired.
Form matters more than resistance. Start with a light band that lets you complete 10 slow, controlled repetitions without your ankle wobbling or your knee moving. Keep your heel on the ground for most drills, and isolate the motion at your ankle. Your knee should stay still, and your hip shouldn’t rotate to help. If you feel your form breaking down partway through a set, regress to a slower tempo without the band until your control improves.
Band work fits well after you’ve warmed up with seated or standing drills. Two to three sets per exercise, two to three times per week, is enough to build strength without overloading the joint. Progress by increasing reps (up to 15), slowing the tempo (5 seconds per rep), or adding a second band for more resistance, but only when your current level feels consistently easy.
Three band‑based progressions:
Banded ankle eversion – Loop the band around the outside of your foot and anchor the other end to a stable object or your opposite foot. Slowly move your foot outward away from your midline for 10 reps, keeping your heel down and knee still.
Banded dorsiflexion pulls – Sit with the band looped around the top of your foot, hold the ends in your hands, and pull your toes toward your shin against the band’s resistance. Hold for 2 seconds at the top, return slowly. Repeat 10 to 12 times.
Banded plantarflexion presses – Loop the band around the ball of your foot, press your toes down and away against the band for 10 reps, controlling both the press and the return. Keep the motion smooth and don’t jerk.
Balance‑Focused Movements That Use New Ankle Mobility
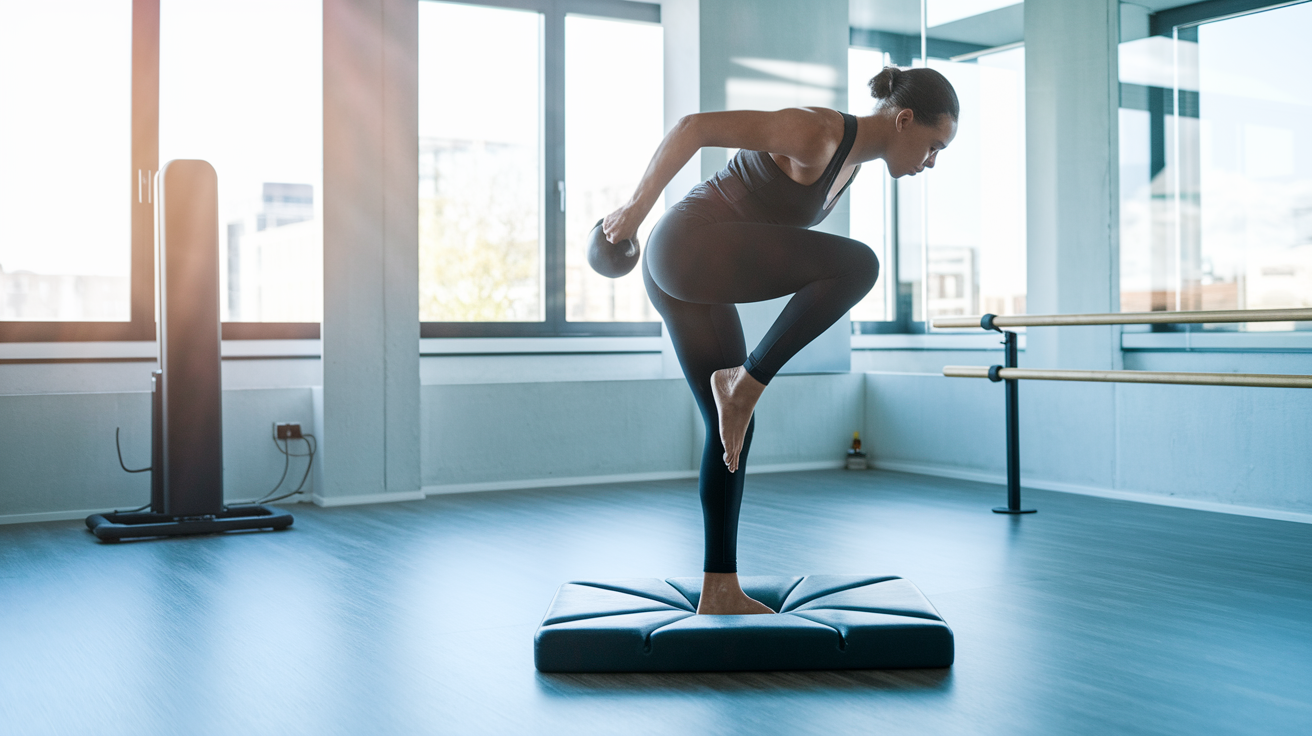
Integrating your improved ankle range into whole-body balance tasks trains your nervous system to use that new mobility automatically. These exercises challenge your proprioception, that feedback loop telling your brain where your ankle is in space and how much force it’s absorbing. Better proprioception means faster, more accurate corrections when you start to lose your balance.
Start each movement on a stable surface with hand support available. As your control improves, reduce the support, then progress to an unstable surface like a foam pad or rolled towel. Always prioritize form (hips level, ankle aligned over toes, controlled movement) over difficulty. A perfectly executed easier version builds more usable balance than a sloppy hard version.
Mirror feedback helps. Stand where you can watch your ankle and knee alignment, confirming that your knee tracks in line with your toes and your ankle isn’t rolling inward. If you notice alignment drift, pause, reset, and continue. Practicing bad alignment trains bad balance.
Three balance progressions:
Single‑leg balance progressions – Start on the floor with light hand support, holding for 10 seconds per side for 2 to 3 sets. When that feels easy, remove the hand support. Next, stand on a foam pad or folded towel. Finally, pass a small weight around your hips while balancing to add a coordination challenge.
Tandem stance progression – Stand with one foot directly in front of the other, heel to toe, arms at your sides. Hold for 10 seconds. Progress by closing your eyes for short intervals, then standing on a soft surface.
Tip‑toe walking – Walk forward on your toes for 20 small, controlled steps, keeping your heels lifted and your ankles stable. Rest, then repeat for 2 to 3 sets. Progress by adding a mini resistance band around your ankles to increase the stabilization demand.
How to Modify Gentle Ankle Mobility Exercises for Older Adults or Beginners

Modifications make every exercise accessible, safe, and effective regardless of your starting point. Older adults and beginners benefit most from slower tempos, shorter holds, and consistent use of support. These adjustments reduce fall risk and joint stress while still building the mobility and strength needed for better balance.
Start from seated or floor-based positions whenever possible. Seated work eliminates the balance challenge, letting you focus entirely on ankle range and control. Once seated exercises feel smooth and pain-free, progress to supported standing work (one hand on a chair back, wall, or countertop). Only remove support when you’ve completed multiple sessions with perfect form and no wobbling. If you have neuropathy (reduced sensation in your feet), arthritis, or a history of ankle injuries, keep support available even during easier exercises, and skip unstable surfaces until cleared by a professional.
Three common modifications:
Use a sturdy chair for all standing work – Keep the chair in front of or beside you, with both hands available for support if needed.
Reduce range of motion – Move through a smaller, pain-free arc rather than pushing to your end range. Progress the range slowly over weeks.
Perform shorter holds and fewer reps – Start with 5-second holds instead of 10, or 5 reps instead of 10. Add volume gradually as your endurance improves.
Frequency, Sets, and Weekly Structure for Gentle Ankle Mobility
Consistency matters more than intensity for ankle mobility. Short, frequent sessions build range and strength more effectively than occasional long workouts. Aim for two to three sessions per week, with each session lasting 10 to 15 minutes. You can also break the work into 5-minute blocks (one before breakfast, one before bed) if that fits your schedule better.
Most exercises work well in the 2 to 3 set range, with repetitions or hold times adjusted to match your current level. Circles and alphabet work use time instead of reps. 15 to 20 seconds per direction is a good starting point. Strengthening moves like calf raises and banded drills typically use 8 to 12 reps per set, progressing to 15 reps as you get stronger. Balance tasks often use a “reps per side” structure, with 8 to 10 reps being a common target.
| Exercise | Sets/Reps | Notes |
|---|---|---|
| Seated ankle circles | 15–20 seconds each direction | Perform both sides; rest 10 seconds between directions |
| Supported heel raises | 2–3 sets of 8–12 reps | Slow 3-second lowering phase; progress to single-leg when stable |
| Banded ankle eversion | 2–3 sets of 10 reps per side | Keep knee still; focus on slow, controlled outward motion |
| Tip‑toe walking | 20 steps, 2–3 sets | Rest 30–60 seconds between sets; progress by adding a mini band around ankles |
When to Seek Guidance for Ankle Mobility and Balance Concerns
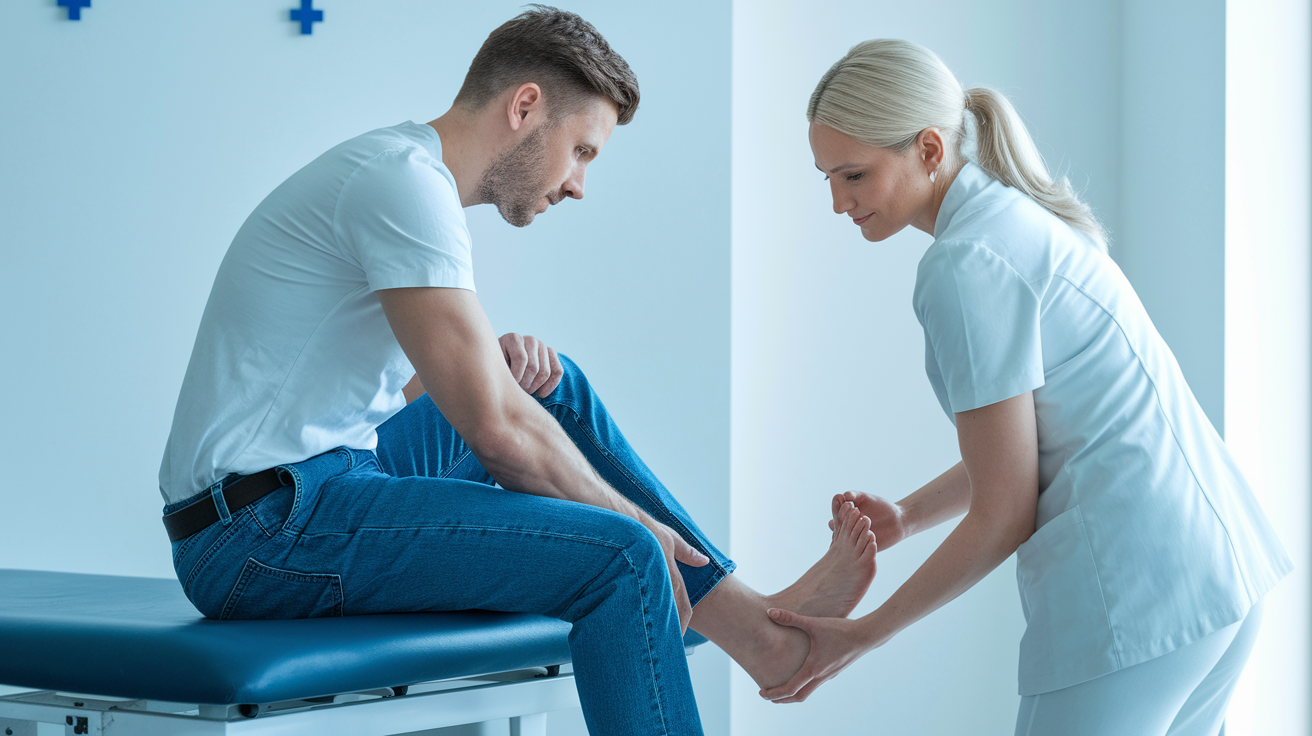
Pain during ankle work is a signal to stop and reassess. Sharp, pinching, or burning sensations (especially at the front of your ankle during dorsiflexion) might indicate a joint restriction, bone spur, or ligament issue that needs professional evaluation. Mild stretching tension is normal, but anything that lingers after you stop the exercise or gets worse over multiple sessions requires a physiotherapist’s assessment.
Recent ankle sprains, recurrent instability (your ankle “giving way” during walking or standing), or difficulty bearing weight during the knee-to-wall test are also reasons to seek guidance before starting or progressing a mobility program. A physiotherapist can identify whether your restriction comes from soft tissue tightness, joint mechanics, or structural changes, and recommend the right interventions. If you’ve had multiple ankle injuries, professional manual therapy or targeted strengthening may be necessary before general mobility exercises will help.
Final Words
Start with the seated drills, like ankle circles, dorsiflexion work, and the alphabet, to build control and range. Move to standing, banded work, and balance moves when those feel steady.
We covered quick self-tests, safety tips for older adults, and a simple weekly structure so you know how often to practice. Use a chair or wall for support and ease off if anything hurts.
Make these gentle ankle mobility exercises to improve balance part of a short daily routine, about 5 to 10 minutes most days. Small, steady steps add up, and you’ll feel more stable and confident.
FAQ
Q: How to improve balance with weak ankles and regain ankle stability?
A: Improving balance with weak ankles and regaining ankle stability starts with gentle ankle mobility, supported strengthening (heel raises, band work), and progressive balance drills from chair support to single-leg—move slowly and pain-free.
Q: What are 5 exercises for balance for seniors?
A: The 5 exercises for balance for seniors are seated ankle circles, supported heel raises, tandem stance, assisted single‑leg balance, and tip‑toe walking—use a chair for support and progress only when comfortable.
Q: Does ankle mobility affect balance?
A: Ankle mobility affects balance by allowing proper weight shift and foot placement; limited dorsiflexion can cause foot pronation, knee valgus, and forward trunk lean, which reduce gait stability and raise fall risk.