

Who said you need a gym or weights to build real upper body strength?
If you’re new to training or stuck at home, bodyweight moves can build muscle, stability, and make daily tasks like lifting groceries or carrying kids easier.
No equipment means zero cost and no setup, so you learn control before adding load.
Read on for step-by-step how-tos of wall and kneeling push-ups, planks, shoulder taps, chair dips, pike push-ups, simple form cues, and two short routines you can do in 10 to 20 minutes to feel stronger this week.
What Upper Body Strength Training Is / Short Overview
Upper body strength training uses your bodyweight as resistance to build muscle, stability, and control across your chest, shoulders, back, and arms. No dumbbells or machines needed. Movements like push-ups, planks, and dips rely on gravity and leverage to create enough load for your muscles to adapt and grow stronger.
For beginners, zero equipment options make starting simple. You learn to control your own bodyweight before adding any external load, which builds coordination and confidence at the same time.
Top no equipment upper body exercises for beginners:
- Wall push-ups – A gentle pressing movement that builds chest and shoulder strength with minimal load.
- Kneeling push-ups – A progression from wall work, adding moderate load by lowering your starting position.
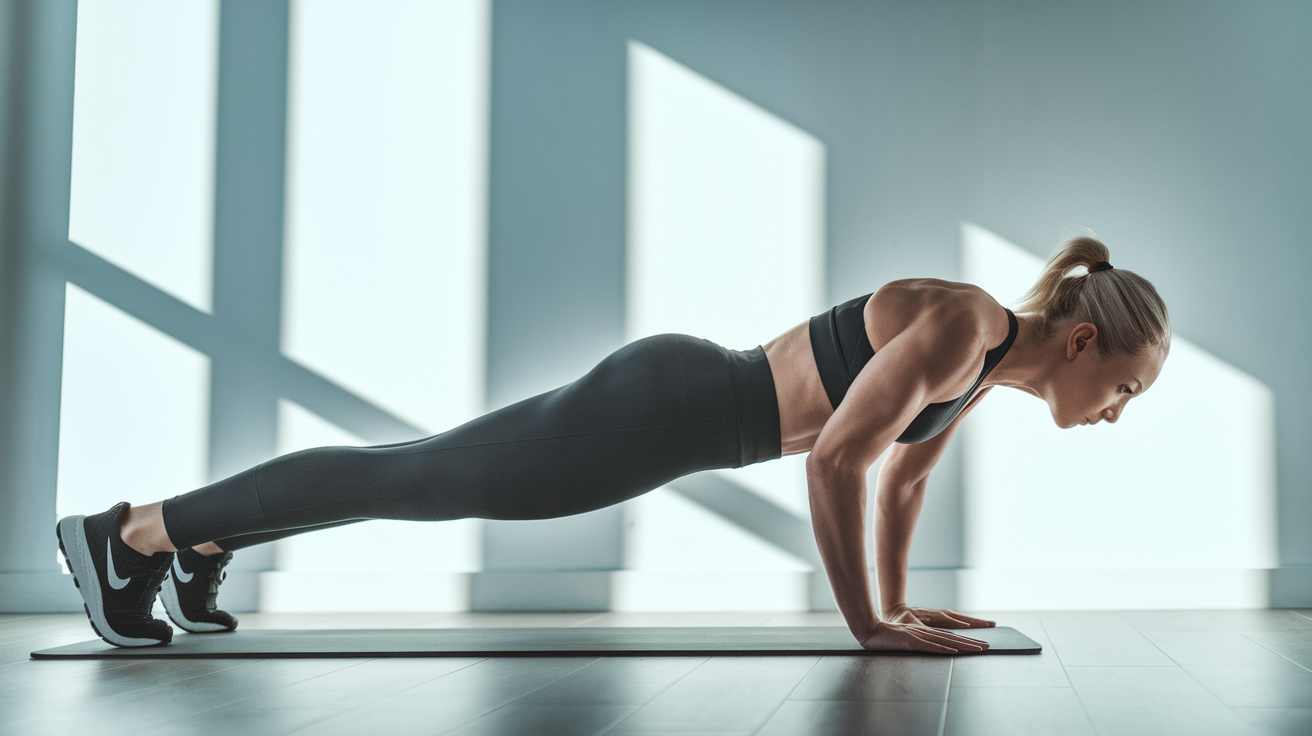
- Plank holds – Strengthens the entire core and stabilizes your shoulders without any movement.
- Shoulder taps – Adds controlled shoulder and core work by shifting weight from hand to hand in a plank position.
- Chair triceps dips – Targets the back of your arms using a stable surface for support.
- Pike push-ups – Shifts load toward your shoulders by adjusting your body angle into an inverted V.
- Bird dog holds – Builds stability across your back, core, and shoulders by holding opposite arm and leg extensions.
- Incline push-ups – A mid range variation using a countertop or bench to reduce load while keeping the movement pattern intact.
These movements work well for beginners because they let you adjust difficulty by changing your angle or support. Every exercise trains multiple muscle groups at once, so you get functional strength that carries over to daily tasks like lifting, pushing, and holding posture.
Pros and Cons of No Equipment Upper Body Training
Bodyweight training gives you a solid foundation without needing a gym membership or home equipment. It works especially well if you’re starting from scratch and want to build confidence with basic movement patterns.
Advantages:
- Zero cost – No equipment means no upfront investment or ongoing fees.
- Train anywhere – Your living room, a park, or a hotel room all work equally well.
- Functional strength – You build control over your own bodyweight, which translates directly to real life movement.
- Lower injury risk at first – Lighter loads help beginners learn form without excessive strain on joints.
- Built in stability work – Holding your bodyweight in space forces your core and stabilizers to engage constantly.
- Easy progression – You can adjust difficulty by changing angles, slowing tempo, or adding holds without buying new gear.
Limitations:
- Harder to isolate small muscles – Biceps and rear shoulders get less direct work compared to pressing and plank based exercises.
- Progression can plateau – Once you can do 20+ reps of a movement, adding more resistance becomes tricky without weights or bands.
- Requires creativity for pulling – True horizontal or vertical pulls are difficult without a bar or suspension trainer.
- Beginners may need modifications – If you can’t yet support your bodyweight in a full push-up or dip, you’ll need to regress to walls or knees.
- Less direct load for advanced goals – Building maximal strength or hypertrophy eventually requires heavier external resistance.
Most of these challenges disappear with simple adjustments. Use furniture for support, slow your tempo to add challenge, and track your reps so you can see weekly progress even without adding weight.
Understanding Upper Body Muscle Groups
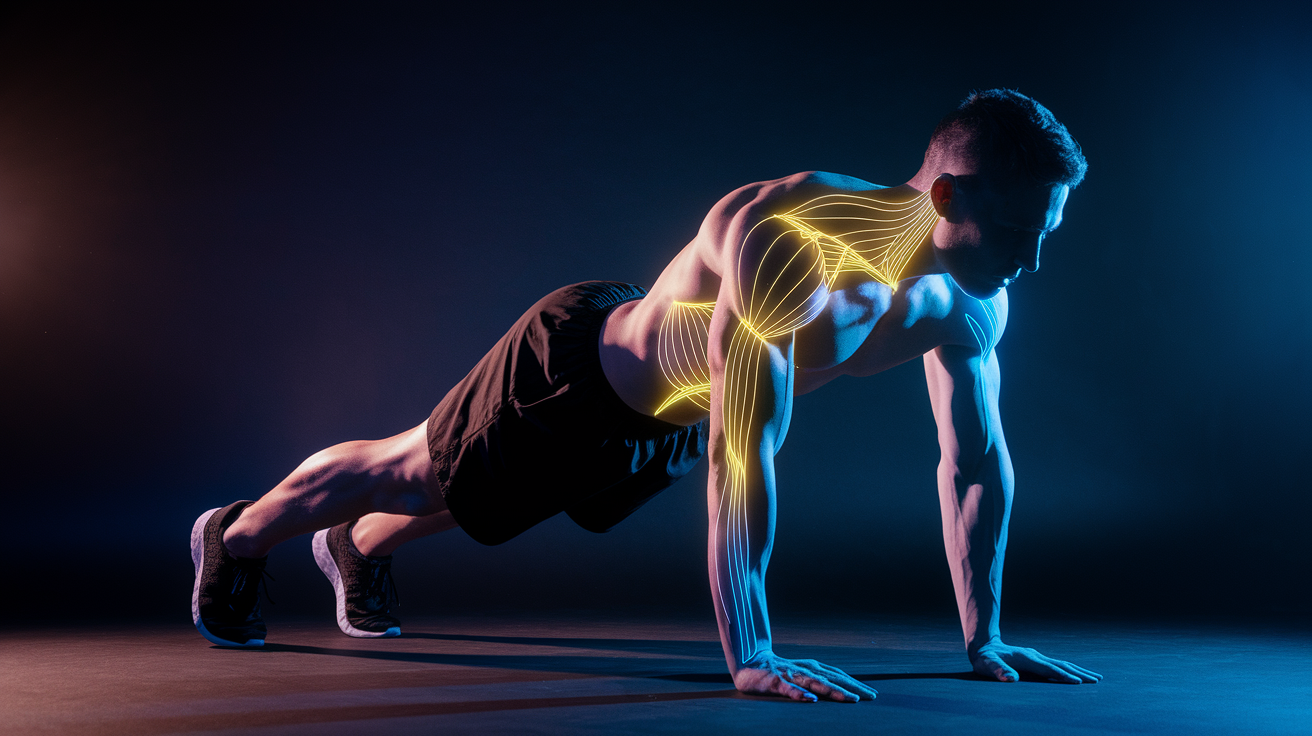
Your upper body includes several major muscle groups that work together during bodyweight exercises. The chest (pectorals) handles pressing movements like push-ups, while the shoulders (deltoids) assist with pressing and support overhead stability. These two groups get heavy activation in most variations of planks and dips.
Your back muscles, especially the upper traps, rhomboids, and lats, control pulling and posture. Without a bar, you’ll get back work through holds and isometric squeezes like prone lifts. Your triceps (back of the arm) activate during any pressing or dip movement, and your biceps engage lightly during certain holds and bodyweight rows if you have a sturdy surface to pull from.
Core stabilizers (your abs, obliques, and lower back muscles) fire constantly to keep your torso steady during planks, push-ups, and pike positions. A stable core protects your spine and transfers force efficiently from your legs through your arms. Even though these aren’t “upper body” muscles in the traditional sense, they’re active in every movement and directly influence how much load your shoulders and arms can handle safely.
Key Beginner Friendly Movements Explained
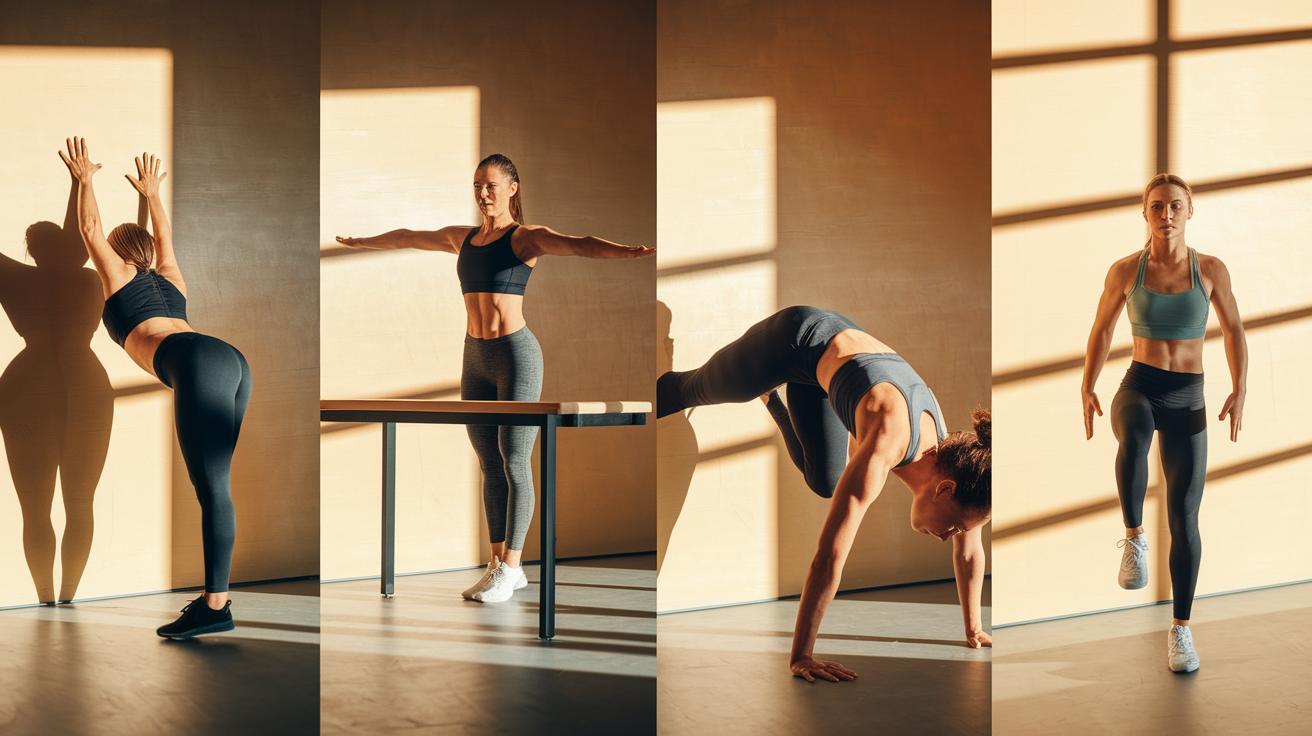
Pressing movements include any exercise where you push your bodyweight away from a surface. Wall push-ups, incline push-ups, kneeling push-ups, and pike push-ups all fall into this category. These train your chest, shoulders, and triceps while teaching you how to keep your core tight and your elbows tracking in the right direction. Beginners start with higher angles (like a wall) to reduce the percentage of bodyweight they’re lifting, then progress to the floor as strength builds.
Pulling movements are harder to replicate without equipment, but you can still create some pulling demand using a sturdy table edge for horizontal rows or doorframe holds for isometric work. If you have access to a low bar or playground equipment, bodyweight rows and assisted chin-ups become excellent additions. Pulling trains your upper back, rear shoulders, and biceps, balancing out all the pressing work and supporting better posture.
Holding and isometric exercises like planks, hollow holds, and bird dog holds build stability and endurance without requiring any dynamic movement. These teach your muscles to contract and hold position under tension, which builds the control you need for more complex movements later. Isometrics also give your joints a break from repetitive motion while still challenging your muscles.
Compound actions like burpees, mountain climbers, and up down planks combine multiple movement patterns into one exercise. These train coordination, elevate your heart rate, and build work capacity across your entire upper body at once. Beginners can slow the tempo or remove the explosive elements until they’re ready to add speed and power.
Form Tips for Safer and Stronger Technique
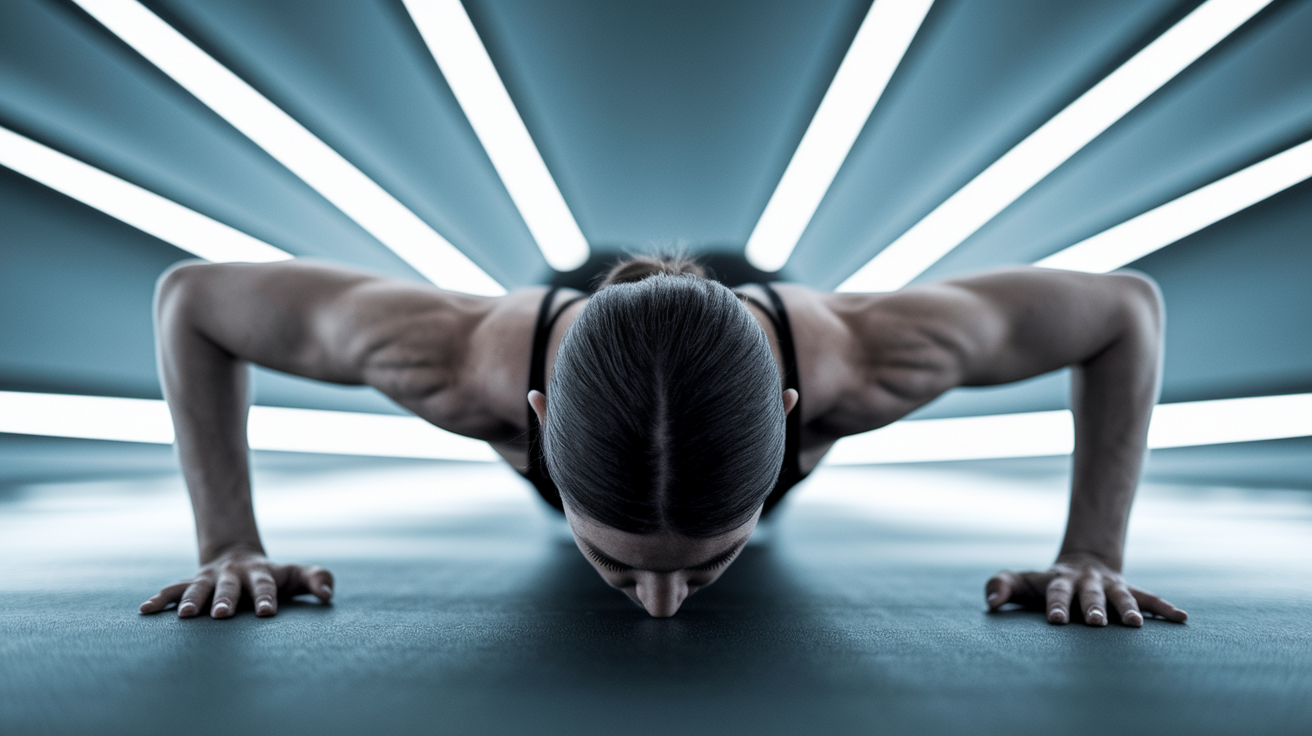
Good form protects your joints and helps you get stronger faster. Small adjustments in hand position, spine alignment, and tempo make a big difference in how an exercise feels and how well it works.
Form cues to follow:
- Keep your shoulders down and away from your ears – Shrugged shoulders during planks or push-ups create unnecessary neck tension and reduce shoulder blade stability.
- Maintain a straight line from head to heels – Avoid letting your hips sag or pike up; engage your core and glutes to hold a neutral spine.
- Point your elbows back, not out – In push-ups and dips, elbows should track at roughly 45 degrees from your torso to protect your shoulder joints.
- Press the floor away – Instead of thinking “lower your chest,” think “push the ground hard” on the way up to activate your shoulders and upper back.
- Keep your wrists stacked under your shoulders – This alignment distributes load evenly and reduces wrist strain during planks and presses.
- Breathe steadily – Inhale on the way down or during the easier phase; exhale as you press or lift to maintain core pressure.
- Move slowly at first – A 2 second descent and 1 second press gives you better control and builds strength across the full range of motion.
- Engage your core before you move – Brace like someone’s about to poke your stomach, then hold that tension through the entire set.
- Land softly on explosive moves – If you’re doing clapping push-ups or burpees, absorb the impact by bending your elbows and keeping your core tight.
- Stop if you feel sharp pain – Dull muscle fatigue is normal; sharp joint pain in your shoulder, elbow, or wrist means you need to regress or rest.
Consistent technique prevents you from hitting a plateau too early. When your form stays clean, you can add reps, increase tempo, or progress to harder variations without getting hurt or building compensatory movement patterns that limit future progress.
How to Do No Equipment Upper Body Strength Exercises
How to Do a Wall Push-Up
- Stand an arm’s length from a wall with your feet hip width apart.
- Place both palms flat on the wall at chest height, slightly wider than shoulder width.
- Engage your core and keep your body in a straight line from head to heels.
- Bend your elbows and lean your chest toward the wall, keeping your elbows at roughly 45 degrees.
- Push firmly through your palms to return to the starting position.
Common mistakes:
- Letting your hips shift forward – Keep your whole body moving as one unit, not just your upper body.
- Flaring elbows out to the sides – This puts extra stress on your shoulder joints.
- Holding your breath – Breathe in as you lower, out as you push.
- Rushing the movement – Slow, controlled reps build more strength and teach better form.
How to Do a Kneeling Push-Up
- Start on your hands and knees with your hands slightly wider than shoulder width.
- Walk your knees back a few inches so your body forms a straight line from head to knees.
- Engage your core and glutes; avoid letting your hips sag or pike up.
- Bend your elbows and lower your chest toward the floor, keeping elbows pointed back.
- Press through your palms to return to the starting position.
Variations:
- Hands elevated on a low step – Reduces the load even more if floor kneeling push-ups feel too hard.
- Slow tempo (3 seconds down, 1 second up) – Builds control and increases time under tension.
- Pause at the bottom – Hold your chest 1 to 2 inches off the floor for 2 seconds before pressing up.
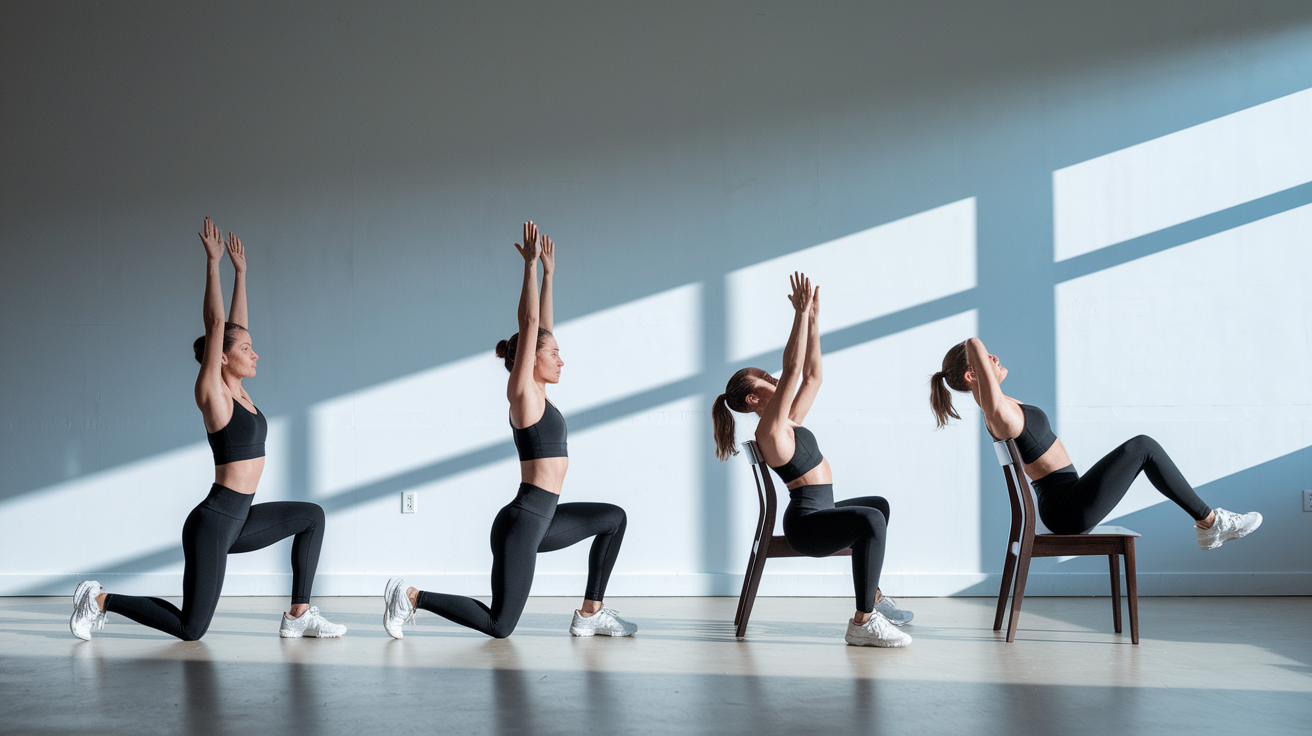
How to Do a Triceps Dip (Chair Optional)
- Sit on the edge of a sturdy chair or bench, hands gripping the edge next to your hips.
- Slide your hips off the seat and walk your feet forward so your knees are bent at 90 degrees.
- Lower your hips toward the floor by bending your elbows, keeping them pointed straight back.
- Press through your palms to straighten your arms and return to the starting position.
Safety cues:
- Keep your shoulders down – Don’t let them creep up toward your ears during the dip.
- Limit range if your shoulders feel pinched – Only lower as far as you can control without discomfort.
- Start with bent knees – Straightening your legs increases the load significantly, so save that for later.
How to Do a Pike Push-Up
- Start in a downward dog position with your hands shoulder width apart and your hips high.
- Keep your legs as straight as comfort allows; a slight knee bend is fine if your hamstrings are tight.
- Bend your elbows and lower the crown of your head toward the floor in front of your hands.
- Keep your elbows tracking back and avoid letting them flare out to the sides.
- Press through your palms to return to the starting pike position.
Modification ideas:
- Elevate your feet on a low step – Increases the load on your shoulders and makes the movement more vertical.
- Perform on knees in a kneeling pike – Reduces load while you build shoulder strength.
- Add a hold at the bottom – Pause with your head 2 to 3 inches from the floor for 1 to 2 seconds before pressing up.
Comparison of Beginner Modifications vs. Standard Movements
Modifications reduce the percentage of your bodyweight you’re lifting by changing the angle or support base. This lets you build strength in the same movement pattern before progressing to the full version.
| Exercise | Beginner Version | Standard Version | Difficulty Notes |
|---|---|---|---|
| Push-Up | Wall push-up or kneeling push-up | Full plank push-up | Wall reduces load to ~30%; kneeling ~50%; full plank ~65% bodyweight |
| Triceps Dip | Knees bent, feet close | Legs straight, feet extended | Bent knees keep more weight on your feet; straight legs shift load to your arms |
| Plank | Forearm plank on knees | Forearm plank, full body | Knee support cuts core demand by ~40%; full plank requires sustained tension |
| Pike Push-Up | Hands elevated or kneeling pike | Feet elevated pike or handstand push-up prep | Elevation shifts more bodyweight onto shoulders; flat pike is moderate |
| Mountain Climbers | Slow, controlled knee drives | Fast, explosive knee drives | Speed increases coordination demand and heart rate; slow builds stability first |
Choose the variation that lets you complete 8 to 12 reps with good form. If your hips sag, your elbows flare, or you can’t control the descent, step back to an easier version. Progress when you can hit 12 to 15 clean reps for 2 to 3 sets without your form breaking down.
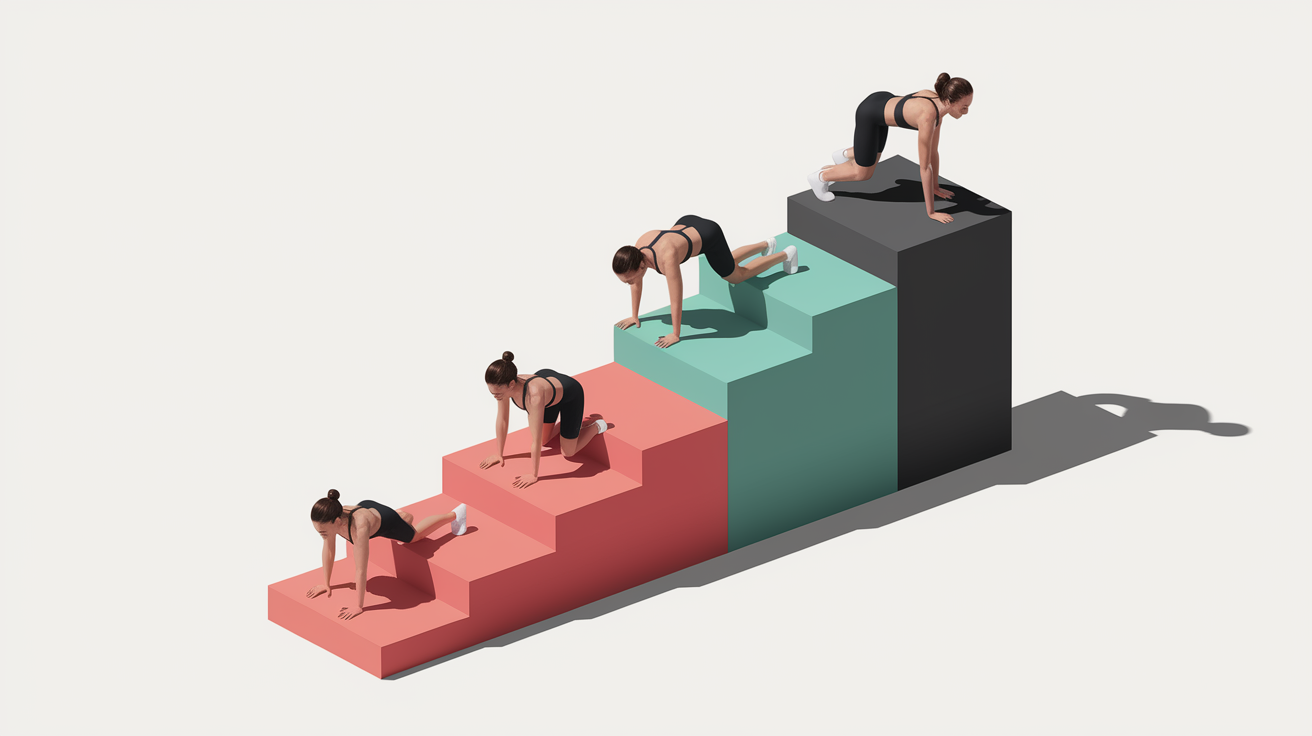
How to Progress and Build Strength Over Time
Progression means making small, measurable increases in difficulty so your muscles keep adapting. You don’t need to add weight to get stronger. Adjusting reps, tempo, or angles creates enough challenge for beginners to see consistent gains.
Eight ways to progress bodyweight upper body exercises:
- Add 1 to 2 reps per set each week – If you did 8 wall push-ups last week, aim for 10 this week.
- Increase your time under tension – Slow your tempo to 3 seconds down, 1 second up.
- Add a pause at the hardest point – Hold the bottom of a push-up or dip for 2 seconds before pressing up.
- Move to a lower angle – Progress from wall push-ups to countertop, then to a chair, then to the floor.
- Remove support – Go from kneeling push-ups to full plank, or from bent knee dips to straight leg dips.
- Add an extra set – If you’re doing 2 sets, add a third when you can finish the second set without form breakdown.
- Increase hold times on isometrics – Add 5 to 10 seconds to your plank or hollow hold every 1 to 2 weeks.
- Introduce explosive elements – Once you can control 12+ reps, try clapping push-ups or fast mountain climbers.
Rep and set guidelines for beginners:
- Start with 2 to 3 sets of 8 to 12 reps per exercise – This range builds strength and teaches control without excessive fatigue.
- Rest 30 to 60 seconds between sets – Shorter rest keeps your heart rate up; longer rest lets you maintain quality reps.
- Train 2 to 3 times per week – Your muscles need 48 hours to recover, so avoid working the same movements on back to back days.
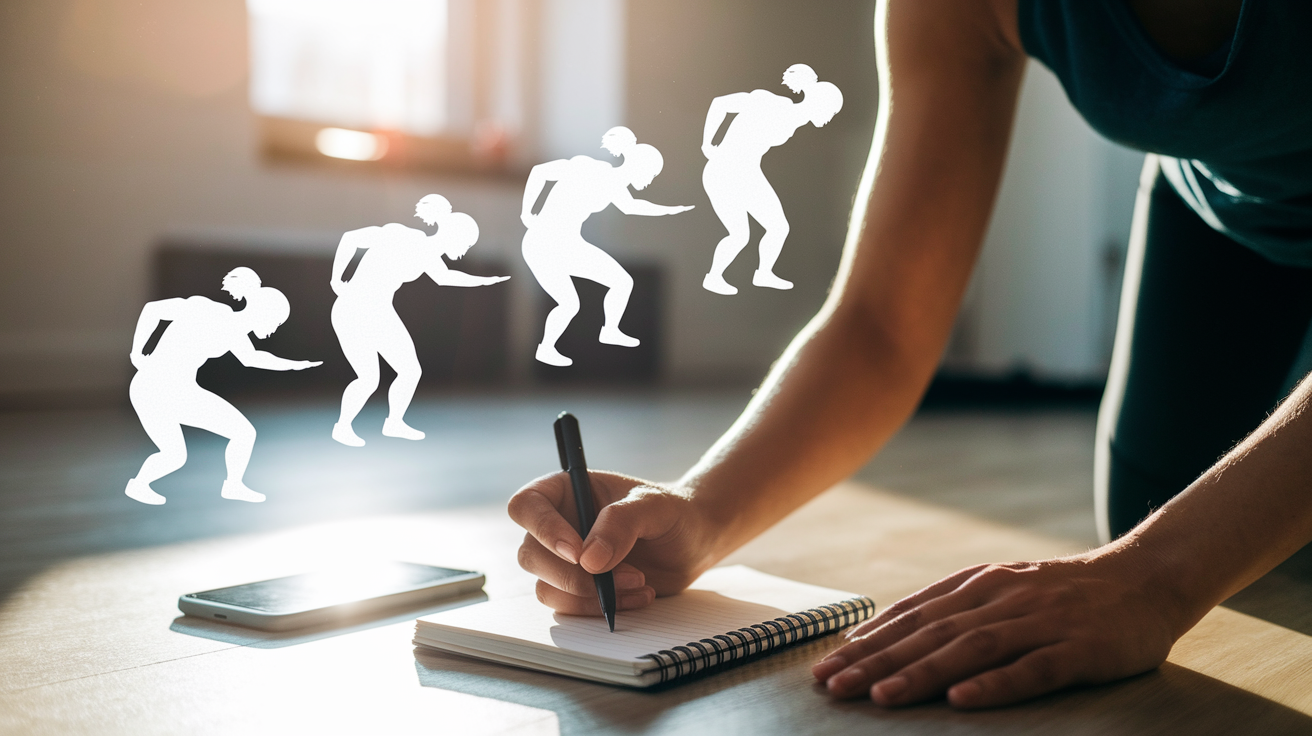
Most beginners see noticeable strength gains in the first 4 to 6 weeks. You might add 2 to 5 reps per exercise weekly, or move from wall push-ups to kneeling push-ups within a month. Track your reps in a simple notebook or phone app so you know when you’re ready to progress. Small, steady increases beat random effort every time.
Final Words
Keep practicing the basics: pressing, pulling, holds, and simple progressions like wall push-ups, kneeling push-ups, dips, and pike variations. Focus on the form tips and step-by-step cues we covered so you move safely and keep improving.
Use the simple progressions, change angles, slow the tempo, and add brief holds to make steady gains even on busy weeks. Aim for short, consistent sessions that fit your schedule and build momentum.
Treat these upper body strength exercises for beginners no equipment as your weekly go-to. Small, steady effort adds up, and you’ll see progress.
FAQ
Q: What is the 3-3-3 rule for working out?
A: The 3-3-3 rule for working out is a simple strength template: do three sets of three reps for an exercise, using a challenging progression and strict form to build raw strength safely.
Q: How to build upper body strength for beginners at home? / How to build upper body strength if you have none?
A: Building upper body strength as a beginner at home (or with no starting strength) means using easy body-weight moves—wall or kneeling push-ups, table rows, chair dips—2–3 sessions weekly with slow progressions and consistency.
Q: What exercise is good for high blood pressure?
A: An exercise good for high blood pressure is regular moderate aerobic activity, like brisk walking about 30 minutes most days, combined with light strength work; check with your healthcare provider first.