
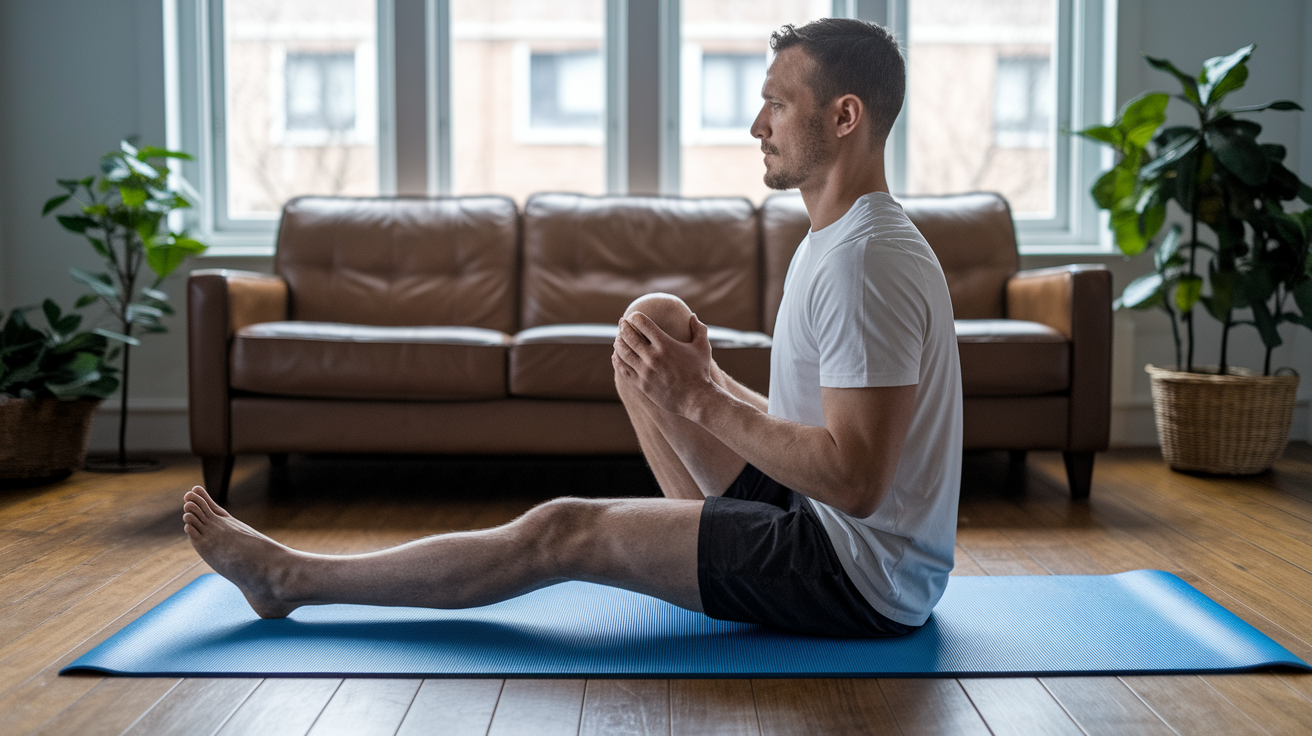
What if tight hips aren’t fixed by stretching more?
Most of us sit, stretch, and still feel stuck.
The real answer is mobility, the ability to move your hip with strength and control.
This post lays out twelve simple hip mobility exercises that hit rotation, extension, and side-to-side work, with exact reps and hold times so you’re not guessing.
Do one to three sets based on your schedule, and you can feel less tight in days, with meaningful range gains in four to eight weeks if you stay consistent.
Essential Hip Mobility Movements for Immediate Flexibility and Pain Relief
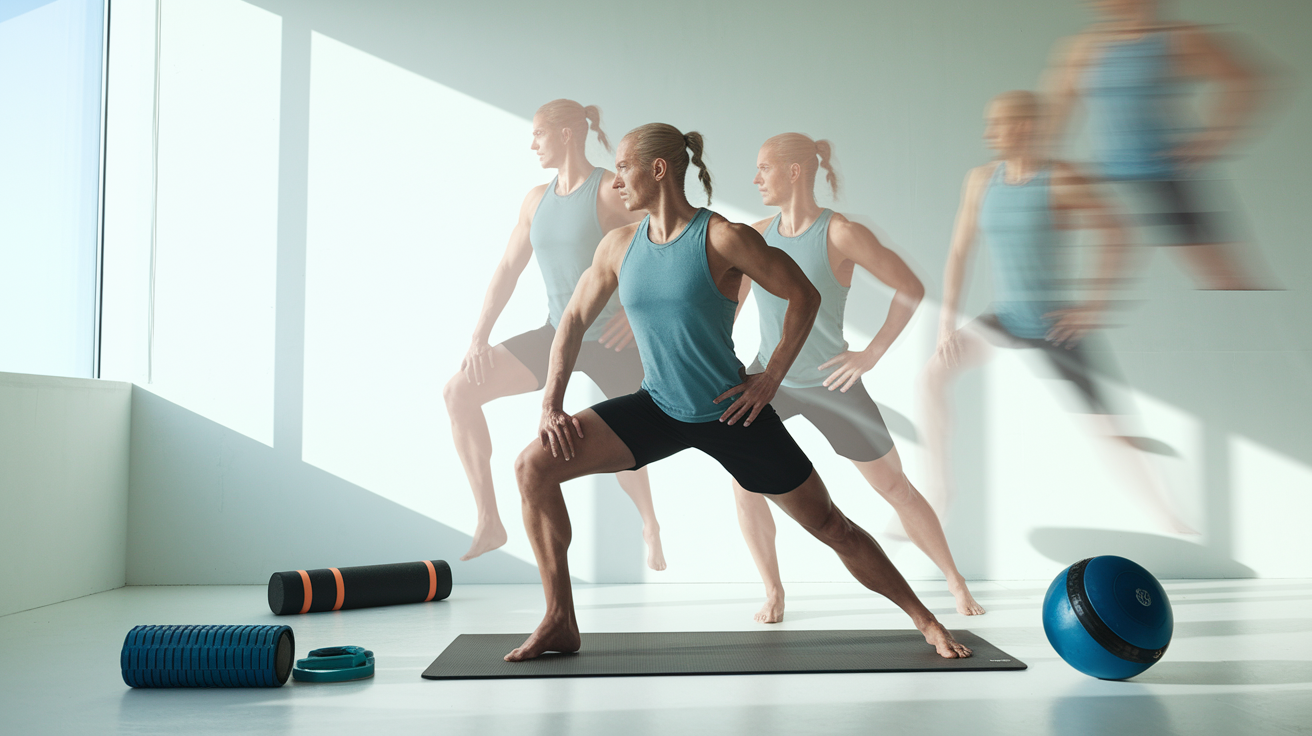
These twelve hip mobility exercises hit every direction your hips can move. Rotation, extension, side to side loading. Each one comes with exact reps or hold times so you’re not guessing.
Before you start, get your body moving for five to ten minutes. Walk around the block. Pedal a bike. March in place. Then do some leg swings (twelve to fifteen per direction per leg) and ten to fifteen bodyweight squats. This wakes up everything before you ask your hips to do real work.
• Hip CARs (Controlled Articular Rotations) – builds active control through your whole hip socket; six to ten slow reps per direction per side
• 90/90 Hip Switch – trains internal and external rotation while you’re sitting; eight to twelve switches per side or thirty to sixty seconds continuous
• Couch Stretch – lengthens hip flexors and quads; hold thirty to sixty seconds per side for two to three sets
• World’s Greatest Stretch – combines hip flexor length with upper back rotation; six to ten reps per side
• Banded Adductor Mobilization – targets inner hip and groin; three sets of thirty to forty-five seconds or eight to twelve active pulses
• Cossack Lunge – side to side hip loading; six to ten reps per side for two to three sets
• Glute Bridge with Band Walkout – fires up your backside and hip extension; ten to fifteen reps or fifteen to thirty second holds for two to three sets
• Leg Swings – gets your range ready; twelve to fifteen swings per direction per leg for two sets
• Lacrosse Ball Glute Release – digs into tight spots; hold one minute, shift one inch, repeat
• Foam Roller Hamstring/Calf Release – slow rotations with control; two to three passes per area
• Pigeon Pose – deep hip opener for external rotators; hold forty-five to sixty seconds per side
• Happy Baby – opens hips and groin while you’re on your back; hold forty-five to sixty seconds with gentle rocking
Do one to three sets depending on your schedule and how tight you feel. You’ll notice your hips feel different during daily movement within two to four weeks. Real range of motion gains? Those show up around the four to eight week mark if you stay consistent.
Hip Mobility Warm-Up Techniques That Boost Range of Motion

A solid warm-up tells your nervous system to relax instead of protect. It gets fluid moving in your hip joint and preps muscles to lengthen without fighting you. Skip this and you’re leaving range on the table, plus you’re more likely to tweak something.
- Light cardio for three to five minutes – walk, easy bike, march in place to get your core temperature up
- Leg swings front to back – stand next to a wall for balance; swing one leg forward and back with control; twelve to fifteen reps per leg
- Leg swings side to side – face the wall; swing one leg across your body and out to the side; twelve to fifteen reps per leg
- Standing hip circles – hands on hips, draw slow circles with one knee lifted; five circles each direction per side
- Bodyweight squats – feet hip to shoulder width, squat as deep as you can comfortably; ten to fifteen slow reps, focus on your hip hinge and knee tracking
Five drills, five to ten minutes total. Your hips are ready for deeper work without fatigue. If you run or play sports, do this before every session. Especially if what you do beats up your hips with repeated flexion (cycling, sprinting) or cutting (basketball, soccer). The difference between a cold hip and a prepped one is immediate.
Key Differences Between Hip Mobility and Hip Flexibility
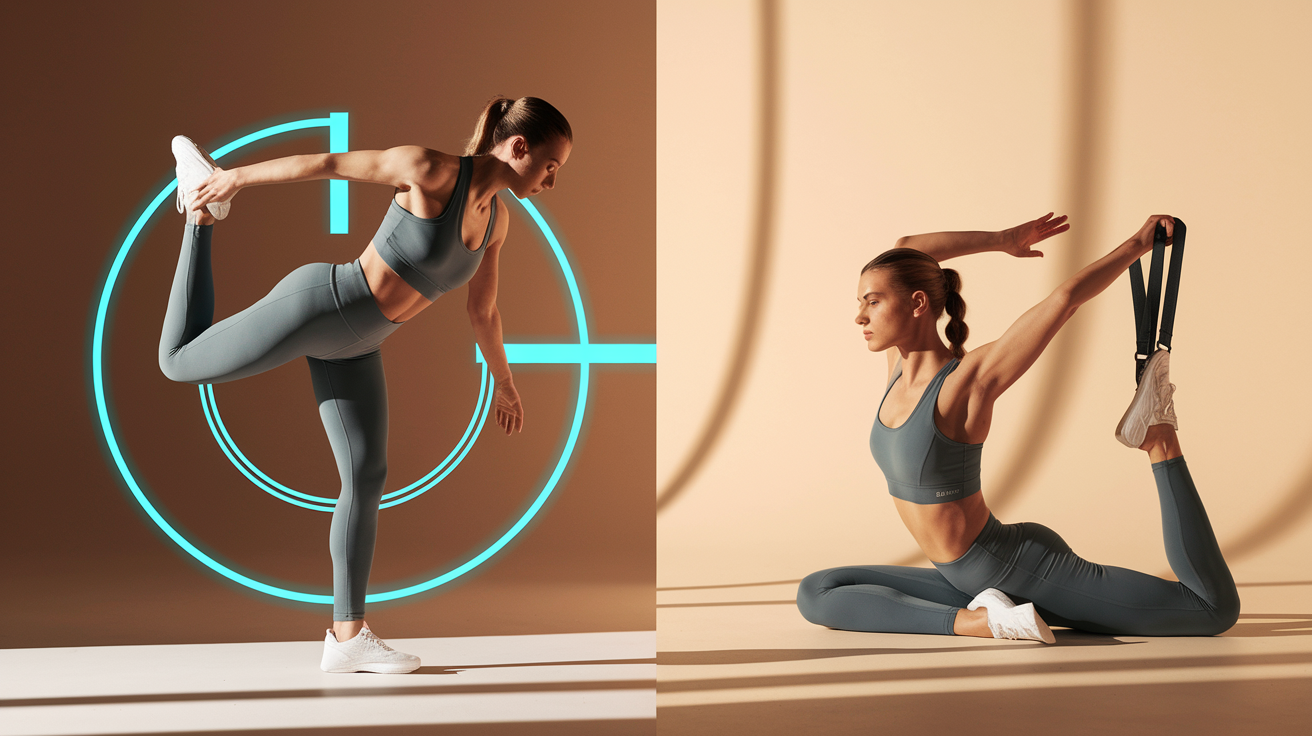
Mobility and flexibility both help your hips move better, but they’re not the same thing. Mobility is about active control. Can you move a joint through its range using strength and coordination? Flexibility is passive lengthening. How far can a muscle or tissue stretch when something else (gravity, a partner, a strap) does the work?
| Term | Definition | Typical Use |
|---|---|---|
| Mobility | Active joint control plus neuromuscular patterning through full range of motion | Before loading, dynamic warm-ups, skill work; uses controlled reps at 3–5 second tempos |
| Flexibility | Passive tissue lengthening with external help | After hard training, separate stretching sessions; uses static holds of 30–90 seconds |
Do mobility drills (hip CARs, 90/90 switches) before strength training or practice. They teach your nervous system to own the range you’re about to load. Save longer static stretching (couch stretch, pigeon pose) for after your workout or dedicated flexibility sessions. Both belong in your program. Mobility makes you strong and stable through range. Flexibility gives you the raw capacity to get there.
Step by Step Hip CARs for Controlled Rotation and Joint Health
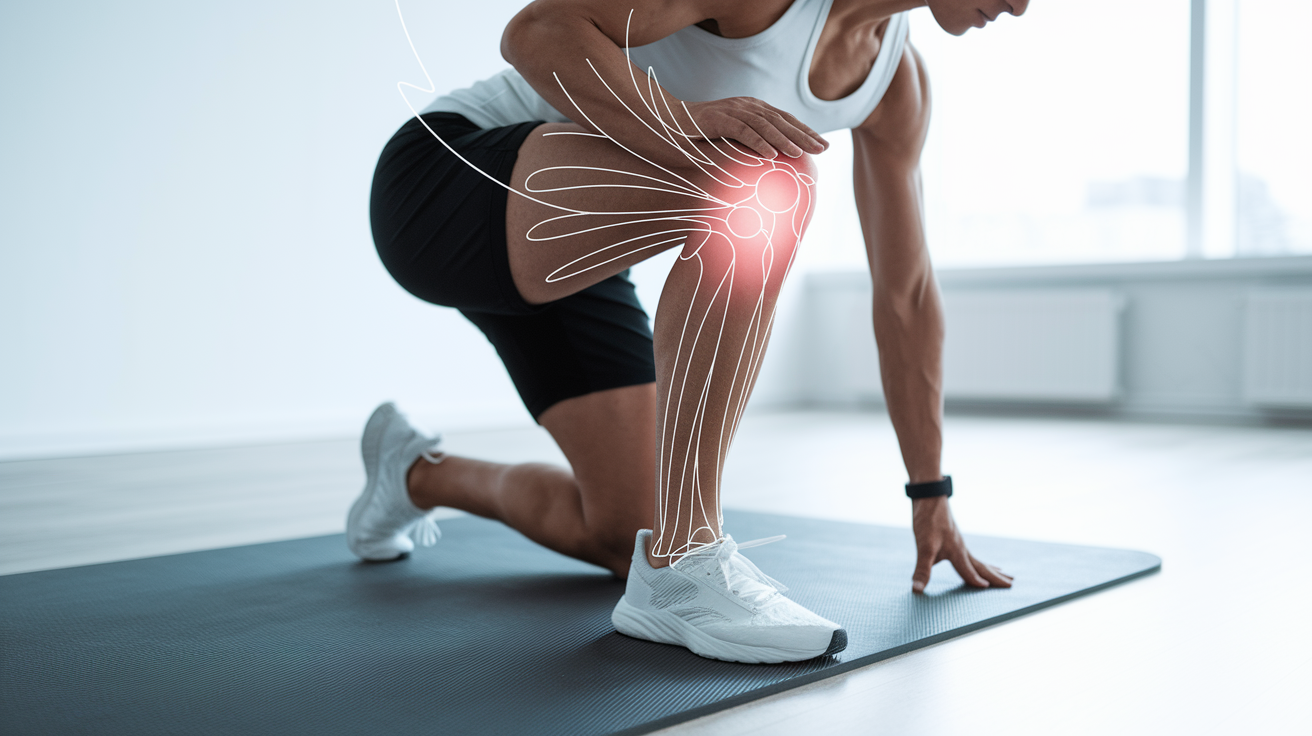
Hip CARs train the rotational capacity your hip socket was built for. They also show you where you’re missing active control, which shows up as compensations during squats, lunges, running.
The movement looks simple. It’s not.
How to Perform
Start on hands and knees. Wrists under shoulders, knees under hips. Pull your right knee toward your chest while rounding your spine a bit, core engaged to support your pelvis. Open the knee out to the side, keeping your foot in line with your knee. Maintain tension in the hip. Rotate your thigh internally so your knee points down and your foot lifts toward the ceiling, then draw the knee behind you into full hip extension. Reverse the pattern to bring the knee back to your chest. That’s one circle.
Each phase takes three to five seconds. No momentum. Only controlled muscle action.
Six to ten reps in one direction, then reverse for the same count before switching legs.
Common Mistakes
Using momentum instead of muscle defeats the whole point. If your leg swings through the pattern, slow down until you feel every inch of the circle.
Letting your spine rotate or your pelvis tip means your core isn’t doing its job. Reset your position and brace harder through your trunk.
Collapsing into your support arm shifts load away from the working hip. Keep shoulders square, weight evenly distributed.
Modifications
If balance or core strength limits you on the floor, do seated hip circles instead. Sit tall in a chair, lift one knee, draw slow circles in the air (six to eight reps per direction). Less stability demand, same hip rotation lesson.
You can also place your hands on a bench or couch for extra support during the hands and knees version.
Sets, Reps, Frequency
One to two sets of six to ten reps per direction per side, three to five times per week. Three to five second tempo per rep. If you finish a set in under sixty seconds, you’re moving too fast.
CARs work best at the start of a session when your nervous system is fresh and can focus on precision.
Mastering the 90/90 Hip Switch for Internal and External Rotation
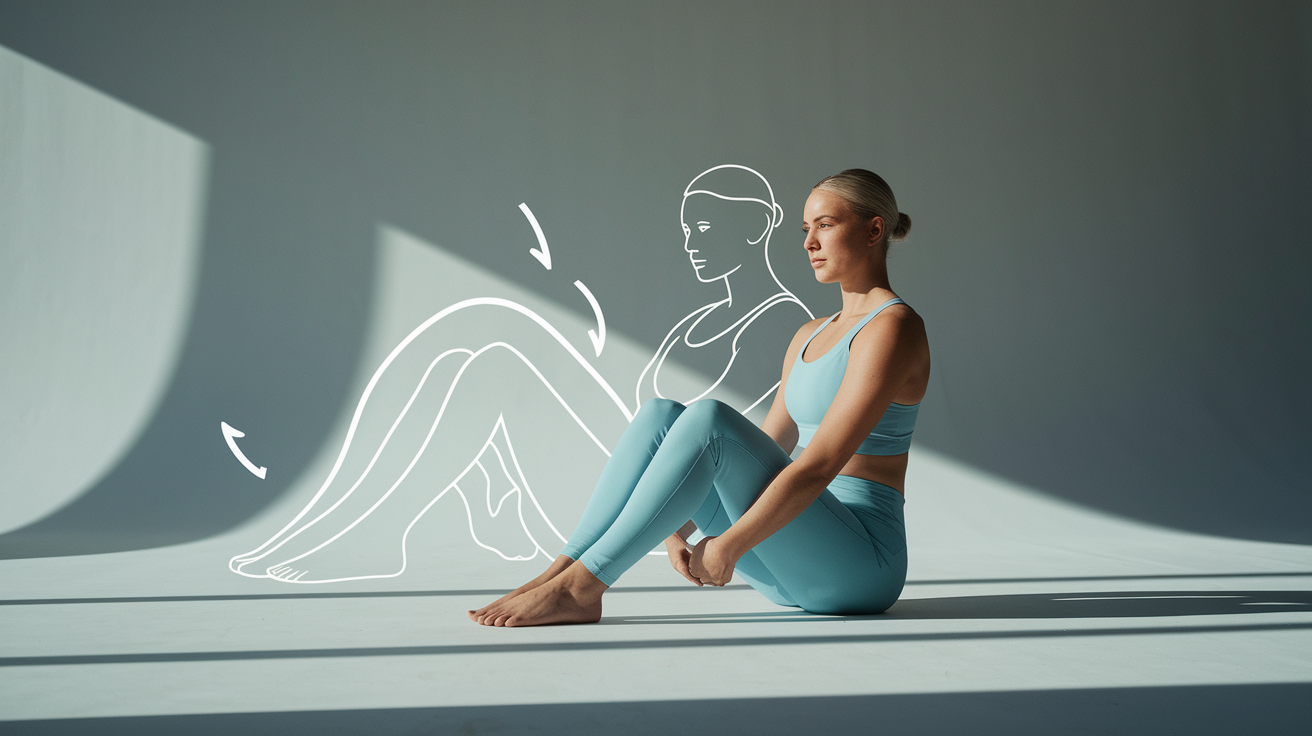
The 90/90 position locks your hips and knees at ninety degrees, which removes compensation from your lower back and forces the hip joint to do the work. Super useful for people who sit all day or athletes in rotational sports (golf, tennis, throwing).
Start sitting on the floor. Right leg in front, knee bent ninety degrees, shin parallel to your hips. Left leg behind you, also bent ninety degrees with the shin angled back. Both hips should touch the floor. If one side lifts, reduce the angle until both sit flat. Sit tall. Ribcage stacked over your pelvis, not leaning forward or back.
• Step one – settle into the position and notice which hip feels tighter
• Step two – lean gently toward the front knee to increase the stretch in the back hip’s internal rotators
• Step three – hold for a breath, then lift both knees slightly and switch your legs to the opposite 90/90 position
• Step four – land softly and reset your posture before leaning into the new front knee
• Step five – eight to twelve switches total, or hold each side for thirty to sixty seconds if you prefer static work
• Step six – breathe steadily through your nose; exhale as you switch to keep your core engaged
If sitting flat feels impossible, place a yoga block or folded towel under the hip that lifts. As your range improves over weeks, reduce the height until both hips contact the floor.
For a harder version, switch sides continuously for thirty to sixty seconds. Focus on smooth transitions and upright posture.
Don’t collapse your torso forward. That’s your body trying to borrow range from your spine instead of earning it from your hips.
Hip Flexor Mobility: Couch Stretch, Lunge Variations, and Safe Modifications
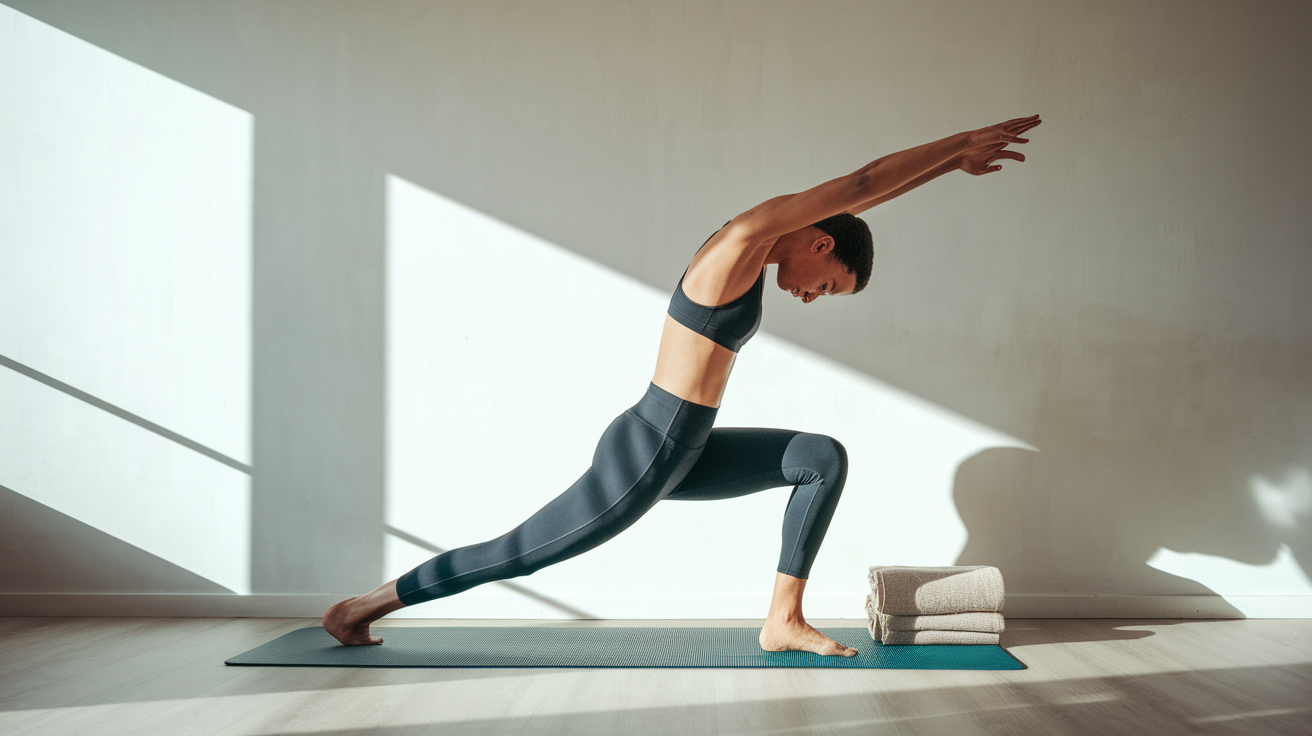
Tight hip flexors limit hip extension. That shortens your stride when you walk or run, pulls your pelvis forward into anterior tilt, contributes to lower back discomfort. The couch stretch addresses all of this by loading the hip flexor and quad in a lengthened position while your torso stays upright.
Place a foam block, folded towel, or couch cushion against a wall. Kneel with your right knee on the block and your right shin vertical against the wall, toes pointing up. Step your left foot forward into a lunge position with your knee over your ankle.
Before going deeper, tuck your tailbone under slightly (posterior pelvic tilt) to keep your lower back from arching. This small cue protects your spine and makes sure the stretch lands in the hip flexor, not the lumbar discs.
- Set up the back leg – right knee on block, shin vertical, foot against wall
- Position the front leg – left foot forward, knee bent ninety degrees, stable base
- Engage your core – pull ribs down, tuck tailbone, stand torso perfectly upright
- Hold the position – thirty to sixty seconds per side, breathing steadily
- Adjust depth – if this feels like too much, lower the front shin closer to the wall or remove the block
- Add a reach – lift both arms overhead to increase the stretch through the front of the hip and torso
- Switch sides – step out carefully, reset, repeat on the left hip
- Track progress – over weeks you should be able to sit more upright without leaning forward
Common mistakes: letting the torso lean forward to escape the stretch (defeats the purpose), arching the lower back too much (shifts load to your spine), holding your breath (creates tension instead of release).
If kneeling on a hard surface bothers your knee, double up the padding or use a thick yoga mat. For a gentler entry, do a standard kneeling lunge without the wall and use a strap or belt to hold your back foot, pulling it toward your glute to add quad stretch gradually.
Lateral Hip Mobility Drills: Cossack Squats and Side to Side Loading
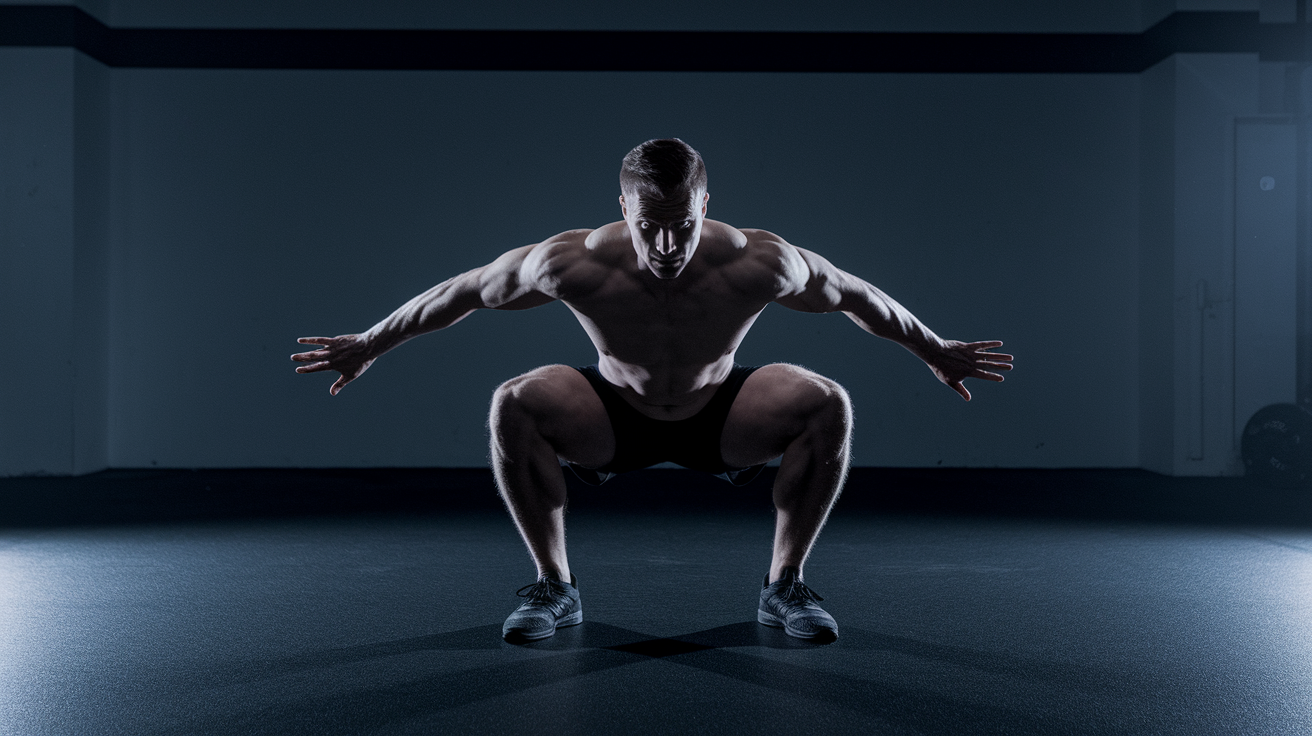
Most hip mobility work happens forward and back, but your hips also need to handle side to side loading. Walking on uneven ground, changing direction in sports, maintaining balance. Cossack squats and lateral lunges train that capacity while building strength through a challenging range.
Stand with feet wider than shoulder width, toes pointing forward or slightly out. Shift your weight onto your right leg and bend the right knee, sitting your hips back and down while keeping the left leg straight. Right foot stays flat. Left foot can stay flat or pivot onto the heel if ankle mobility limits you. Descend over two to three seconds, pause briefly at the bottom, then push through your right foot to return to center. Repeat on the left side.
| Drill | Benefit | Reps |
|---|---|---|
| Cossack Squat | Loaded lateral hip mobility, adductor length, single leg strength | 6–10 reps per side × 2–3 sets |
| Lateral Lunge | Shorter range version; easier entry point for beginners | 8–12 reps per side × 2 sets |
Keep your chest up and core braced throughout. Rounding forward shifts the load away from your hips and onto your lower back.
If you can’t descend without your heel lifting or your torso collapsing, reduce the depth or hold onto something stable (doorframe, squat rack) for support. As hip and ankle mobility improve, work toward sitting deeper while keeping your working foot flat and your opposite leg fully straight.
Don’t bounce at the bottom. Control the descent and rise with steady tension.
Glute Activation and Hip Extension Mobility for Better Movement
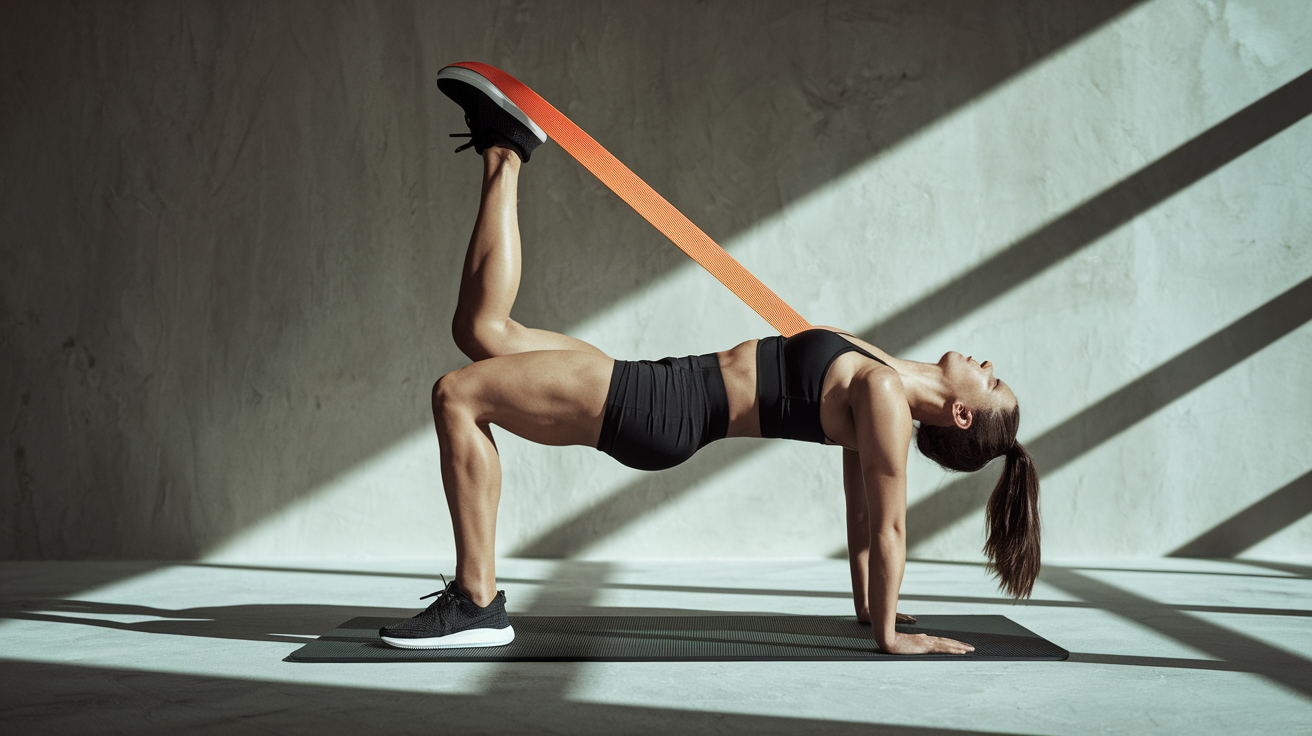
Your glutes extend and externally rotate the hip, stabilize your pelvis during single leg stance, absorb impact when you land from a jump or run downhill. Weak or underactive glutes force other muscles (hip flexors, lower back, hamstrings) to compensate. That reduces hip extension range and sets up chronic tightness and injury patterns.
Glute bridges and their progressions restore that extension mobility while teaching your nervous system to activate the posterior chain efficiently. Start simple. Add load or instability as you build control.
• Basic glute bridge – lie on your back, knees bent, feet flat; press through heels to lift hips until knees, hips, shoulders form a straight line; hold two seconds at the top, then lower; ten to fifteen reps
• Banded glute bridge – add a resistance loop just above your knees; press knees out against the band throughout the movement to engage glute medius; ten to fifteen reps
• Glute bridge with band walkout – lift into bridge position, then step feet apart three to four inches and back together while maintaining the bridge; ten to fifteen reps or fifteen to thirty second holds
• Single leg glute bridge – extend one leg straight, press through the other heel; six to ten reps per side; hardest progression for stability and strength
The most common mistake? Hyperextending your lumbar spine at the top of the bridge. Your lower back arches and ribs flare instead of your hips extending.
Fix this by keeping your ribcage down, core engaged, and stopping the bridge when your torso and thighs form a straight line. Squeeze your glutes hard at the top instead of pushing higher.
Two to three second hold at the peak of each rep builds time under tension. Breathe out as you lift to maintain core pressure.
Soft Tissue Mobility: Foam Rolling and Lacrosse Ball Techniques for the Hips
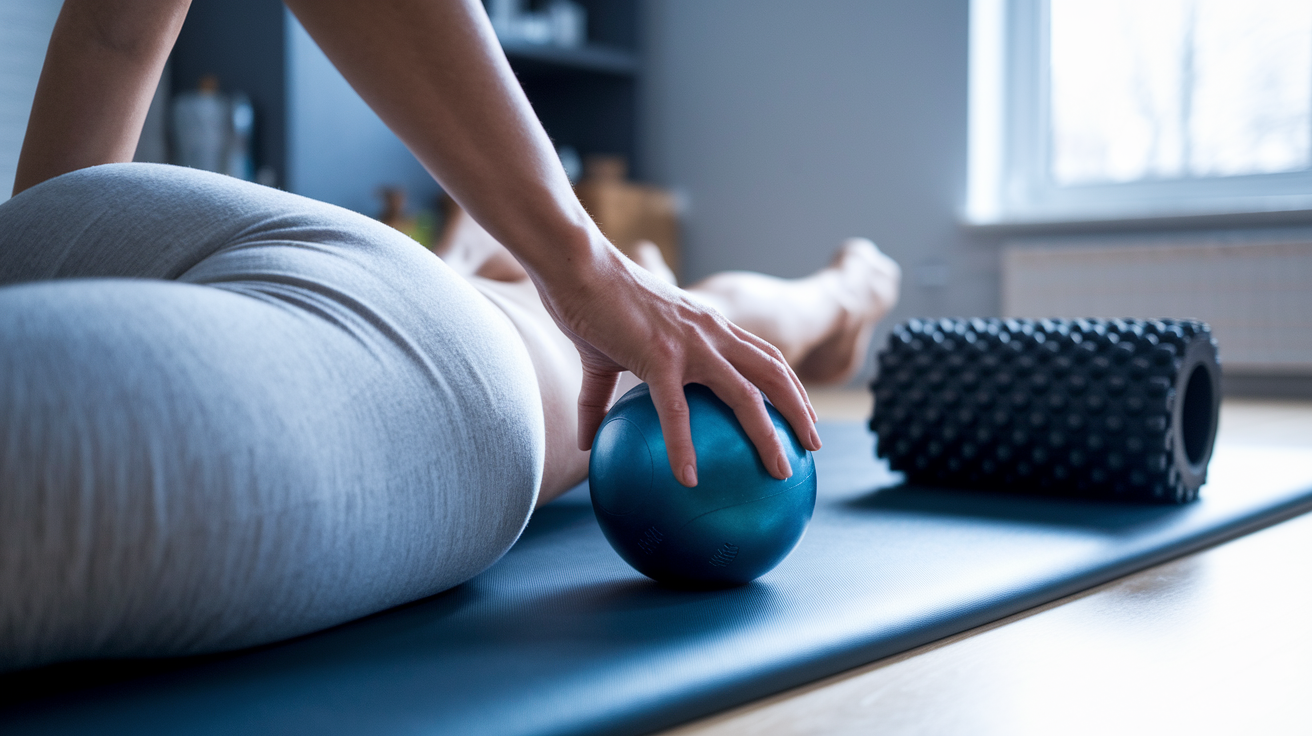
Soft tissue work addresses muscle tension and trigger points that limit joint mobility. Especially in the glutes, hip flexors, and adductors. A foam roller covers larger areas. A lacrosse ball or baseball targets specific tight spots with more precision.
For a deep glute release, lie on your back and cross your right ankle over your left knee (figure four position). Twist your hips slightly to the right and place a lacrosse ball under your right glute. Adjust your body so the ball sits on a tender spot, then relax your weight onto it for about one minute. Move the ball up or down roughly one inch and hold another minute, working through two to three spots per side.
- Hamstring and calf foam rolling – sit with a foam roller under your lower glutes, legs extended, feet a few inches off the ground; slowly close your legs with toes pointed inward, then open them with toes and hips rotated outward; move the roller down a couple inches toward your knees and repeat the sequence
- Front of leg foam rolling – roller under your glutes, hips elevated; pull one thigh into your chest while extending the other leg up at roughly forty-five degrees; alternate legs slowly, holding each stretch for about thirty seconds
- Lower back foam rolling – roller under your lower back, knees bent, hands behind your head; slowly roll from your lower back up toward your shoulders and back down; this relieves low back tension tied to tight hip flexors
- Adductor (inner thigh) rolling – lie face down, place the roller perpendicular under one inner thigh, and slowly roll from groin to knee; pause on tender spots for twenty to thirty seconds
- Hip flexor ball release – lie face down, place a ball just inside your hip bone (where your hip flexor attaches), and relax onto it for sixty to ninety seconds; shift slightly to find the tightest spot
- IT band foam rolling – lie on your side, roller under your outer thigh between hip and knee; roll slowly, pausing on tight areas for thirty seconds
Move slowly. Breathe steadily. Rushing through soft tissue work reduces effectiveness.
If a spot feels unbearably painful, reduce pressure by supporting more of your weight with your hands or the non-working leg. Expect tenderness, not sharp pain.
Do soft tissue work two to four times per week. After training or on rest days works best. Follow it with light mobility drills to reinforce the new range.
How to Build a Weekly Hip Mobility Plan for Progress

Consistency beats intensity when it comes to mobility. Short daily sessions produce better results than occasional marathon stretching. Your nervous system adapts to what you do regularly, not what you do hard.
For daily micro sessions, pick two to three drills and spend five to ten minutes total. Example: ninety seconds of 90/90 switches, six hip CARs per side, twelve leg swings per direction. Do this first thing in the morning, during a work break, or before bed. These sessions keep your hips from tightening up between training days and build the habit of regular movement.
For structured twenty to thirty minute sessions, block time three times per week. Start with a five minute warm-up (light cardio plus leg swings and squats), then run through three rounds of five to six drills with minimal rest. Example round: eight 90/90 switches per side, six Cossack lunges per side, forty-five second couch stretch per side, twelve banded adductor pulses, fifteen glute bridge band walkouts. These sessions create measurable range of motion improvements and pair well with strength training days or active recovery.
| Day | Focus | Duration |
|---|---|---|
| Monday | Full hip mobility session (warm-up + 3 rounds of 6 drills) | 20–30 minutes |
| Tuesday | Daily micro session (2–3 drills) | 5–10 minutes |
| Wednesday | Full session focusing on rotation and extension | 20–30 minutes |
| Thursday | Daily micro session or soft tissue work | 5–10 minutes |
| Friday | Full session with loaded drills (Cossack, single leg bridge) | 20–30 minutes |
| Weekend | Daily micro sessions or yoga-style holds (pigeon, happy baby) | 5–10 minutes each day |
Progression happens in three ways: increasing range of motion (deeper Cossack, longer couch stretch hold), adding load (resistance band, light dumbbell), or slowing tempo (five second CARs instead of three).
Track one metric per drill every two weeks. Like how deep you can sit in a 90/90 or how long you can hold a single leg bridge. Most people notice subjective improvements (less stiffness, better squat depth) within two to four weeks. Measurable range of motion gains show up around the four to eight week mark.
Safety, Pain Guidelines, and When Hip Mobility Requires Professional Attention
Discomfort during a stretch is normal. Sharp pain is not.
Discomfort feels like tension, tightness, a pulling sensation that eases as you breathe and settle into the position. Pain feels like a stab, pinch, or burning that doesn’t improve with time and makes you want to stop immediately.
Stop a drill right away if you feel sharp joint pain, sudden severe pain that wasn’t there before, swelling around the hip, a locking or catching sensation inside the joint, or any numbness or tingling that radiates down your leg. These symptoms suggest something beyond muscle tightness. Labral tears, impingement, nerve compression, or inflammation that needs professional evaluation.
• Sharp joint pain – possible structural issue; stop and rest
• Swelling or warmth – sign of inflammation; ice and consult a doctor
• Locking or catching – suggests labral or cartilage problem; see a physiotherapist
• Radiating leg symptoms – nerve involvement; medical evaluation needed
• No improvement after two weeks – mobility work should produce some change; persistent stiffness may need imaging or hands-on treatment
Don’t force range of motion. If a stretch feels like you’re fighting your body to get deeper, back off and work at the edge of comfort instead. Forcing through pain teaches your nervous system to guard and tighten. That’s the opposite of what you want.
Gradual, consistent work wins.
If you have a known hip condition (arthritis, previous surgery, labral tear, femoroacetabular impingement), check with your physiotherapist or doctor before starting a new mobility routine. Some drills may need modification or should be skipped entirely depending on your specific situation.
Quick Hip Mobility Routines (10 Minute and 20 Minute Versions)
These ready made routines give you a start today option whether you have ten minutes or thirty. Use the shorter version as daily maintenance or a warm-up before training. Use the longer version two to three times per week when you want dedicated mobility work that produces noticeable progress.
10 Minute Daily Routine
- Leg swings front to back – twelve reps per leg
- Leg swings side to side – twelve reps per leg
- 90/90 hip switches – thirty seconds of continuous switching
- Hip CARs – six slow reps per direction per side
- Glute bridges – fifteen reps with two second holds at the top
- World’s Greatest Stretch – six reps per side (step, twist, hold two breaths, switch)
20 Minute Focused Session
- Warm-up – five minutes of walking, marching, or easy cycling
- Leg swings (both directions) – twelve reps per leg per direction
- Bodyweight squats – fifteen slow reps
- Three rounds of the following (minimal rest between drills):
• 90/90 hip switches – eight reps per side
• Cossack squats – eight reps per side
• Couch stretch – forty-five seconds per side
• Banded adductor mobilization – twelve pulses
• Glute bridge with band walkout – fifteen reps - Cool-down – two minutes of easy walking and deep breathing
Both routines hit rotation, flexion, extension, and lateral movement. Adjust reps and holds based on how your body feels that day. If something’s extra tight, add an extra set. If you’re already feeling loose, move through the sequence and finish early.
The goal is consistency, not perfection.
Final Words
Start with a 5–10 minute warm-up (leg swings, bodyweight squats), then move through CARs, 90/90 switches, couch stretch, Cossack squats, glute bridges, and soft-tissue work. Follow the rep/hold targets and aim for 1–3 sets.
Fit short daily 5–10 minute micro-sessions or longer 20–30 minute sessions 3×/week. Stop if you feel sharp pain and use the easier modifications when needed.
Pick a template and stick with it—these hip mobility exercises add up quickly. Small, steady steps give real results.
FAQ
Q: What is the best exercise for hip mobility? How to loosen up tight hips and be flexible?
A: The best exercises for hip mobility to loosen tight hips are 90/90 switches (8–12 reps), hip CARs (6–10 slow reps), and the Couch Stretch (30–60s). Do 1–3 sets daily or 3x/week.
Q: What are signs of poor hip mobility?
A: Signs of poor hip mobility include stiff hips, limited squat depth or range, lower‑back or knee pain during movement, and feeling sore or locked after long sitting. Asymmetry between sides is a red flag.
Q: What emotion is held in the hips?
A: The emotion often said to be held in the hips is stored stress or tension—people commonly report anxiety, grief, or stubborn stress there. Gentle movement, breathing, and soft‑tissue work can help release it.